Your webcam flickers when lighting, power, frame rates, drivers, or video settings keep changing.
If you are wondering why is my webcam flickering, the cause is often simple to find. Most problems come from LED lighting, a weak USB connection, an outdated driver, or a mismatch between your camera and video app. This guide explains each likely cause and gives safe steps to restore a clear, steady picture.
Why Is My Webcam Flickering?
Webcam flickering means the image brightness or video signal changes again and again. You may see a pulsing picture, dark bands, flashes, or a screen that turns black for a moment.
The problem usually comes from one of these areas:
• Lighting that uses pulse-width modulation
• A mismatch between the camera frame rate and room light frequency
• Loose or overloaded USB connections
• Outdated webcam drivers
• Video app settings
• Low light or automatic exposure changes
• A damaged cable, port, or webcam
• Conflicts between two apps using the camera
A useful way to think about it is this: your webcam is trying to keep time with the room, the computer, and the video app. If those systems do not agree, the image can pulse like a song played off beat.
In many cases, the webcam itself is not broken. A quick test in another app or room can help you separate a camera problem from a software or lighting problem.
Common Causes of Webcam Flickering
LED and fluorescent lighting
Many LED and fluorescent lights do not produce perfectly steady light. They switch on and off very quickly. Your eyes may not notice this, but a webcam sensor can capture the change.
This issue is more common when your camera uses a high shutter speed. It can create dark bars or repeated brightness changes across your face.
Try turning off nearby lights and use daylight from a window. If the flicker stops, the light is likely the main cause.
Camera and power frequency mismatch
Indoor lights often match the electrical frequency used in your country. In the United States, that frequency is usually 60 Hz. Many other regions use 50 Hz.
Webcams often include an anti-flicker setting called 50 Hz or 60 Hz. If this setting does not match your local power frequency, the camera may flicker under indoor lights.
Look for settings named:
• Anti-flicker
• Anti-banding
• Power line frequency
• Flicker reduction
• Video frequency
Choose 60 Hz in most of the United States and Canada. Choose 50 Hz in many parts of Europe, Asia, Africa, and Australia.
Weak USB connections
A webcam may flicker or disconnect if it does not receive a stable data connection. This can happen with a loose plug, a damaged cable, or an overloaded USB hub.
The problem may appear worse when you connect other devices, such as an external hard drive, microphone, or capture card.
Connect the webcam directly to your computer. Then test another USB port. If possible, use a short, high-quality cable and avoid unpowered hubs.
Outdated or faulty drivers
A driver helps your operating system communicate with the webcam. An old or damaged driver can cause flickering, freezing, poor color, or random camera restarts.
This is especially common after a major Windows update, a macOS upgrade, or a change in privacy settings.
Updating the driver from your computer or webcam maker can help. Avoid random driver websites, since they may provide unsafe or incorrect files.
Automatic exposure changes
Webcams adjust brightness when the room is dark or when you move in front of the camera. If the camera keeps changing exposure, the picture may look like it is flickering.
This is not always true electrical flicker. It may be the camera searching for the right brightness.
Add a soft light in front of you. Do not place a bright window directly behind your head. More balanced light gives the camera less work to do.

How to Fix Webcam Flickering
Use these steps in order. Start with the simple checks before changing advanced settings.
1. Restart the camera and computer
Close every app that may use the webcam. Restart your computer, then open only one video app.
This clears many temporary camera conflicts. It also reloads the camera driver and releases USB resources.
2. Test the webcam in another app
Try the built-in Camera app on Windows or a camera preview tool on macOS. You can also test the webcam in a browser-based meeting service.
The results can point to the cause:
• Flicker in every app suggests lighting, hardware, or driver trouble.
• Flicker in one app suggests an app setting or permission issue.
• Flicker only during calls may suggest bandwidth or processing limits.
3. Change the room lighting
Turn off fluorescent lamps and low-cost LED bulbs near the camera. Then test the webcam with daylight or a steady lamp.
Place the main light in front of you and slightly above eye level. A diffuser or lampshade can soften harsh light and reduce exposure changes.
4. Change the anti-flicker setting
Open your webcam software or video app settings. Set the power line frequency to 60 Hz in most of the United States.
If your camera does not show this option, check the device maker’s software. Some webcams place the setting under advanced image controls.
5. Lower the frame rate
A high frame rate can make light flicker more visible. Test 30 frames per second instead of 60 frames per second.
For meetings, 30 frames per second is usually enough. It also reduces the camera’s processing and data needs.
6. Change the resolution
Try 720p instead of 1080p or 4K. A lower resolution can help if the computer or USB connection struggles with the camera stream.
If the flicker stops at a lower resolution, your computer may have limited processing power, or the USB connection may not provide enough bandwidth.
7. Reconnect the webcam
Unplug the camera and wait about 10 seconds. Plug it into a different USB port.
On a desktop computer, try a port on the back of the system. These ports often connect more directly to the motherboard than front-panel ports or hubs.
8. Update or reinstall the driver
On Windows, open Device Manager and locate the camera under Cameras or Imaging devices. Select the camera, update the driver, or uninstall it and restart the computer so Windows can detect it again.
On macOS, camera support is often managed through system updates and the app itself. Install available system updates from the official software update menu.
Fix Webcam Flickering in Zoom, Teams, and Other Apps
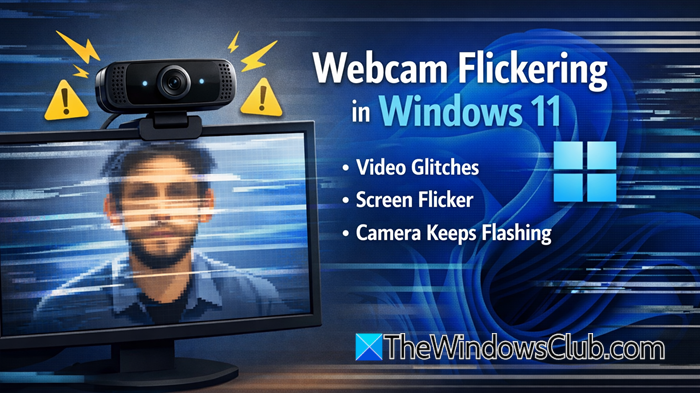
Sometimes the camera works well in one program but flickers in another. This usually points to app settings, permissions, virtual cameras, or resource conflicts.
Start by checking that the correct webcam is selected. Many computers list an internal camera, an external webcam, and one or more virtual cameras.
Then review these settings:
• Disable low-light compensation and test again.
• Turn off automatic exposure if the app allows it.
• Test 30 frames per second.
• Turn off background blur or virtual backgrounds.
• Close screen recorders and camera filters.
• Select the webcam’s native resolution.
• Give the app permission to use the camera.
Video effects can place extra load on your processor or graphics chip. If the camera becomes stable after you disable effects, the hardware may simply be reaching its performance limit.
Browser permissions can also cause strange behavior. In your browser settings, allow camera access for the meeting site. Close other browser tabs that may be using the webcam.

How to Tell Whether the Problem Is Hardware or Software
A short process of elimination can save you time and money. Test one change at a time and note what happens.
Use this checklist:
- Test the webcam in daylight.
- Test it in the computer’s built-in camera app.
- Try a different USB port.
- Test another computer if available.
- Try a different video app.
- Turn off automatic exposure and special effects.
- Test another webcam on the same computer.
The results can reveal the source:
• Flicker follows the webcam to another computer: the webcam or cable may be faulty.
• Flicker stays with one computer: check drivers, USB ports, and system settings.
• Flicker appears only under certain lights: replace or move the light.
• Flicker appears only in one app: review that app’s camera settings.
• Flicker stops after effects are disabled: reduce processing demands.
In my troubleshooting experience, changing the room light is one of the fastest tests. People often spend an hour reinstalling software when a small LED lamp is pulsing near the lens.
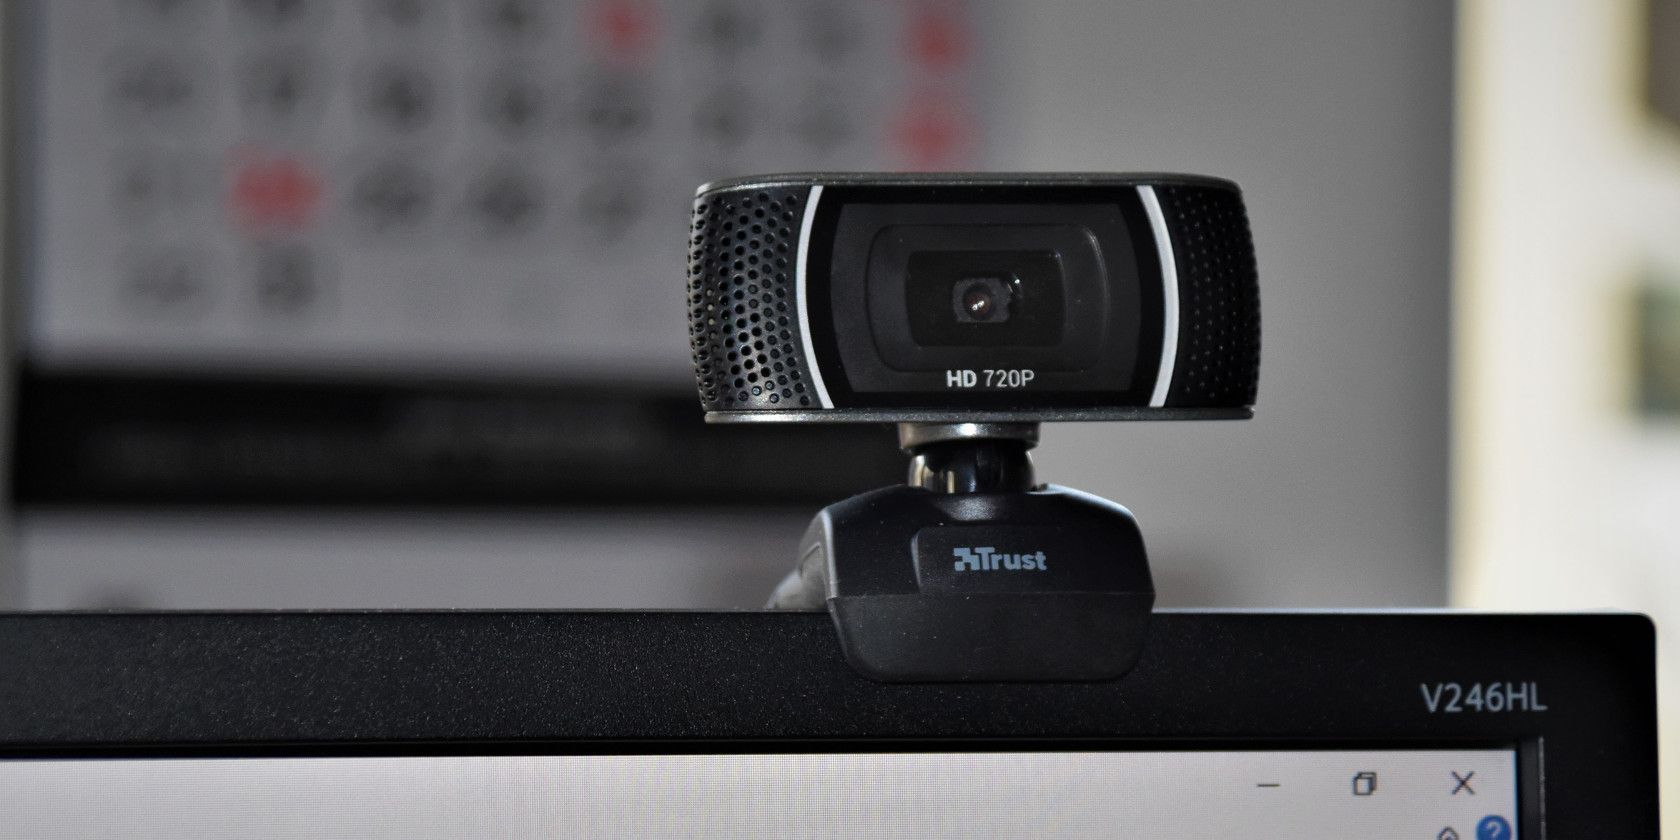
Webcam Flickering on Windows
Windows users can check several system settings that affect camera performance.
First, open the Camera app and test the image. If the webcam flickers there, the issue is not limited to Zoom or Teams.
Next, check privacy access:
- Open Settings.
- Select Privacy & security.
- Choose Camera.
- Turn on camera access for the device and the required apps.
Then open Device Manager. Expand the camera category and review the device status. A warning icon may show a driver or hardware problem.
You can also check Windows Update. Camera drivers may arrive through optional updates, although you should favor drivers from the computer or webcam manufacturer when available.
Power management can sometimes affect USB devices. If the webcam disconnects or flickers after the computer becomes busy, try a direct USB port and disable USB power saving only if other fixes fail.

Webcam Flickering on macOS
On a Mac, start with the built-in Photo Booth or FaceTime app. This helps you see whether the issue affects the whole system or only one meeting app.
Check camera permissions by opening System Settings, selecting Privacy & Security, and reviewing Camera access. Make sure the app you use has permission.
Quit apps that may be using the camera. A browser tab, video editor, streaming tool, or virtual camera can hold the device and create conflicts.
If you use an external webcam, connect it directly to the Mac when possible. Adapters and docks can sometimes create unstable connections, especially when many devices share the same hub.
Install current macOS updates if the camera problem began after a system change. If the issue remains in every app and under stable lighting, test the webcam on another computer.
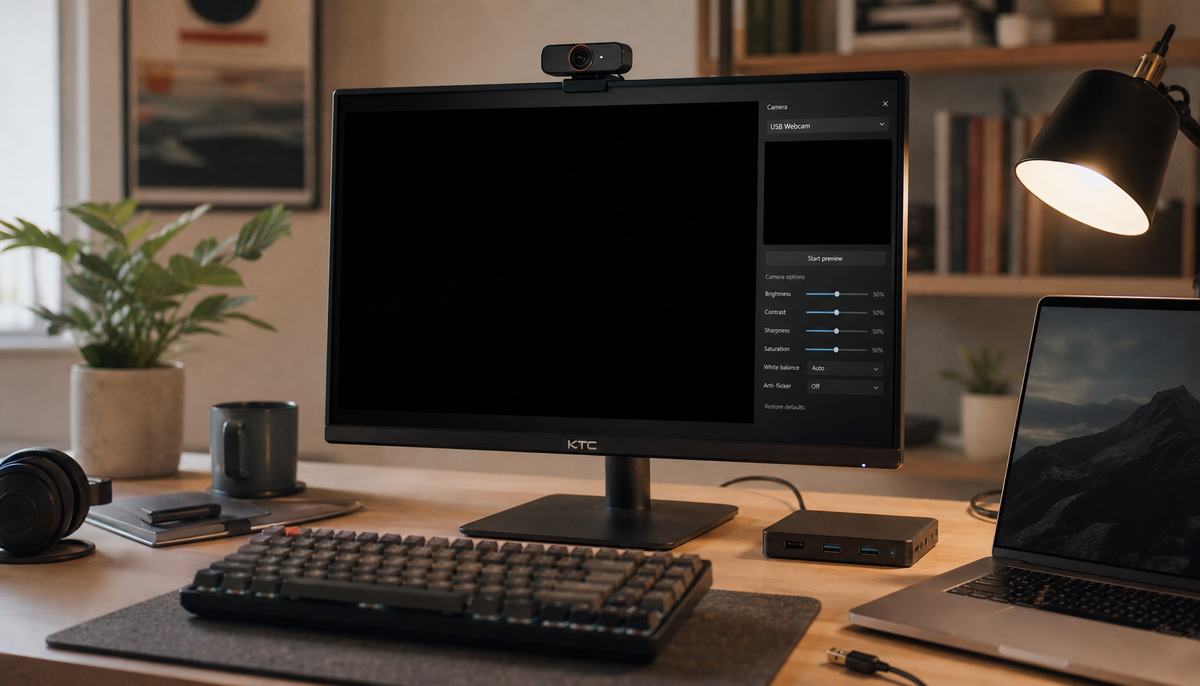
How Lighting Affects Webcam Quality
Good lighting does more than prevent flicker. It improves focus, skin tones, sharpness, and image detail.
Use a broad light source in front of you. A small lamp placed close to the camera can create hard shadows, while a larger soft source creates a smoother image.
Avoid these lighting mistakes:
• Sitting with a bright window behind you
• Using only one overhead light
• Mixing several bulbs with different color temperatures
• Placing a pulsing LED close to the camera
• Using a very dim room with automatic exposure enabled
A simple desk lamp with a stable output can work well. If you buy an LED panel, look for one designed for video use and check whether it supports flicker-free operation.
Remember that a ring light is not automatically flicker-free. Some inexpensive models change brightness by rapidly switching power. Test the light with your webcam before relying on it for important calls.

When to Replace the Webcam
You may need a replacement when the camera flickers under every type of light, on multiple computers, and in several apps.
Other signs of hardware failure include:
• The camera repeatedly disconnects
• The image contains permanent lines or colored blocks
• The lens stays blurry after cleaning
• The cable feels loose at the camera body
• The camera becomes very hot
• The device is not recognized consistently
Before buying a new webcam, test a different cable if the cable is removable. Also try a direct USB connection. A faulty hub can look like a faulty camera.
A replacement is not always necessary. Many webcam flickering problems come from lighting or software and can be fixed in minutes.

Mistakes to Avoid When Troubleshooting
Do not change many settings at once. If you alter the light, frame rate, resolution, driver, and app at the same time, you will not know which fix worked.
Avoid using unofficial driver tools. They can install the wrong software or create security risks.
Do not place tape over vents or force a loose USB plug into the port. Physical damage can turn a small connection problem into a costly repair.
Another common mistake is testing only during a video call. Meeting apps may compress the image, add effects, or reduce quality during a weak internet connection. Always test the camera in a simple preview app first.
Prevent Webcam Flickering in the Future
Once you fix the issue, a few habits can help prevent it from returning.
• Use stable, video-friendly lighting.
• Keep the webcam connected directly to the computer.
• Update your operating system and camera software.
• Keep the lens clean and free from fingerprints.
• Avoid running several camera apps at once.
• Use 30 frames per second for normal meetings.
• Keep the webcam cable away from sharp bends.
• Test important equipment before a job interview or presentation.
Save a working setup that includes your light position, frame rate, and resolution. This makes future troubleshooting much faster.
For important meetings, keep a backup plan. A phone camera, built-in laptop camera, or spare USB cable can help you stay connected if the main device fails.
Frequently Asked Questions About Why Is My Webcam Flickering
Why is my webcam flickering only at night?
Nighttime lighting often comes from LED or fluorescent bulbs that pulse at a rate the webcam can detect. Try daylight, a different lamp, or the correct 50 Hz or 60 Hz anti-flicker setting.
Why is my webcam flickering in Zoom but not in the Camera app?
The issue may come from Zoom’s resolution, frame rate, low-light correction, or video effects. Select the correct camera, disable extra effects, and test the meeting with a lower resolution.
Can a bad USB port make a webcam flicker?
Yes. A loose, damaged, or overloaded USB port can interrupt the camera signal. Try another port and connect the webcam directly instead of using a hub.
Why does my webcam flicker with LED lights?
Some LED lights rapidly switch power to control brightness. The camera sensor can capture those changes even when your eyes see steady light, so try another bulb or change the camera’s anti-flicker setting.
Is a flickering webcam a sign that it is broken?
Not always. Test it in another room, app, USB port, and computer before replacing it. If it flickers everywhere under stable lighting, the webcam or cable may be failing.
How do I stop my webcam from changing brightness?
Add steady light in front of your face and disable automatic exposure or low-light compensation if your camera software allows it. Keeping bright windows behind the camera can also reduce exposure changes.
Conclusion
The answer to why is my webcam flickering usually involves lighting, USB connections, camera settings, drivers, or app conflicts. Start with simple tests: change the light, try another USB port, test another app, and set the correct 50 Hz or 60 Hz frequency.
Most problems can be solved without buying a new camera. Work through the steps one at a time, keep track of each result, and replace the webcam only after testing the basics. If this guide helped, explore more webcam setup tips or share your solution in the comments.