Your Chromebook camera may not work because of blocked permissions, a disabled camera switch, app errors, or outdated ChromeOS.
When you ask, “why is my Chromebook camera not working,” the cause is often simple to fix. A privacy setting, browser permission, camera shutter, weak system update, or another app using the camera can stop video from appearing. This guide explains how to find the real cause, test each fix safely, and know when the problem may be hardware-related.

Why is my Chromebook camera not working?
Your Chromebook camera can fail for several reasons. The camera itself may be fine, but ChromeOS or the app may not have permission to use it. In other cases, a physical privacy shutter may cover the lens, or another video app may already control the camera.
The most common causes include:
• Camera access is turned off in Chromebook settings
• A website, such as Google Meet, lacks camera permission
• The camera app or browser has frozen
• Another app is using the camera
• ChromeOS needs an update or restart
• A camera privacy shutter is closed
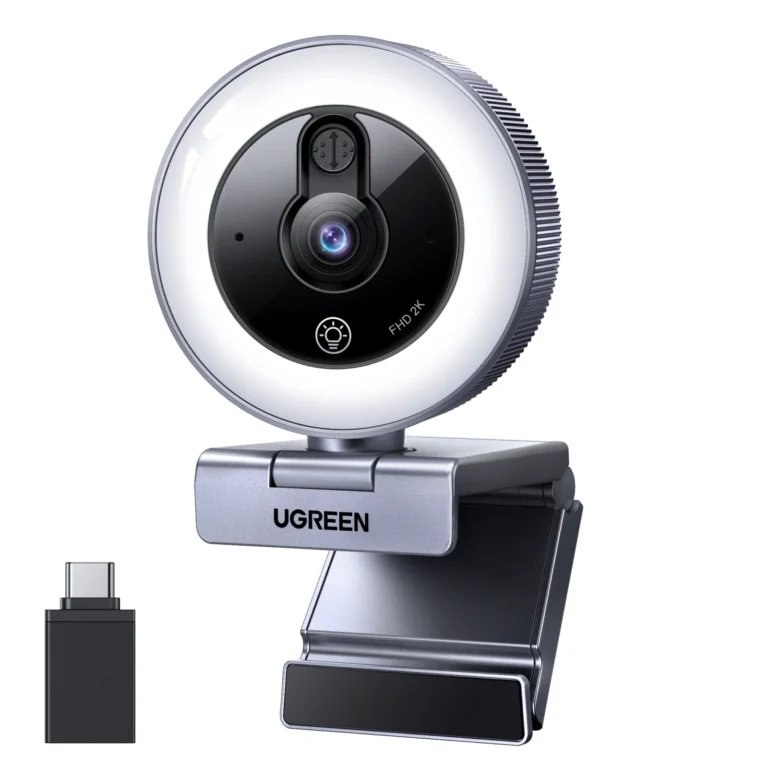
• An external webcam is not connected correctly
• The camera driver or system files have an error
• The built-in camera has physical damage
If your Chromebook camera worked before, start with settings and software fixes. If it never worked, or the camera is missing from every app, hardware may be the issue.
Check the simple camera problems first
Before changing advanced settings, check the things that are easy to miss. A small privacy switch can look like part of the laptop frame. Some Chromebook models also have a camera key that disables access.
Try these quick checks:
• Look at the camera lens and remove any tape, sticker, or cover.
• Slide open the physical privacy shutter, if your Chromebook has one.
• Press the camera privacy key on the keyboard. You may need to press Search or Launcher with it.
• Restart the Chromebook. Choose the time in the lower-right corner, select the Power icon, and choose Restart.
• Close Google Meet, Zoom, Skype, and other apps that may use video.
• Disconnect any external webcam, dock, or USB hub.
• Open the built-in Camera app and test the camera there.
A restart is more useful than it sounds. It closes background processes that may have locked the camera. In many troubleshooting cases, the Chromebook camera not working issue disappears after a full restart because the camera service starts again.
If the Camera app shows video but Google Meet does not, the camera is probably working. The problem is then linked to browser permissions or the meeting app.
Turn on camera access in Chromebook settings
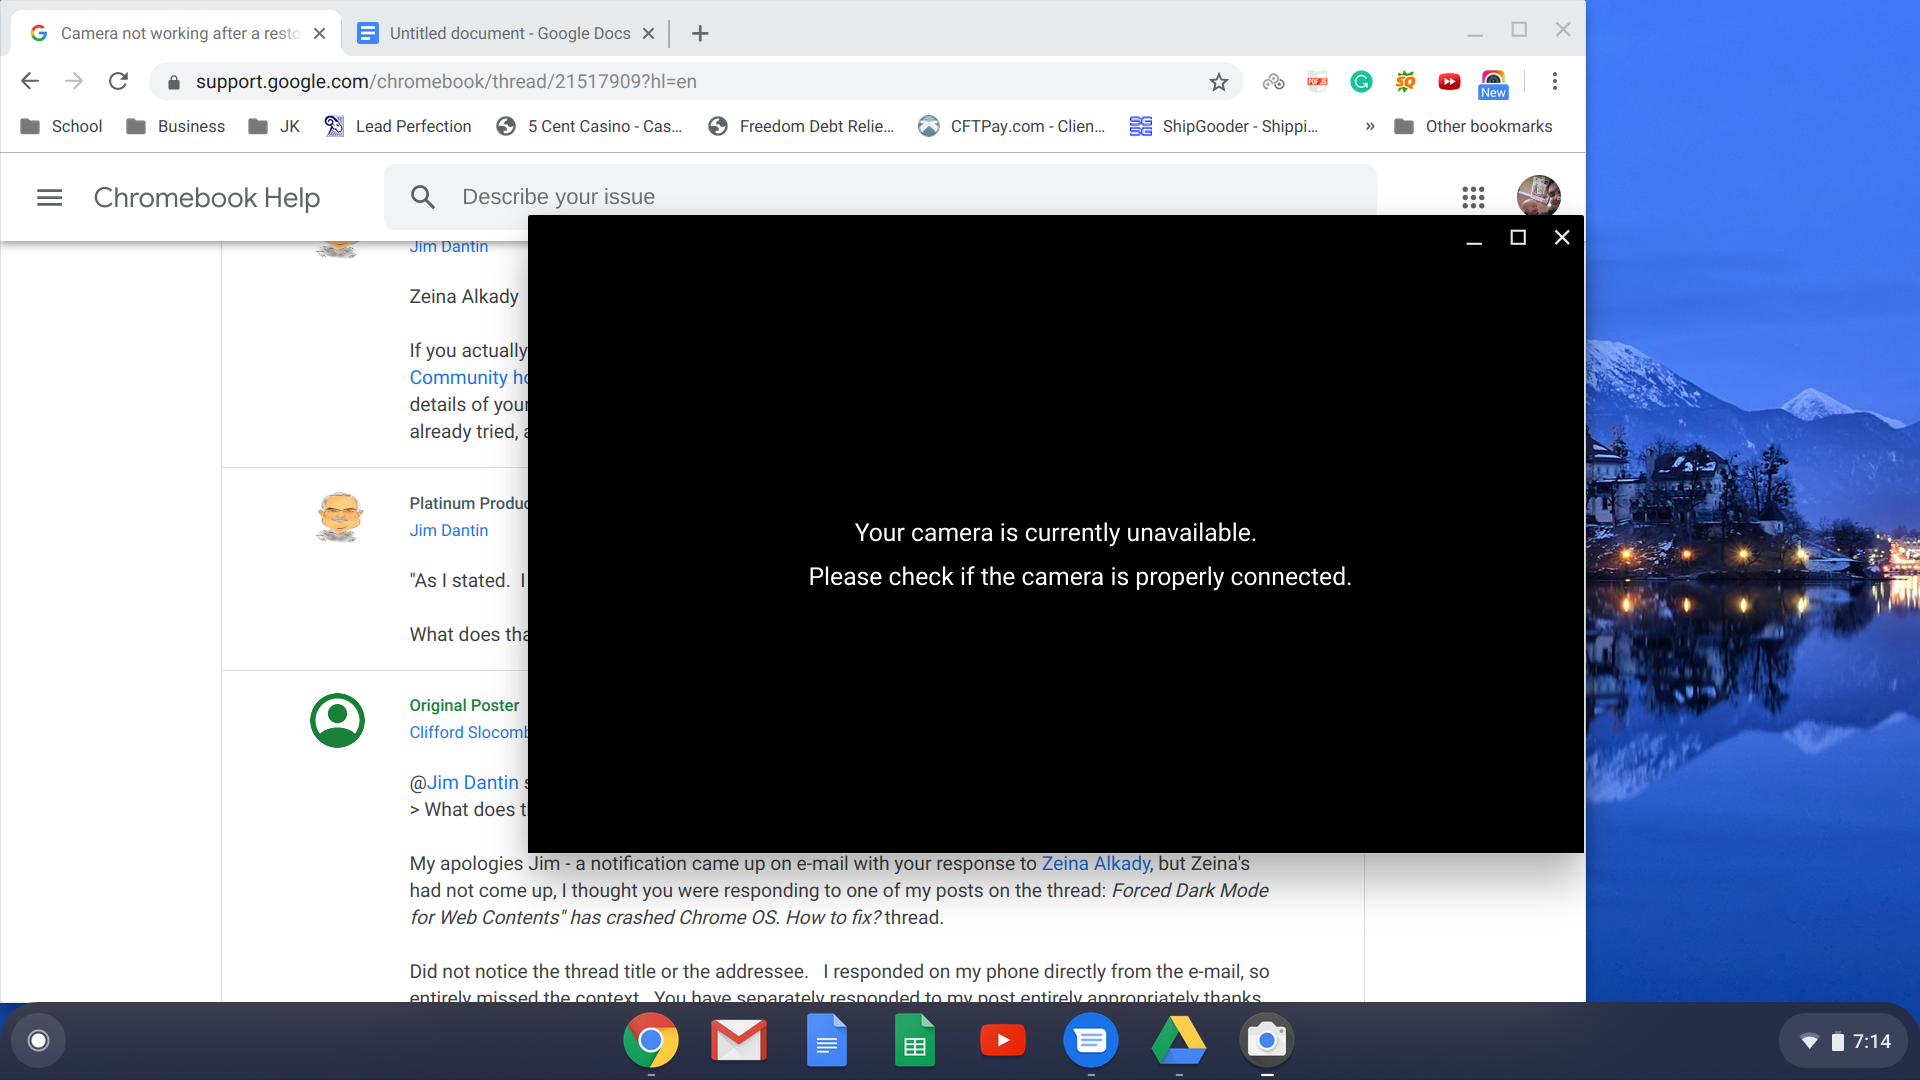
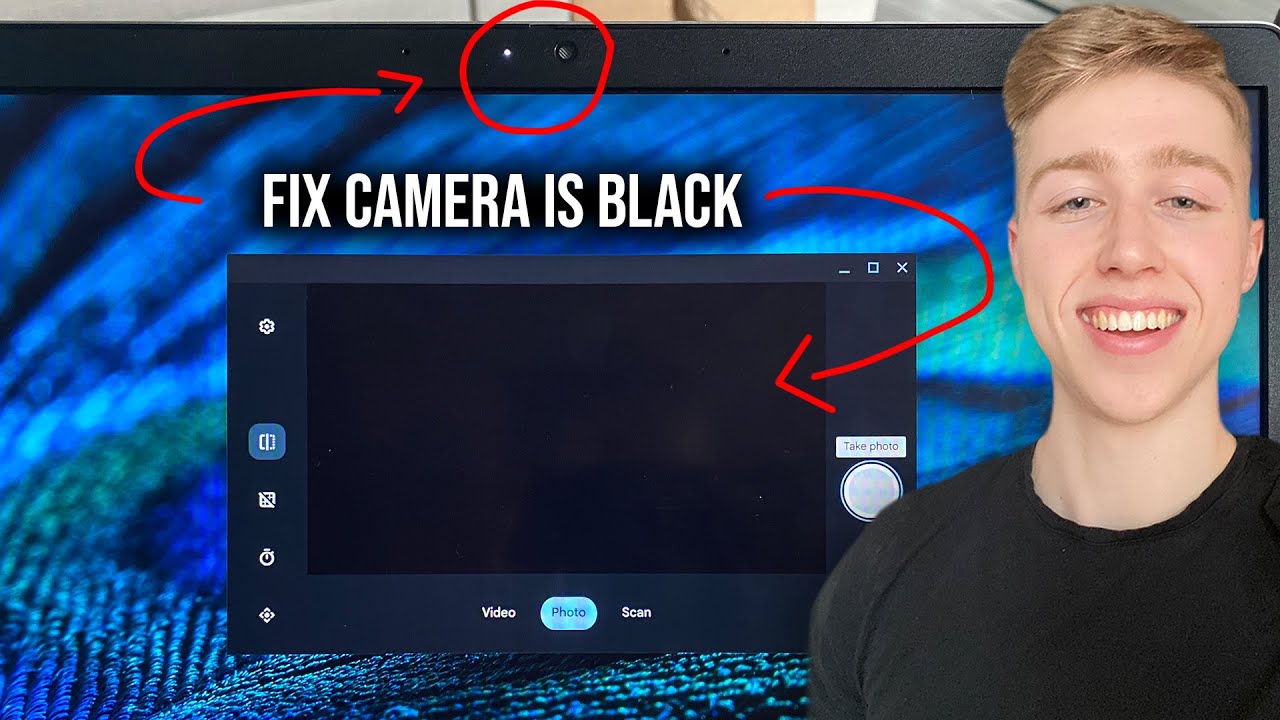
ChromeOS includes privacy controls that can block camera access across the device. If this setting is off, websites and apps may show a black screen or report that no camera was found.
To check the main camera setting:
- Select the time in the lower-right corner.
- Select the Settings gear.
- Open Privacy and security.
- Look for Privacy controls or Camera access.
- Turn on camera access if it is disabled.
The exact menu name can vary by ChromeOS version and Chromebook model. School and work devices may also have settings controlled by an administrator. If you cannot change the option, contact your school or company support team.
Next, check permissions for the Camera app:
- Open Settings.
- Select Apps.
- Choose Manage your apps.
- Select Camera.
- Open Permissions.
- Allow camera access when the option appears.
Not every ChromeOS version displays these menus in the same way. If you do not see an app permission page, use the search box in Settings and type camera.
This step often solves why is my Chromebook camera not working when the camera was recently blocked for privacy.
Allow camera permission for websites
If the camera works in the Camera app but fails in Google Meet, Zoom, or another website, check browser permissions. Chrome lets you control camera access for each site.
Follow these steps:
- Open Chrome.
- Select the three-dot menu in the upper-right corner.
- Select Settings.
- Choose Privacy and security.
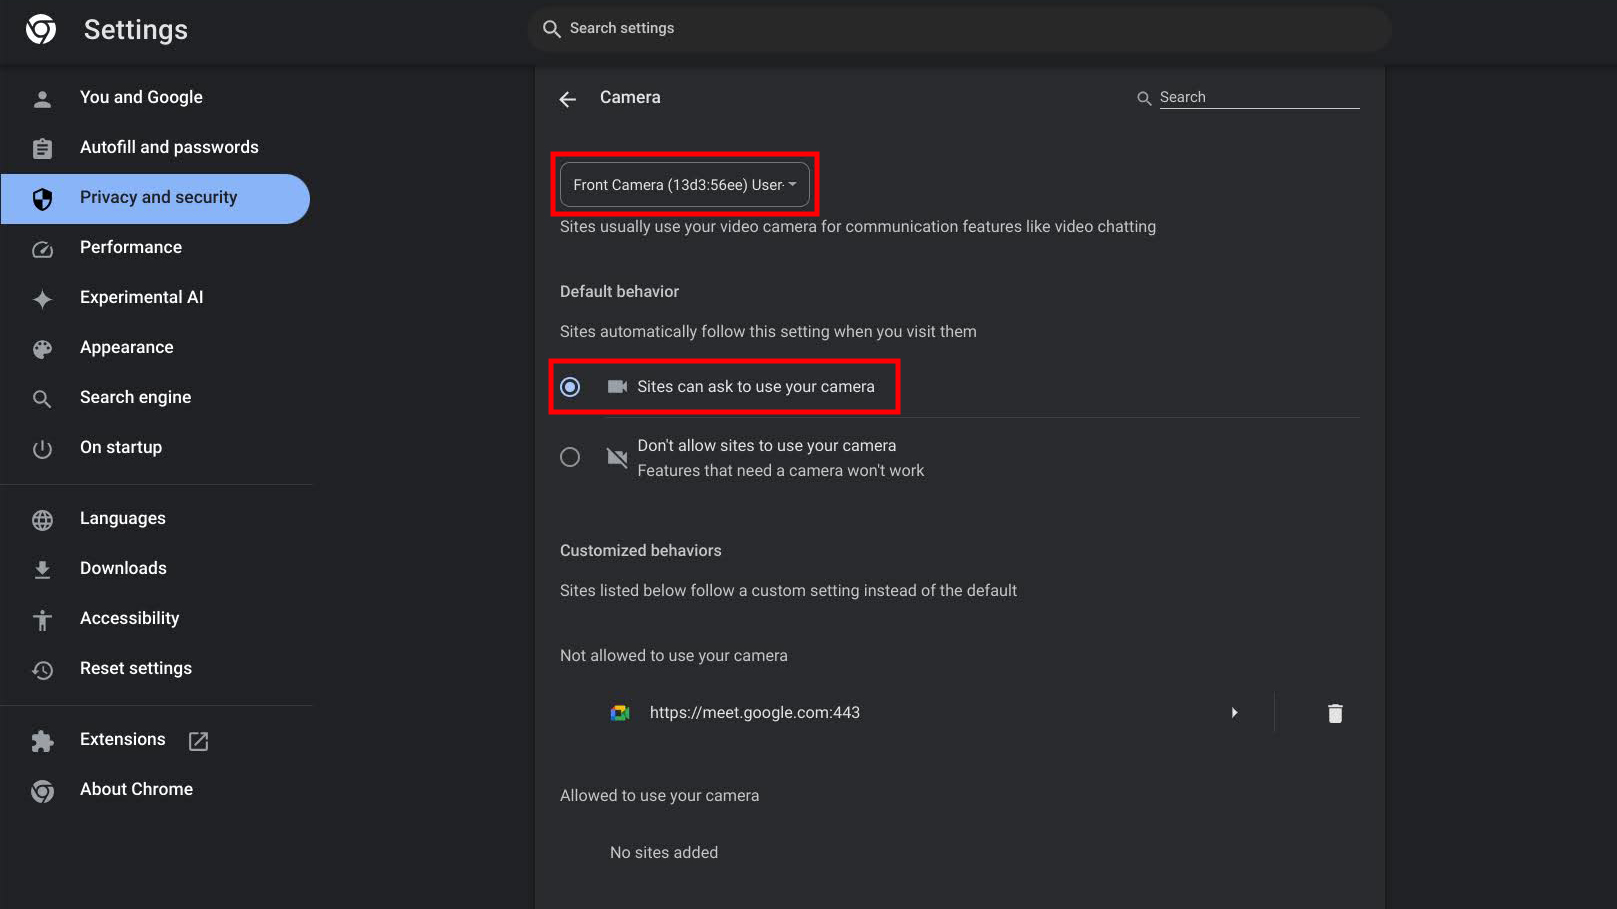
- Select Site settings.
- Select Camera.
- Choose the correct camera from the list.
- Make sure websites can ask to use your camera.
You can also change permission for one website:
- Open the video meeting website.
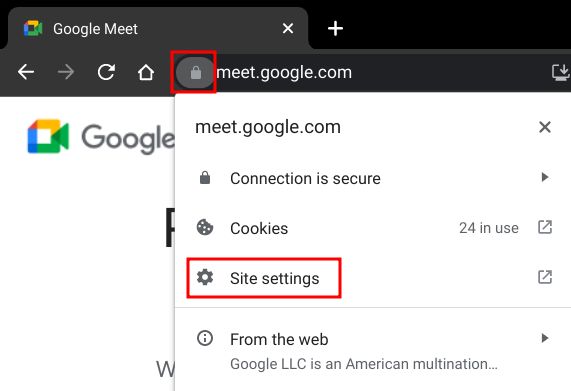
- Select the lock or settings icon beside the web address.
- Open Site settings.
- Set Camera to Allow.
- Reload the page.
Google Meet and similar services may also have their own camera selector. During a meeting, open the video settings and choose the built-in Chromebook camera. If an old USB webcam is selected, the page may show a black screen even though the built-in camera works.
After changing permissions, close and reopen the browser tab. Some sites do not detect a new permission until the page reloads.

Test the camera in more than one app
Testing the camera in multiple places helps identify the source of the problem. It is like checking whether a lamp is broken or whether only one wall switch has failed.
Try this simple test:
- Open the Camera app.
- Take a photo or start a short video.
- Open Chrome and visit a trusted video meeting site.
- Test the camera there.
- Try a different browser-based camera test only if you trust the website.
Use the results to narrow down the fault:
• Camera works in the Camera app but not in Chrome: Check website permissions.
• Camera works in Chrome but not in one app: Check that app’s settings.
• Camera fails in every app: Check system access, updates, and hardware.
• Camera appears but shows a black image: Check the shutter, lens, lighting, and camera selection.
• Camera works for a moment and then stops: Another app or system process may be taking control.
A dark room can also make the image look black or very poor. Face a window or turn on a lamp before deciding that the camera has failed.
Update ChromeOS and restart the camera system
An outdated ChromeOS version can cause problems with camera services, browser features, and app compatibility. Updates also include security fixes, so keeping ChromeOS current is important.
To check for an update:
- Select the time in the lower-right corner.
- Select Settings.
- Choose About ChromeOS.
- Select Check for updates.
- Install an available update.
- Restart the Chromebook when asked.
Keep the Chromebook connected to power during a large update. After it restarts, test the camera again.
You can also perform a hardware reset if a normal restart does not help. On many Chromebook models, turn off the device, press and hold Refresh, and tap the Power button. Release Refresh when the Chromebook starts.
Hardware reset steps can differ by model. Do not use unusual key combinations from an unverified guide. If your Chromebook is managed by a school or business, ask the administrator before using advanced recovery steps.
Updates are especially helpful when the Chromebook camera not working problem began after a system change, browser update, or app installation.

Check for app conflicts and background camera use
Only one app may be able to use the camera at a time. If Zoom, Meet, a browser tab, or a camera extension has control of it, another app may show an error.
Close camera-related apps and tabs:
• Quit Google Meet and Zoom.
• Close extra Chrome windows and tabs.
• Remove camera-related extensions for a test.
• Disconnect external webcams.
• Reopen only the app you want to use.
If the problem occurs in Chrome, open an Incognito window and test the camera. Incognito mode disables many extensions by default. If the camera works there, an extension or saved site setting may be causing the issue.
You can also disable extensions temporarily:
- Open Chrome.
- Select the three-dot menu.
- Choose Extensions.
- Select Manage extensions.
- Turn off extensions related to privacy, video, security, or virtual backgrounds.
Turn extensions back on one at a time. This helps identify the one that causes the conflict.
Avoid installing unknown camera tools that promise instant repairs. ChromeOS normally manages the built-in camera automatically. A suspicious extension can create privacy risks and may not fix the real issue.
Inspect the camera and external webcam connection
A built-in camera needs a clear lens and an open shutter. Wipe the lens gently with a clean microfiber cloth. Do not spray cleaner directly onto the Chromebook.
For an external webcam, try these steps:
- Unplug the webcam.
- Restart the Chromebook.
- Connect the webcam directly to a USB port.
- Avoid a USB hub during testing.
- Open the Camera app or meeting app.
- Choose the external camera in the app’s video settings.
If the external webcam works but the built-in camera does not, the internal camera may have a hardware fault. If neither works, the issue may involve device permissions, ChromeOS, or a damaged USB port.
Look for physical signs of damage. A loose screen hinge, cracked display frame, liquid exposure, or a camera that disappeared after a drop can point to a hardware problem. In these cases, software steps are unlikely to repair the camera.
Do not open the Chromebook unless you are trained and the device is outside its warranty or service plan. A repair shop or the manufacturer can inspect the camera cable and mainboard safely.
Use Chromebook diagnostics
Many newer Chromebooks include a Diagnostics app. It can help test hardware and collect basic information about the device.
To find it:
- Open the Launcher.
- Search for Diagnostics.
- Open the app.
- Review the available hardware tests.
The available tests depend on the Chromebook model and ChromeOS version. Some devices may not offer a dedicated camera test. If Diagnostics reports a camera problem, save the result or take a screenshot before contacting support.
You can also check the Chromebook model and operating system version from Settings. This information helps a technician find the correct repair guide.
When contacting support, include:
• Chromebook model
• ChromeOS version
• The app where the problem appears
• Any error message
• Whether the Camera app works
• Whether the problem began after an update or drop
• Steps you already tried
Clear details save time. Saying “the camera does not work” is less useful than saying, “The Camera app shows a black screen, ChromeOS is updated, and the camera permission is on.”
Reset Chrome settings only when needed
If the camera fails only in Chrome, resetting browser settings may help. This can remove damaged permissions or unusual settings that prevent video access.
Before resetting, remember that Chrome may restore default search settings, startup pages, pinned tabs, and site permissions. Your saved bookmarks and passwords are normally not deleted when you reset Chrome settings, but review the warning on your screen before confirming.
You can reset Chrome by opening:
- Chrome Settings
- Reset settings
- Restore settings to their original defaults
Then restart Chrome and allow camera access when a website asks.
A Powerwash, also called a Chromebook factory reset, should be your last software step. It removes local files, accounts, apps, and settings from the device. Back up important files to Google Drive or another secure location first.
A factory reset may help when the ChromeOS user profile is badly damaged, but it cannot repair a broken camera cable, lens, or sensor. If the camera fails in every app after a reset, arrange professional service.
When to contact Chromebook support
Contact the manufacturer, school administrator, workplace IT team, or a qualified repair center when basic steps do not work.
Get help sooner if:
• The camera is missing from every app.
• The camera stopped working after physical damage.
• The privacy switch is broken.
• The screen frame is loose near the camera.
• ChromeOS shows a hardware error.
• The Chromebook is still under warranty.
• Camera access is locked by an administrator.
Avoid opening a school-managed Chromebook or replacing internal parts yourself. The repair may require a specific camera module or display cable. Using the wrong part can cause more damage.
Privacy also matters during repairs. Sign out of your Google account, remove personal files when possible, and ask the repair provider how your data will be protected.
Common mistakes to avoid
Many camera problems become harder to solve because people change too many settings at once. Make one change, test the camera, and record what happened.
Avoid these mistakes:
• Do not assume a black image always means a broken camera. Check the shutter and lighting first.
• Do not install random driver tools. ChromeOS handles most camera drivers automatically.
• Do not grant camera access to unknown websites.
• Do not factory reset before backing up files.
• Do not test only one app. Compare the Camera app with the website or meeting app.
• Do not ignore administrator controls on school or work devices.
• Do not keep changing settings without noting the original values.
A careful process is faster than guesswork. In practice, permission checks, a restart, and a second-app test solve many cases of why is my Chromebook camera not working.
Frequently Asked Questions
Why is my Chromebook camera not working in Google Meet?
The website may not have permission to use your camera, or Google Meet may have selected the wrong camera. Check Chrome site permissions and choose the correct camera in Google Meet’s video settings.
Why does my Chromebook camera show a black screen?
A closed privacy shutter, blocked lens, poor lighting, or another app using the camera can create a black screen. Test the camera in the built-in Camera app and check the physical lens cover.
How do I turn on the camera on my Chromebook?
Open Settings, go to Privacy and security, and turn on Camera access. You may also need to allow camera permission for the specific app or website.
Can a Chromebook camera stop working after an update?
Yes, an update can sometimes change permissions or expose an app compatibility issue. Restart the Chromebook, check camera permissions, and install any newer ChromeOS update available.
How do I know whether my Chromebook camera is broken?
Test it in the Camera app and at least one trusted video meeting site. If it fails everywhere after permissions, updates, and restarts are checked, the camera or its internal connection may need service.
Will a factory reset fix my Chromebook camera?
A factory reset can fix a damaged user profile or system setting, but it cannot repair physical damage. Back up your files first and use a reset only after simpler troubleshooting steps fail.
Conclusion
The answer to why is my Chromebook camera not working is usually found in a privacy setting, website permission, closed shutter, app conflict, or outdated ChromeOS version. Start with simple checks, test the camera in more than one app, and change one setting at a time.
If the camera still fails everywhere, use Diagnostics and contact qualified support, especially if the Chromebook has physical damage or is managed by a school or employer. Try these steps today, then share your model and the exact error in the comments if you need help with the next step.