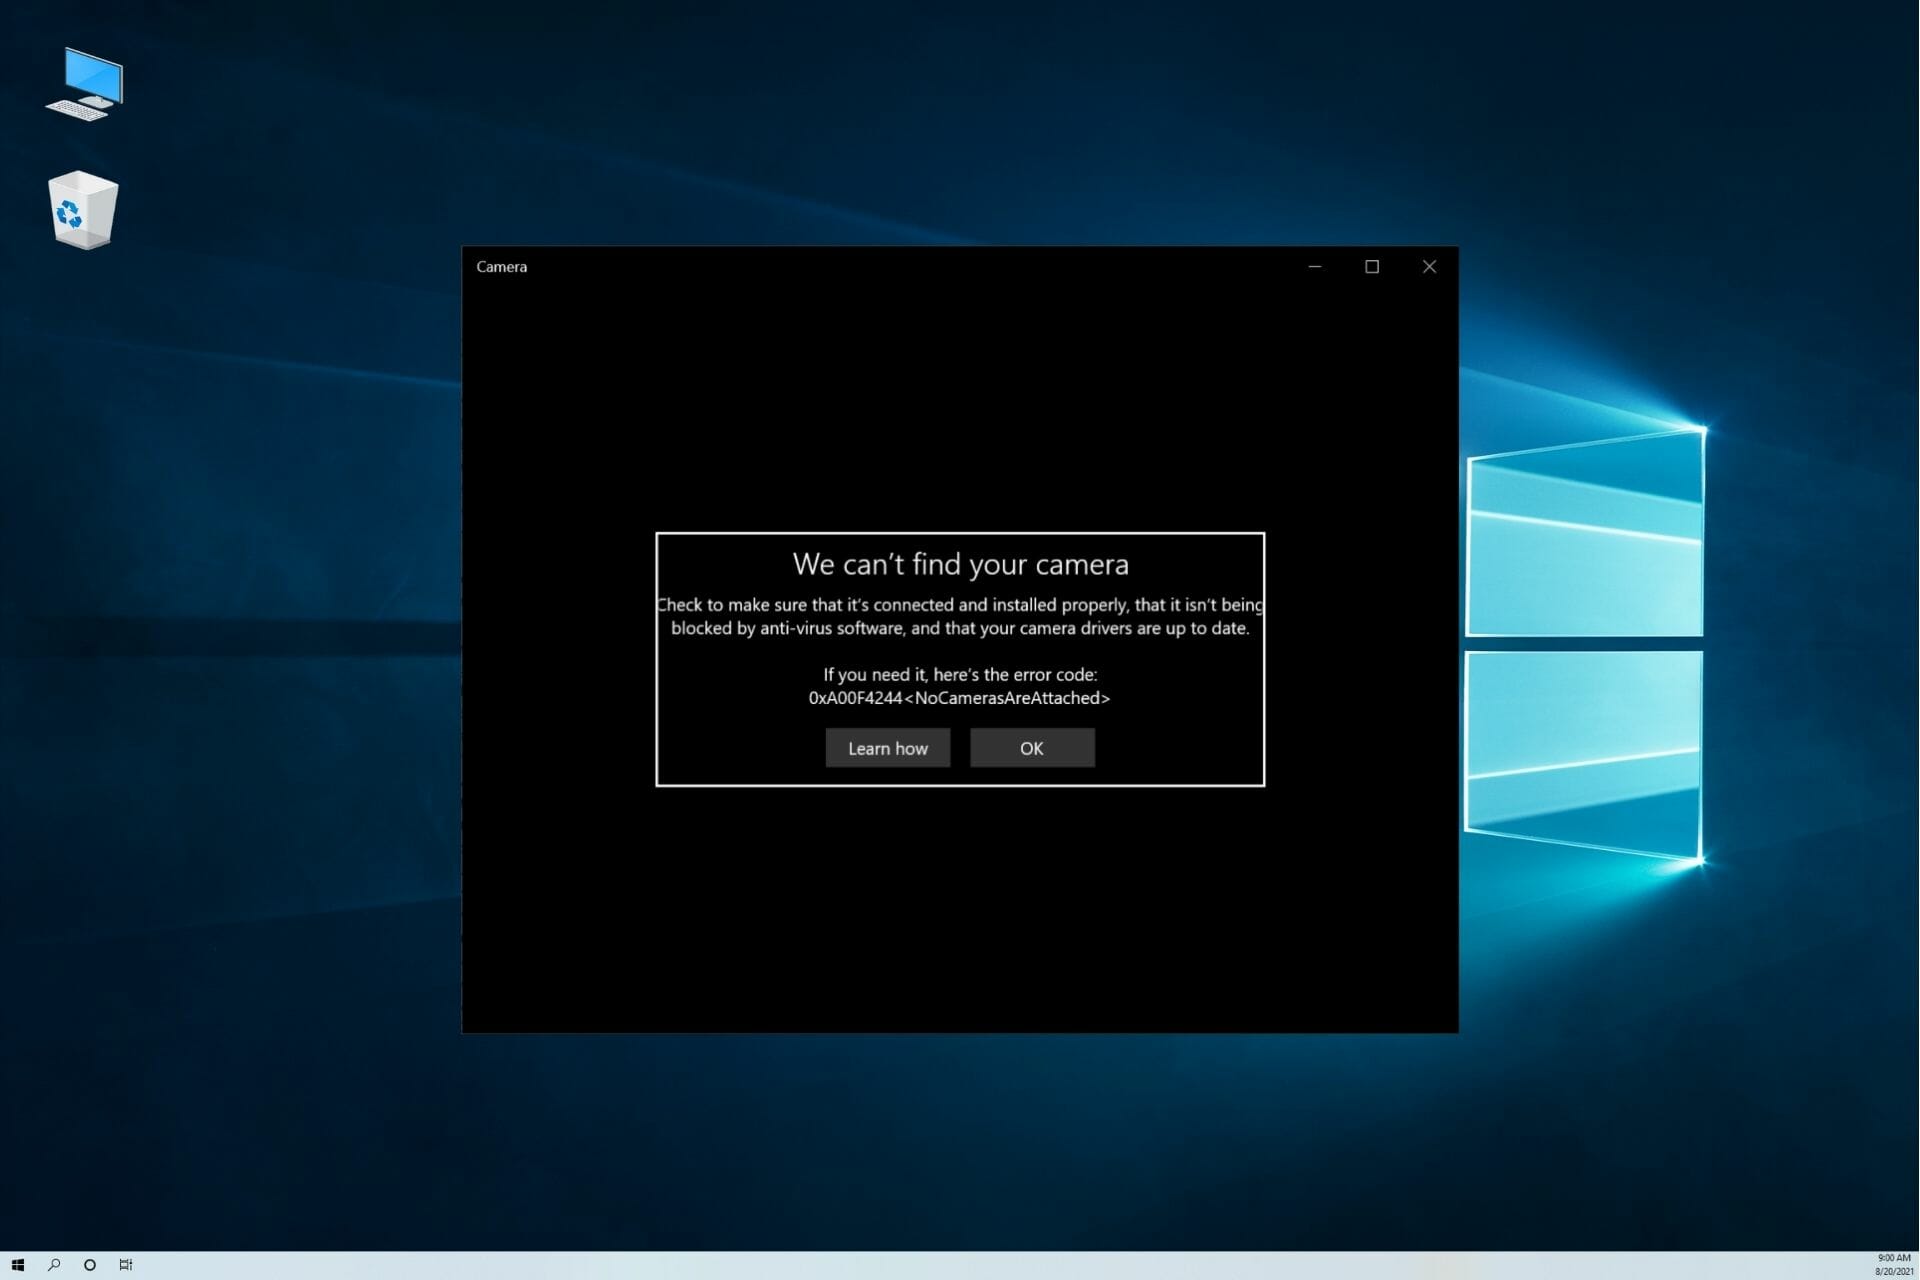
Your laptop may not find your camera because of a bad connection, blocked permissions, outdated drivers, or a camera setting.
When you ask, “why can’t my laptop find my camera?”, the answer often depends on whether you mean a built-in webcam, a USB webcam, or a digital camera. I have handled many camera connection problems, and most are easier to fix than they first seem. This guide walks you through safe checks, system settings, driver fixes, and practical solutions for Windows and Mac.
Why can’t my laptop find my camera?
A laptop may fail to detect a camera for several reasons. The camera may not have power, the USB cable may only support charging, or the correct device may not be selected in your video app.
Privacy settings are another common cause. Windows and macOS can block camera access to protect you. Some laptops also have a physical camera shutter, a keyboard camera key, or a privacy switch that disables the webcam.
The most common causes include:
- The camera is turned off or covered.
- The USB cable or port has a fault.
- The camera is connected in the wrong USB mode.
- Windows or macOS has blocked camera access.
- Another app is already using the camera.
- The webcam driver is missing or outdated.
- The camera is disabled in system settings.
- The video app selected the wrong camera.
- A recent system update caused a compatibility problem.
- The external camera needs special software or firmware.
In my experience, users often replace a camera too soon. A quick port test or privacy setting check can solve the issue in less than five minutes.

First checks to try
Before changing advanced settings, perform a few simple checks. These steps can quickly show whether the problem is with the camera, the laptop, or the app.
1. Restart the laptop and camera
Restart both devices. A restart clears temporary software errors and releases camera access from apps that may still be running in the background.
If you use a USB webcam, unplug it before restarting. Wait until the laptop fully loads, then connect the camera again.
2. Check the camera shutter and privacy key
Look closely at the top of your laptop screen. Some models have a small sliding shutter over the lens. Others use a keyboard key with a camera icon.
Press the camera privacy key once. You may need to hold the Fn key at the same time. If a light appears on the key, the webcam may now be enabled.
3. Test another USB port
Connect an external camera to a different USB port. Avoid using a USB hub during testing because a weak hub may not provide enough power or data access.
If the camera works in one port but not another, the original port may be damaged or disabled.
4. Check the cable
Some USB cables transfer power but not data. This is common with cables made for charging phones.
Try the original camera cable or a known data cable. If your camera has a removable battery, charge it fully before testing again.
5. Close other camera apps
Zoom, Microsoft Teams, Google Meet, Skype, FaceTime, browser tabs, and camera tools can compete for access. Close them all, including apps that remain open in the system tray or menu bar.
Then open only one camera app and test it again.

Fix camera detection on Windows
If you use a Windows laptop, Device Manager and Privacy settings are the best places to begin. Windows may recognize the camera but prevent apps from using it.
Turn on camera permissions
- Open Settings.
- Select Privacy & security.
- Choose Camera.
- Turn on Camera access.
- Turn on Let apps access your camera.
- Turn on Let desktop apps access your camera.
The last setting matters for browsers, video meeting tools, and many traditional desktop programs. If it is off, the camera may work in the Windows Camera app but fail in Zoom or another program.
Check Device Manager
- Right-click the Start button.
- Select Device Manager.
- Expand Cameras or Imaging devices.
- Look for your webcam.
- Right-click it and choose Enable device if that option appears.
- Select Update driver.
- Restart the laptop after the update.
If the camera has a warning icon, Windows may have found a driver problem. You can also choose Uninstall device, restart the laptop, and let Windows reinstall the driver automatically.
Do not download random driver files from unknown websites. Use Windows Update or the laptop maker’s official support page. This reduces the risk of installing malware or the wrong driver.
Run the Windows camera troubleshooter
Open Settings and search for Troubleshoot. Choose Other troubleshooters, then run the Camera or Windows Store Apps troubleshooter if available.
Windows changes its menus from time to time, so the exact wording may differ by version. The search box in Settings is often the fastest way to find the right tool.
Check the Camera app
Open the built-in Camera app. If it shows a picture, your hardware probably works. The problem may be inside the app that you use for meetings.
In Zoom, Teams, or another video app, open video settings and select the correct camera. A laptop may list an internal webcam, an external webcam, and a virtual camera.
Fix camera detection on a Mac
Mac users should check permissions, app selection, and system recognition. macOS usually manages webcam drivers automatically, so manual driver installation is rarely needed.
Allow camera access
- Open the Apple menu.
- Select System Settings.
- Choose Privacy & Security.
- Select Camera.
- Turn on access for the app you want to use.
Close and reopen the app after changing this setting. Some apps do not notice permission changes until they restart.
Check the selected camera
Open the video app and find its camera or video settings. Select the built-in FaceTime camera or the name of your connected USB camera.
For a browser meeting, check the browser’s site permissions too. A browser can block camera access even when macOS allows it.
Use System Information
Hold the Option key, open the Apple menu, and select System Information. Look under USB to see whether an external camera appears.
If it does not appear there, the issue may involve the cable, USB adapter, camera power, or camera hardware. If it appears in System Information but not in the app, permissions or app settings are more likely.
Restart the camera service
On newer Macs, a normal restart often restores camera access. On older systems, closing camera apps and restarting the computer can refresh the camera service.
Avoid forcefully changing system files or installing unknown webcam utilities. These steps can create new problems and are rarely needed for a standard USB webcam.

When your laptop cannot find a digital camera
A digital camera is different from a webcam. Your laptop may detect it as a storage device rather than a live video camera.
Choose the correct USB mode
Many digital cameras offer connection choices such as:
- Mass storage
- MTP
- PTP
- Webcam mode
- Tethering
- Remote shooting
Choose Webcam mode if you want to use the camera for video calls. Choose Mass storage, MTP, or PTP if you only want to copy photos and videos.
Some cameras need a manufacturer utility before they can work as webcams. Check the camera’s official guide for supported operating systems and USB modes.
Turn on the camera before connecting it
Some digital cameras must be powered on before the USB cable is connected. Others must remain connected to wall power because the battery shuts down during long video sessions.
If the camera turns off after a few minutes, check its auto power-off settings. A sleeping camera may appear to vanish from the laptop.
Use a capture card for HDMI
An HDMI port on a camera usually sends video out. It does not normally send webcam data directly to a laptop.
To use HDMI video, you generally need a compatible USB capture card. Connect the camera to the capture card with HDMI, then connect the capture card to the laptop with USB.
Check memory card access
If you only need photos, remove the memory card and use a card reader. This avoids camera USB mode problems and often provides faster file transfers.
Never remove a memory card while the camera is writing data. Doing so can damage files or corrupt the card.
Fix problems inside Zoom, Teams, browsers, and other apps
Sometimes the laptop sees the camera, but the app does not. This usually means the app selected the wrong device or lacks permission.
Try these steps:
- Open the app’s video settings.
- Select the correct camera from the list.
- Turn video off and on.
- Leave the meeting and join again.
- Close other apps that use the camera.
- Update the app.
- Restart the laptop if the camera list remains empty.
For browser-based meetings, select the lock or settings icon near the website address. Confirm that camera access is allowed for that website.
A useful test is to open the built-in Camera app first. If it works there, focus on the meeting app, browser, or account settings rather than replacing the webcam.
I once spent several minutes troubleshooting a webcam that appeared broken. The real issue was that a virtual camera from streaming software had been selected. Switching back to the physical webcam fixed it immediately.
Advanced fixes for persistent camera problems
If your laptop still cannot find your camera, use these deeper checks. Make one change at a time so you know which fix worked.
Install system updates
Operating system updates can include camera, USB, and security fixes. Install updates from the official Windows Update or macOS Software Update panel.
However, updates can sometimes create compatibility issues with older devices. If the camera stopped working directly after an update, check the computer maker’s support page for a newer driver or firmware update.
Check antivirus and security software
Some antivirus programs include webcam protection. This feature may block all camera access or allow only approved apps.
Open your security software and look for settings such as Webcam protection, Camera privacy, or Device control. Allow the trusted app, but do not disable security tools permanently.
Check BIOS or UEFI settings
Some business laptops let you disable the internal camera in BIOS or UEFI. Restart the laptop and enter the firmware menu using the key shown during startup, often F2, F10, F12, or Delete.
Look for a setting related to Integrated Camera or Webcam. Only change it if you are comfortable using firmware settings. Do not change unrelated options.
Test the camera on another computer
Connect the camera to another compatible laptop or desktop. This test helps separate a camera problem from a laptop problem.
If it fails everywhere, the camera, cable, or power source may be defective. If it works on another computer, focus on drivers, permissions, ports, or software on the original laptop.
Consider hardware failure
A built-in webcam may fail because of a loose screen cable, liquid damage, impact, or normal wear. An external webcam may fail because of a damaged connector or internal component.
If the camera is not listed in Device Manager or System Information after all basic checks, professional repair may be the safest option.
Mistakes to avoid when fixing a camera
Camera problems can become harder when troubleshooting steps are rushed. Keep these common mistakes in mind:
- Do not install drivers from unfamiliar download sites.
- Do not assume a charging cable supports data.
- Do not test through a USB hub when checking basic hardware.
- Do not change many system settings at once.
- Do not ignore the physical privacy shutter.
- Do not leave several camera apps open.
- Do not confuse a digital camera’s photo transfer mode with webcam mode.
- Do not use an HDMI cable alone as a webcam connection.
- Do not remove a memory card while files are being saved.
- Do not disable antivirus protection without a clear reason.
The safest approach is simple: check power, connection, permissions, app selection, and drivers in that order. This method avoids unnecessary repairs and protects your files.
How to prevent future camera connection problems
A few habits can make camera use much smoother.
Keep your laptop and camera software updated. Use high-quality data cables, and label them if you have several cables that look alike.
Before an important meeting, test the camera in the same app you plan to use. Confirm the camera image, microphone, lighting, and privacy settings.
You can also create a short pre-call checklist:
- Open the meeting app.
- Confirm the correct camera.
- Check the camera preview.
- Test the microphone.
- Check that the lens is uncovered.
- Close unrelated camera apps.
- Keep a second cable or webcam nearby.
These steps take less than a minute and can prevent stressful last-minute problems.
Frequently Asked Questions
Why can’t my laptop find my built-in webcam?
The webcam may be disabled by a privacy key, physical shutter, system setting, or security app. Check camera permissions, Device Manager on Windows, or Privacy & Security settings on a Mac.
Why can’t my laptop find my USB camera?
A faulty cable, USB port, hub, or camera power source may prevent detection. Try a different data cable and USB port, then test the camera without a hub.
Why does my camera work in one app but not another?
The second app may lack permission or may have selected a different camera. Open its video settings, choose the correct device, and restart the app after allowing camera access.
Why can’t my laptop find my digital camera as a webcam?
Many digital cameras connect in photo transfer mode rather than webcam mode. Select Webcam mode if supported, or use the camera maker’s software or a USB capture card.
Can a camera driver cause detection problems?
Yes. A missing, damaged, disabled, or outdated driver can stop Windows from recognizing a webcam. Update or reinstall the driver through Device Manager or the computer maker’s official support tools.
How do I know if my camera is broken?
Test the camera, cable, and port on another compatible computer. If the camera fails on multiple systems and does not appear in hardware lists, it may need repair or replacement.
Conclusion
When you wonder, “why can’t my laptop find my camera?”, start with the basics: power, cable, USB port, privacy settings, and app selection. Then check drivers, system updates, camera modes, and security software. A built-in webcam and a digital camera may need different solutions, so identify the camera type first.
Work through the steps slowly and test after each change. Most camera detection problems have a clear cause, and many can be fixed without buying new equipment. If this guide helped, share your experience in the comments or explore more device troubleshooting resources for your laptop and camera setup.