To install a smart lock on a typical US residential door, first confirm that the lock fits your existing deadbolt and door dimensions, remove the old deadbolt if required, install the new latch and exterior and interior assemblies, connect the batteries, configure the manufacturer’s app, calibrate the lock, and test the bolt several times before relying on it.
For homeowners in the United States, installing a smart lock is often a manageable DIY project when the front or back door already has a compatible single-cylinder deadbolt. Many battery-powered smart deadbolts are designed to use existing door holes, so installation usually involves mechanical replacement rather than new electrical wiring. The exact process varies by lock design, however, and the manufacturer’s installation guide should take priority over any general instructions.
The most important part of a successful smart lock installation is not connecting the phone app; it is making sure the door, latch, deadbolt, strike plate, and motor operate without binding. A lock that already requires pushing, pulling, lifting, or forcing the door can cause problems after a smart lock is installed. Check physical compatibility and correct door alignment before removing the existing hardware.
Source: Bing
What You Need Before Installing a Smart Lock
Start by identifying the type of smart lock you purchased and comparing its installation requirements with your existing door. The most common US residential installation is a smart deadbolt replacement, but retrofit smart locks can mount over an existing interior thumb turn instead of replacing the complete deadbolt. A full replacement generally involves removing the old deadbolt and installing a new latch, exterior assembly, interior assembly, and strike hardware.
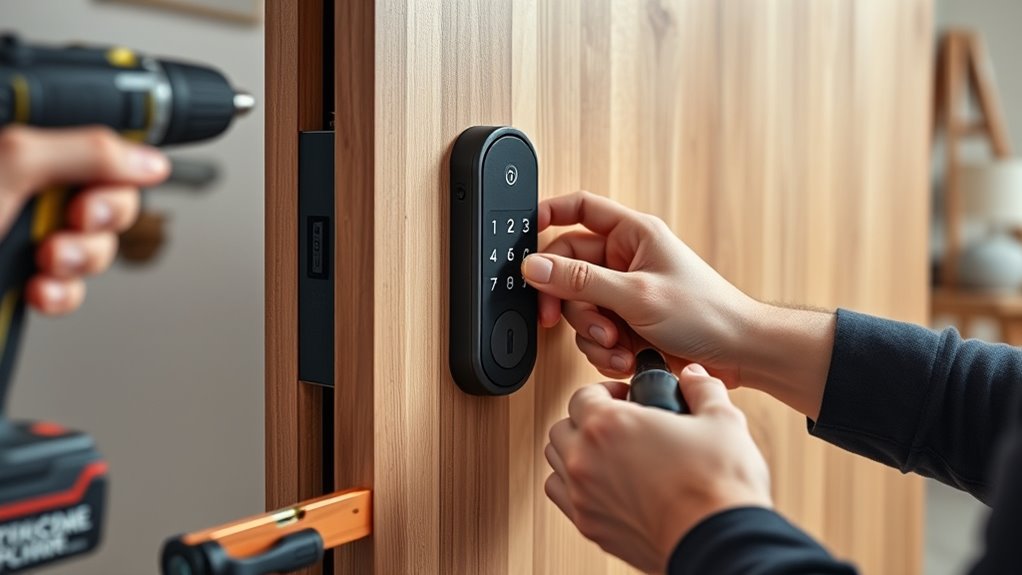
Most battery-powered smart locks do not require hardwiring. You will normally need the lock’s included hardware, fresh batteries of the specified type, a compatible smartphone, and the manufacturer’s app. A Phillips screwdriver is commonly sufficient, although some models require additional tools or door preparation.
Before taking the old lock apart, operate the existing deadbolt with the door open and closed. The bolt should extend and retract smoothly. When the door is closed, it should not require unusual pressure to align the bolt with the strike plate.
Source: Bing
Smart lock and included hardware
Keep the latch, mounting plate, screws, exterior assembly, interior assembly, batteries, adapters, and templates together until you have confirmed that all required parts are present.
Screwdriver
A correctly sized manual Phillips screwdriver is often the safest basic tool because it reduces the chance of overtightening or damaging mounting hardware.
Smartphone
Have the phone used for setup available with the manufacturer’s app installed. Some models require an account, Bluetooth, Wi-Fi, or a compatible smart-home platform during setup.
Fresh batteries
Use the battery type specified by the manufacturer rather than substituting a different chemistry or size.
Door measurements
Verify the required door thickness, backset, bore dimensions, and deadbolt configuration against the exact lock model before installation.
Check Door Compatibility First
Do not assume that every smart lock fits every residential door. Check the manufacturer’s compatibility guide for the exact model. Important variables can include door thickness, backset, bore diameter, edge-bore configuration, deadbolt style, door handing, and the amount of clearance around the lock.
A standard-looking deadbolt can still have dimensions or construction that fall outside a smart lock’s supported range. If the manufacturer supplies a door-preparation template or compatibility checker, use it before removing the existing lock.
Check the backset
The backset is the distance from the door edge to the center of the lock bore. Confirm that the smart lock supports your existing measurement or can be adjusted for it.
Check door thickness
Compare the actual door thickness with the manufacturer’s permitted range, especially on unusually thick, thin, or nonstandard doors.
Check the lock type
A smart deadbolt designed for a single-cylinder residential deadbolt is not automatically compatible with mortise locks, multipoint locks, interconnected locksets, or other specialized hardware.
How to Install a Smart Lock Step by Step
Once compatibility is confirmed, install the smart lock in the sequence specified by its manufacturer. The following process describes the common full-replacement installation used by many US residential smart deadbolts. Your model may combine, reorder, or rename some of these steps.
Keep the door open during the initial mechanical installation. This gives you direct access to both sides of the lock and prevents an installation problem from leaving you locked outside.
Source: Bing
Step 1: Prepare the door
Open the door and inspect the existing deadbolt, latch, strike plate, and surrounding door surface. Confirm that the bolt moves freely before disassembly.
Step 2: Remove the existing deadbolt
Remove the interior screws, separate the interior and exterior portions, and then remove the old latch and strike plate if the new smart lock uses its own hardware.
Step 3: Install the new latch
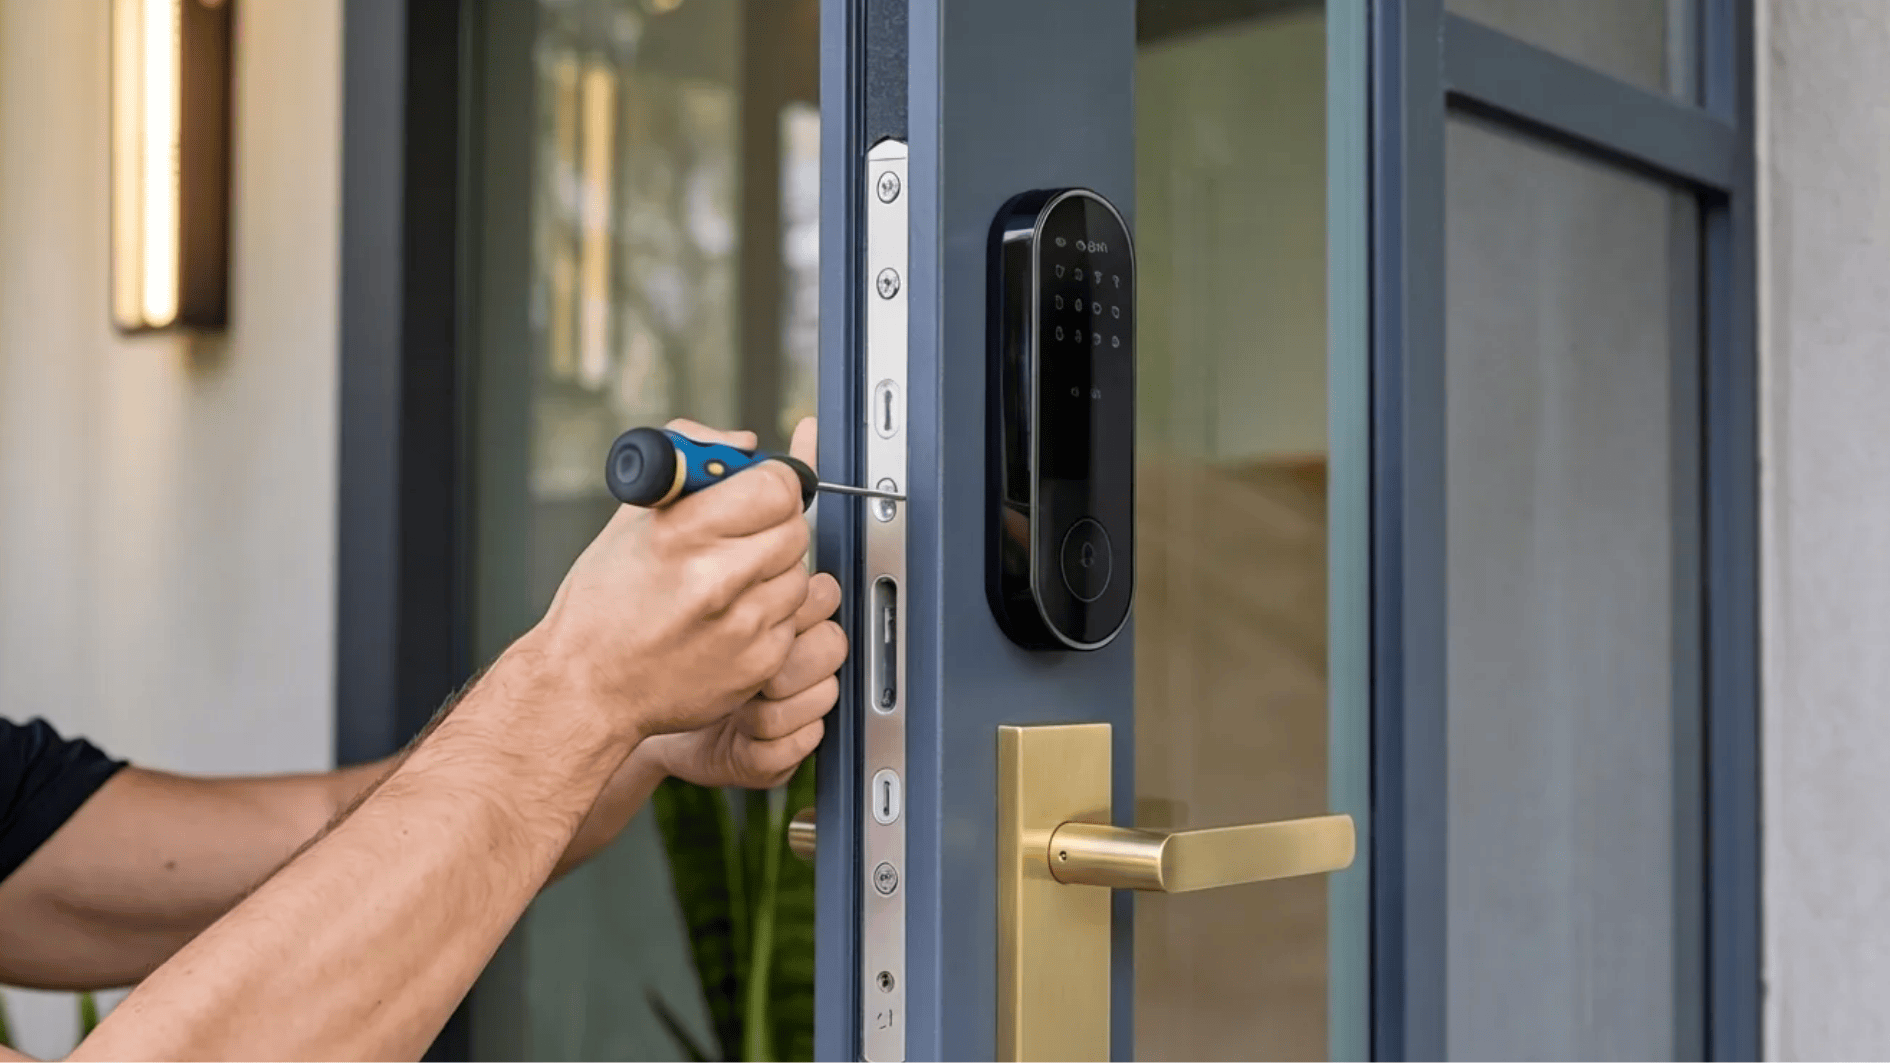
Insert the smart lock’s latch into the door edge with its orientation matching the manufacturer’s instructions. Secure it without overtightening.
Step 4: Mount the exterior assembly
Position the keypad or exterior portion so its mounting components pass through the door and latch correctly. Keep any cable accessible on the interior side.
Step 5: Connect the interior assembly
Attach the interior mounting plate or lock body according to the instructions. Route the cable through the designated channel and avoid placing it where screws or moving parts can pinch it.
Step 6: Install the batteries
Connect the battery pack or insert the specified batteries after the lock body is secured. Follow the manufacturer’s battery orientation and initialization instructions.
Step 7: Install or adjust the strike plate
Make sure the bolt enters the strike opening cleanly when the door is closed. If the existing strike does not align with the new latch, use the manufacturer’s supplied hardware or approved adjustment procedure.
Step 8: Test manual operation
With the door open, extend and retract the bolt several times. It should move smoothly without scraping, grinding, or requiring excessive force.
Retrofit Smart Locks Use a Different Installation Method
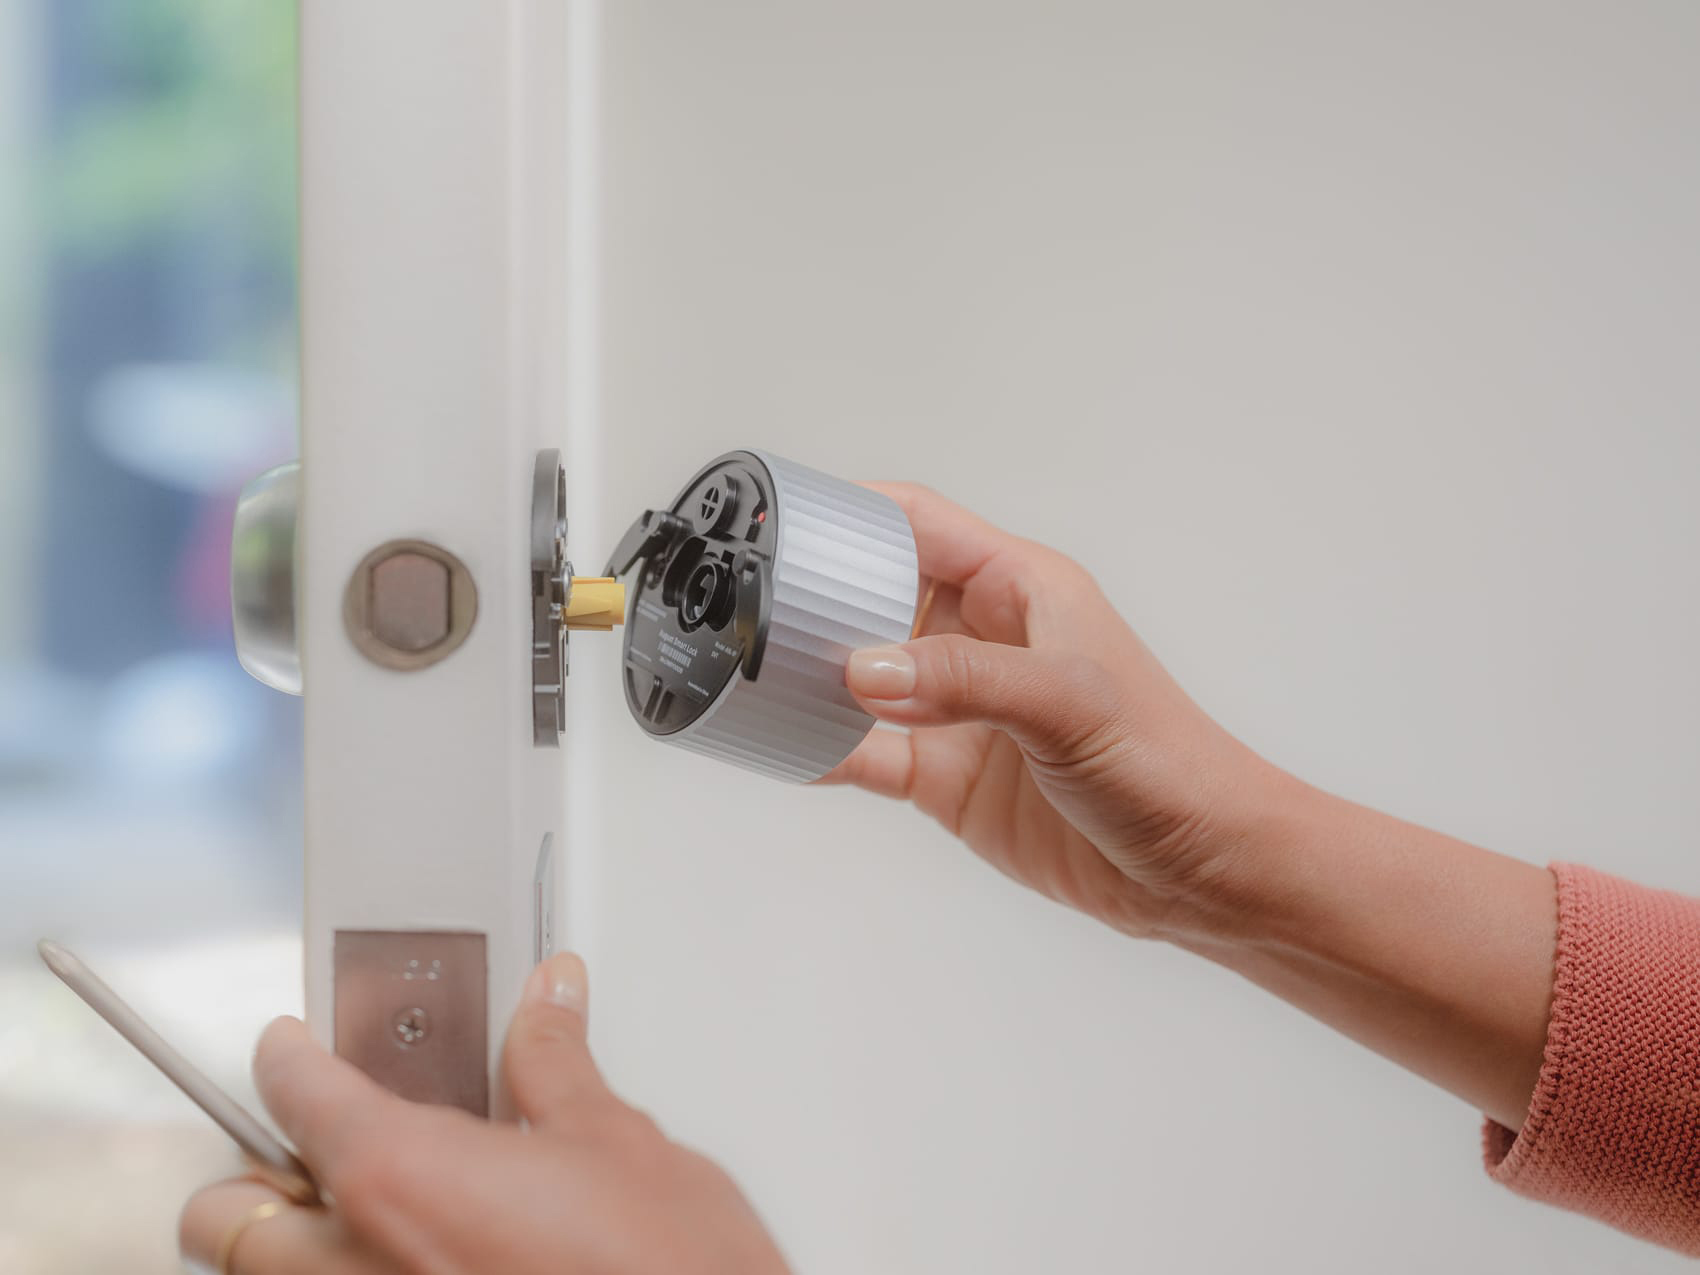
A retrofit smart lock can be simpler because it may replace only the interior thumb turn while leaving the exterior cylinder and physical key in place. For these models, installation usually involves removing the interior portion of the existing deadbolt, attaching a mounting plate or adapter, and securing the smart motor over the existing mechanism.
Do not use the full-replacement deadbolt procedure for a retrofit model unless the manufacturer’s instructions specifically call for it. The distinction matters because retrofit locks depend on the existing deadbolt hardware remaining correctly installed.
Keep the existing exterior hardware
Many retrofit designs are intended to preserve the outside key cylinder while automating the inside mechanism.
Check thumb-turn movement
The existing deadbolt must rotate smoothly because the smart motor needs to turn the mechanism without excessive resistance.
Set Up the Smart Lock App and Calibrate It
After the physical installation works correctly, use the manufacturer’s app to identify, pair, configure, and calibrate the lock. App features vary by model, so follow the exact setup sequence for your device rather than assuming that every smart lock uses the same connection method.
Many smart locks use Bluetooth for initial setup, while some models also provide Wi-Fi connectivity directly or through a separate bridge or hub. Compatibility with Apple Home, Google Home, Amazon Alexa, Matter, or another platform depends on the exact model and firmware.
Source: Bing
Install the correct app
Use the manufacturer’s official app associated with the exact lock model. Avoid setting up the device through an unrelated smart-home application unless the manufacturer specifically supports that method.
Pair the lock
Follow the app’s instructions to discover and pair the lock. Keep the phone close to the lock during initial Bluetooth-based setup when required.
Complete calibration
Calibration teaches the lock how far the motor must move the bolt and, on supported models, can establish door-position information. Perform calibration with the door in the position required by the manufacturer’s instructions.
Create access credentials
If the lock supports PIN codes, fingerprints, virtual keys, or other credentials, create them through the manufacturer’s approved setup process.
Configure remote access only when supported
Remote locking and unlocking generally requires the lock to have an appropriate network connection, such as built-in Wi-Fi or a compatible hub or bridge.
Why Calibration Matters
Calibration is not merely a software step. The lock needs to understand the physical travel of the bolt and the resistance it encounters. If calibration is performed while the bolt is obstructed or the door is misaligned, the lock can learn an incorrect operating position or repeatedly struggle against the strike.
If the app reports a calibration failure, first verify that the bolt moves freely with the door open and that the latch and strike are correctly aligned. Then repeat the manufacturer’s calibration procedure rather than repeatedly forcing the motor.
Use the correct door position
Some locks require calibration with the door open, while others use a specified closed-door sequence. Follow the exact model instructions.
Do not force the bolt
A smart lock motor should not be used to compensate for a door that is physically difficult to lock.
Test the Installation Before You Rely on It
A smart lock is not fully installed when the keypad lights up or the app connects. Test the mechanical lock and every access method before closing the door and relying on it for daily entry. Keep the door open for the first complete lock and unlock tests.
The most useful test is to confirm that the bolt moves smoothly under both manual and electronic control. Then test the features you actually plan to use, such as a keypad code, physical key, smartphone control, auto-lock, door-position sensing, and remote access.
Source: Bing
Test locking
Lock the door from the keypad, app, or interior control as applicable. Confirm that the bolt reaches the fully locked position without unusual noise or resistance.
Test unlocking
Use the primary unlocking method and verify that the bolt retracts completely.
Test the physical key if provided
If your smart lock includes a conventional key cylinder, keep a working key available and verify that it operates the lock.
Test the access code
Enter the programmed code exactly as instructed and confirm that the lock responds correctly.
Test app control
Verify local app control first. If the model supports remote operation, test it only after the required Wi-Fi, hub, or bridge connection is configured.
Test the door sensor
If the lock has door-position sensing, open and close the door and confirm that the app reports the correct state.
Signs the Installation Is Successful
A properly installed smart lock should lock and unlock consistently without forcing the door. The bolt should enter the strike cleanly, the motor should not repeatedly stall or grind, and the app should report the expected lock state after setup.
Perform several complete cycles before considering the job finished. If the lock works only when you push or pull the door, correct the mechanical alignment instead of treating the behavior as normal.
Smooth bolt travel
The deadbolt moves through its full range without scraping or requiring excessive force.
Consistent electronic operation
The lock responds consistently to its supported electronic controls and completes the lock or unlock cycle.
Correct door status
If the lock provides door-position detection, the reported open and closed states match the physical door.
Troubleshoot Common Smart Lock Installation Problems
Most installation problems can be traced to compatibility, alignment, cable routing, battery installation, or incomplete app setup. Diagnose the mechanical issue before resetting the electronics because a smart motor cannot reliably overcome a physically obstructed deadbolt.
If a problem remains after checking the basic installation, consult the exact model’s installation manual and support documentation. Do not drill new holes, modify the lock, or bypass a safety feature unless the manufacturer specifically provides instructions for that procedure.
Source: Bing
The bolt will not extend or retract smoothly
Check the door alignment and strike plate first. With the door open, operate the bolt manually. If it works smoothly open but binds when closed, the strike or door alignment is the likely area to inspect.
The motor is noisy or stalls
Verify that the bolt is not rubbing against the strike and that the interior assembly is mounted correctly. Recheck cable routing and screw tension if the model uses an interior electronic assembly.
The lock will not power on
Confirm battery type, orientation, seating, and connector placement. Check whether the model has a battery compartment connection that must be firmly seated.
The app cannot find the lock
Confirm that the phone has the required Bluetooth or network access, that the lock is in setup mode, and that you are using the correct manufacturer’s app. Keep the phone close during initial pairing.
Calibration fails
Check that the bolt moves freely, the door is positioned as required by the manufacturer, and the strike does not obstruct the bolt. Repeat the official calibration sequence only after correcting physical resistance.
The lock works but drains batteries quickly
Inspect for repeated motor resistance, incomplete locking cycles, poor cable routing, incorrect battery type, or repeated communication activity. A smart lock that constantly struggles against the door may consume more power than expected.
The keypad works but the door remains unlocked
Check whether the bolt is actually extending into the strike and whether the lock was calibrated correctly. A successful keypad response does not prove that the mechanical bolt has fully engaged.
When to Stop and Call a Professional
DIY installation is reasonable when the door and lock are compatible and the job involves ordinary deadbolt replacement. Professional help is more appropriate when the door requires substantial modification, the existing lock is part of a specialized multipoint or mortise system, the door or frame is damaged, or you cannot establish safe and reliable bolt alignment.
If the door is a fire-rated, commercial, unusually constructed, or access-controlled assembly, do not assume that a residential smart lock installation procedure applies. Follow the relevant building, fire, accessibility, property-management, or manufacturer requirements for that door.
Specialized door hardware
Mortise, multipoint, interconnected, commercial, or unusual locking systems may require a different installation method.
Damaged door or frame
Repair structural or alignment problems before installing an electronic lock.
Unsafe or unreliable operation
If you cannot make the lock operate smoothly and consistently, do not rely on it for security until the problem has been resolved.
Common Smart Lock Installation Mistakes to Avoid
The most preventable mistakes happen before or during mechanical installation. Rushing directly to app setup can hide a physical problem that later causes failed locking cycles, battery drain, or unreliable operation.
Use the manufacturer’s exact installation instructions for the model you own. General guidance is useful for understanding the process, but mounting locations, screw sequences, cable routing, battery requirements, calibration procedures, and supported door configurations differ among manufacturers and models.
Source: Bing
Skipping compatibility checks
Do not assume that a lock advertised for residential deadbolts fits every deadbolt. Verify the exact dimensions and hardware type.
Installing with the door closed
Keep the door open during initial testing so an incorrectly installed lock cannot trap you outside.
Overtightening screws
Excessive tightening can distort mounting components or interfere with moving parts. Use the manufacturer’s specified fastening method.
Pinching the data cable
Route connecting cables through the designated path and keep them away from screws and moving components.
Ignoring a misaligned strike
If the existing deadbolt already needs pressure on the door to lock, correct the alignment before installing the smart lock.
Skipping calibration
Electronic operation depends on the lock knowing how to move its mechanism. Complete the manufacturer’s calibration process before normal use.
Relying on one access method
Understand the lock’s supported backup entry options and keep an appropriate backup method available, especially if the lock depends on batteries or network connectivity.
A Practical Installation Checklist
Before finishing the project, use a simple checklist to confirm that both the physical lock and connected features work as intended. This catches problems while the door is still open and easy to service.
Compatibility verified
The lock matches the door dimensions, deadbolt configuration, and manufacturer’s requirements.
Hardware secured
The latch, exterior assembly, interior assembly, and strike are correctly installed without excessive tightening.
Cable protected
All required electrical connections are seated and cables are routed without being pinched.
Bolt aligned
The bolt enters and leaves the strike smoothly with the door closed.
Calibration complete
The manufacturer’s app or setup procedure confirms successful calibration.
Access tested
Primary and supported backup unlocking methods have been tested before regular use.
Frequently Asked Questions
Q
Can I install a smart lock myself?
Yes, many homeowners can install a battery-powered smart deadbolt themselves when the existing US residential door hardware is compatible. The project commonly requires basic hand tools and careful attention to the manufacturer’s instructions. A professional is a better option when the door uses specialized hardware, requires substantial modification, or cannot be made to lock smoothly.
Q
Do I need to replace my existing deadbolt to install a smart lock?
Not always. Full-replacement smart deadbolts replace the existing deadbolt, while retrofit models can automate part of an existing deadbolt. Check the exact smart lock design and compatibility requirements before removing your current hardware.
Q
How long does it take to install a smart lock?
The time varies by lock design, door condition, and compatibility. A straightforward replacement on a compatible door can often be completed within an hour, while unfamiliar hardware, alignment problems, door preparation, or a retrofit design can change the time significantly. Treat manufacturer instructions and the actual condition of the door as more useful than a fixed time estimate.
Q
Why is my smart lock not locking after installation?
First check whether the deadbolt moves freely with the door open. If it does but binds when the door is closed, inspect the strike plate and door alignment. If the bolt binds even with the door open, inspect the latch installation, interior assembly, cable routing, and mounting hardware. Recalibrate the lock only after correcting mechanical resistance.
Q
Do smart locks require Wi-Fi?
No. Wi-Fi is not required for every smart lock. Some models use Bluetooth for local control, while others include Wi-Fi or support a separate hub or bridge for remote access. The connectivity options depend on the exact model, so check the manufacturer’s specifications before purchase or setup.
✦ Wrapping Up
Conclusion
Learning how to install a smart lock is primarily a matter of matching the lock to the door, installing the mechanical components correctly, protecting the wiring or connectors, and making sure the deadbolt moves without resistance. For a compatible US residential deadbolt, the installation can be a practical DIY project with basic tools.
Do not consider the job finished when the keypad or smartphone app responds. Test the physical bolt, strike alignment, calibration, access credentials, app controls, and backup entry method. If the door cannot lock smoothly or the lock requires force to operate, fix the underlying mechanical problem before relying on the smart lock.
💡 Key Takeaway
Before normal use, open the door, complete the manufacturer’s installation and calibration procedure, then perform several complete lock and unlock cycles. Only rely on the smart lock after the bolt operates smoothly and every required access method works consistently.
Kimberly ensures every piece of content is clear, helpful, and user-friendly. She focuses on creating guides that are easy to read while maintaining accuracy and trust.
Learn how to use an ergonomic mouse correctly with proper grip, hand position, setup tips, and troubleshooting steps to improve comfort during daily computer use.