Your webcam may not connect because of blocked permissions, loose cables, outdated drivers, or another app using it.
If you are asking, “why is my webcam not connecting,” the problem is usually easier to fix than it seems. A camera can fail because your computer cannot detect the device, your app lacks permission, or a small software conflict is blocking access. This guide explains the most likely causes and shows safe steps for Windows, Mac, browsers, and USB webcams.
Why Is My Webcam Not Connecting?
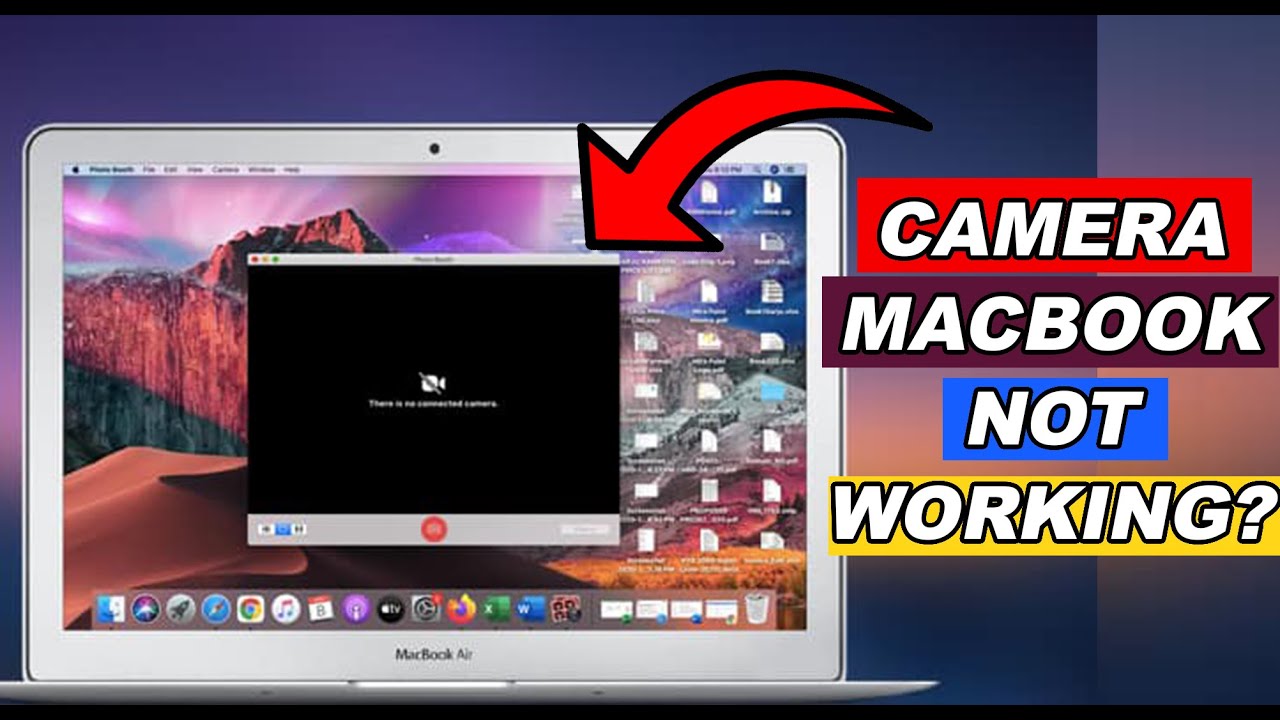
Your webcam may not connect for several reasons. The camera could be unplugged, disabled, damaged, or blocked by privacy settings. In some cases, the webcam works in one app but fails in another because each app has its own camera settings.
The most common causes include:
• The USB cable or port is loose or damaged.
• Your laptop has a physical camera cover or privacy switch turned on.
• Windows or macOS has blocked camera access.
• The webcam driver is outdated or corrupt.
• Zoom, Teams, Skype, or another app is already using the camera.
• Your browser has denied camera permission.
• The webcam is not selected as the active camera.
• A recent system update changed your camera settings.
Think of your webcam as a small chain. The camera, cable, computer, operating system, app, and internet call must all work together. If one link breaks, the camera may show a black screen or appear as “not found.”

Check the Simple Things First
Before changing drivers or system settings, check the physical connection. Simple issues often cause the biggest delays.
Try these steps:
-
Unplug the webcam and connect it again.
-
Use a different USB port on your computer.
-
Avoid USB hubs and docking stations for the first test.
-
Check the cable for cuts, bends, or loose ends.
-
Remove any privacy cover from the camera lens.
-
Look for a camera key or privacy switch on your laptop.
-
Restart your computer with the webcam connected.
If you use a built-in webcam, open the camera app on your computer. If you use an external webcam, gently move the cable near each connection point. If the video flickers, the cable or port may be failing.
A common mistake is to test the camera only inside a meeting app. Start with the built-in Camera app on Windows or Photo Booth on macOS. This helps you learn whether the issue comes from the webcam itself or the app.
Test Whether Your Computer Detects the Webcam
The next step is to see if your computer can detect the camera. This test helps separate hardware problems from app problems.
On Windows
Open the Camera app from the Start menu. If you see a live image, the webcam is working at the system level. The problem may be inside Zoom, Microsoft Teams, Google Meet, or another app.
You can also check Device Manager:
-
Right-click the Start button.
-
Select Device Manager.
-
Open Cameras, Imaging devices, or Sound, video and game controllers.
-
Look for your webcam in the list.
-
Right-click it and select Enable device if that option appears.
-
Select Properties to check the device status.
A yellow warning icon may point to a driver problem. If the webcam does not appear at all, try another USB port and restart the computer. If it still does not appear, the device, cable, or USB connection may be the cause.
On macOS
Open Photo Booth or FaceTime. If the camera works there, your Mac can see the webcam. You can then focus on the settings in the app where the camera fails.
For an external webcam, open System Information and check the USB section. If the camera is missing, reconnect it directly to the Mac. Some older webcams may not work well with newer Macs without updated software or a compatible adapter.

Allow Camera Permissions
If you are still wondering why is my webcam not connecting, privacy permissions should be one of your first checks. Modern operating systems block camera access by default in some situations to protect your privacy.
Windows camera permissions
Go to:
Settings > Privacy & security > Camera
Turn on:
• Camera access
• Let apps access your camera
• Let desktop apps access your camera
You may also need to turn on access for the specific app. Desktop programs such as Zoom and Teams may appear under a separate desktop app setting.
After changing the permission, close and reopen the app. Some programs do not update camera access until they restart.
macOS camera permissions
Go to:
System Settings > Privacy & Security > Camera
Turn on access for the app that needs the camera. You may need to enter your Mac password or use Touch ID to approve the change.
Then quit the app fully and open it again. If the app remains open in the background, the permission change may not take effect.
Browser camera permissions
For Google Meet, browser-based Zoom, or another video site, select the camera icon near the address bar. Choose Allow for camera access, then reload the page.
You can also review browser settings. In Chrome, open Settings, select Privacy and security, then Site settings and Camera. Make sure the correct camera is selected and that the website is not listed under blocked permissions.

Close Apps That May Be Using the Camera
Most webcams can serve one main app at a time. If FaceTime, Zoom, Teams, Skype, Discord, or a browser tab is using the camera, another program may show a black screen.
Close every app that might access the webcam. Do not simply close the window if the program stays active in the system tray or menu bar.
On Windows:
-
Press Ctrl + Shift + Esc to open Task Manager.
-
Find camera-related apps.
-
Select the app and choose End task.
On macOS:
-
Press Command + Option + Escape.
-
Select the app.
-
Choose Force Quit if it does not close normally.
Then open only the app you want to use. This simple step often fixes why is my webcam not connecting during a meeting.
Also check browser tabs. A forgotten Google Meet or social media tab can continue using the camera in the background.

Select the Correct Camera in Your App
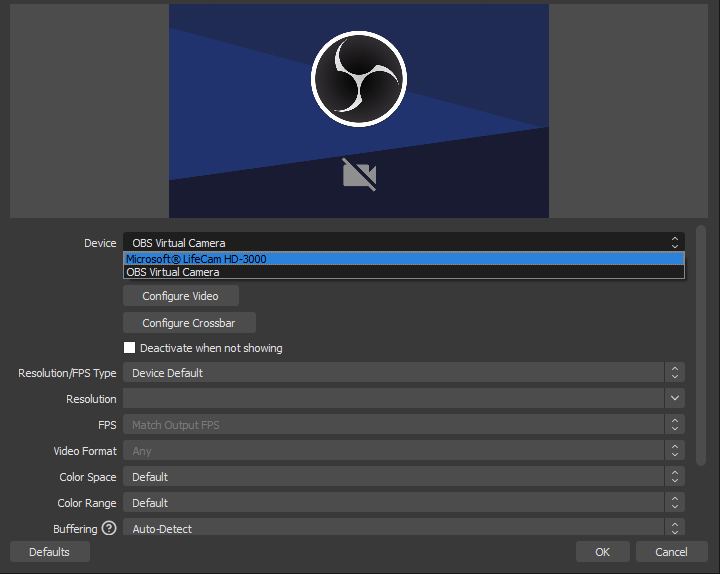
Your computer may detect the webcam, but your meeting app may be using the wrong camera. This happens often when a laptop has both a built-in camera and an external USB camera.
Open the video settings inside your app and look for Camera, Video, or Device. Choose the webcam you want to use. You may see names such as:
• Integrated Camera
• FaceTime HD Camera
• USB Video Device
• HD Pro Webcam
Use the preview window to confirm the correct camera. If the preview stays black, select another camera and then switch back. This can refresh the connection.
Check the microphone setting at the same time. A webcam may provide both video and audio, but the app might select a different microphone. Video and sound devices can be changed separately.

Update or Reinstall the Webcam Driver
A driver helps the operating system communicate with your webcam. If the driver is old, damaged, or incompatible, your webcam may stop working after a system update.
Update a webcam driver on Windows
Open Device Manager and find the camera. Right-click it, select Update driver, and allow Windows to search for available updates.
If that does not work, visit the computer or webcam maker’s official support page. Download the driver made for your exact model and Windows version. Avoid random driver websites because they may provide unsafe or incorrect files.
You can also uninstall the device from Device Manager and restart the computer. Windows may reinstall the driver automatically. Create a restore point first if you are making several system changes.
Update camera software on macOS
Mac cameras usually receive driver support through macOS updates rather than separate driver downloads. Open System Settings, select General, then Software Update. Install updates from Apple or the webcam maker when available.
Some professional webcams need a control app. Update that app only from the manufacturer’s official website.
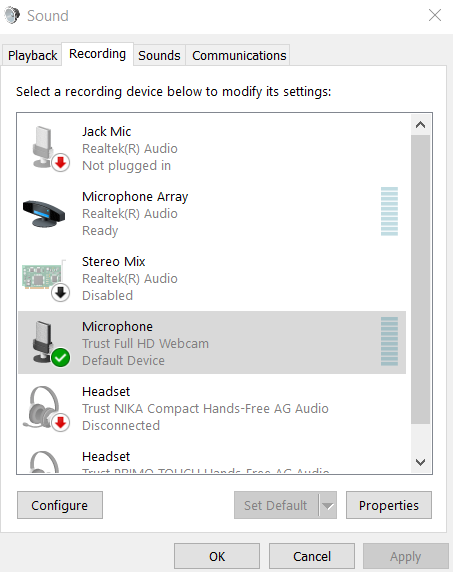
A driver update is useful, but it is not always the answer. If the camera does not appear in Device Manager or System Information, the issue may be physical rather than software-based.
Check for Security Software and Privacy Tools
Antivirus programs, privacy tools, and workplace security software can block camera access. These tools may protect you from unwanted recording, but they can also stop trusted apps from working.
Open your security software and look for settings such as:
• Webcam protection
• Camera privacy
• App permissions
• Video device blocking
Allow the app you trust, then test the camera again. Do not turn off security software permanently. If you must disable a feature for testing, turn it back on as soon as the test ends.
Work or school computers may also use group policies that block cameras. If the camera setting is locked or keeps changing back, contact your IT administrator. Avoid trying to bypass a policy on a managed device.
Fix Common Browser Webcam Problems
A webcam may work in the Camera app but fail in Google Meet or another browser service. This usually points to permission, browser, or site settings.
Try the following:
-
Reload the meeting page.
-
Close other tabs that use video.
-
Check the camera icon beside the address bar.
-
Select the correct camera in the meeting settings.
-
Update your browser.
-
Test the site in a private window.
-
Disable camera-related extensions for a short test.
-
Try another supported browser.
If the camera works in one browser but not another, the webcam is probably fine. Clear the site permissions for the affected website and allow camera access again.
Some browser services also require a stable internet connection. A weak connection usually causes frozen or poor-quality video, not a missing webcam. Still, both camera access and network access should be checked during an online meeting.
Restart the Camera Service and Computer
A full restart can clear a temporary camera lock. This is different from simply closing the meeting window.
Shut down all video apps. Disconnect an external webcam, restart the computer, and reconnect the camera after the system loads. Then test it in the built-in Camera app before opening your meeting software.
On Windows, installing pending system updates may also fix known device issues. On macOS, a restart can refresh camera access and release a process that did not close correctly.
In my troubleshooting experience, people often skip the restart because it feels too basic. Yet a restart has fixed many cases where the camera appeared locked even though all settings looked correct. It is a quick step with very little risk.
Know When the Webcam May Be Broken
If your webcam is not connecting after permission, port, driver, and app checks, the hardware may be damaged.
Signs of a hardware problem include:
• The webcam is missing from every app.
• The camera fails on more than one computer.
• The USB connection repeatedly disconnects.
• The image has lines, flickers, or unusual colors.
• The webcam becomes hot or smells burnt.
• The camera works only when the cable is held at a certain angle.
Do not open the webcam or laptop unless you have the right repair skills. Small parts and ribbon cables can be easy to damage. Test an external webcam on another computer, or test a different webcam on your computer.
If a different camera works, replace the original webcam or contact the manufacturer. If no webcam works, the computer’s USB ports, operating system, or security policy may need professional help.
Mistakes to Avoid When Troubleshooting
When people ask why is my webcam not connecting, they often make the same few mistakes. Avoiding them can save time and protect your files.
• Do not install drivers from unknown websites.
• Do not download several webcam tools at once.
• Do not change advanced registry or system files without a backup.
• Do not disable antivirus protection for a long period.
• Do not assume a black screen always means a broken camera.
• Do not test five apps at the same time.
Use one clear test at a time. First check the physical connection. Next test the built-in camera app. Then check permissions and app settings. This method works like checking a row of light switches: you find the first point where the signal stops.
Also note what changed before the problem began. A new update, docking station, privacy tool, browser extension, or app install can provide an important clue.
A Fast Webcam Troubleshooting Checklist
Use this checklist when you need a quick fix before a video call:
-
Remove the lens cover.
-
Check the laptop camera switch or function key.
-
Reconnect the webcam.
-
Try another USB port.
-
Restart the computer.
-
Test the camera in the built-in Camera app or Photo Booth.
-
Allow camera access in system privacy settings.
-
Close other camera apps.
-
Select the correct camera in the meeting app.
-
Update the browser, operating system, or webcam driver.
-
Test the webcam on another computer.
-
Contact the device maker if the camera is still missing.
This order starts with easy fixes and moves toward deeper checks. It also reduces the chance of changing several settings without knowing which step solved the problem.
Frequently Asked Questions About Why Is My Webcam Not Connecting
Why is my webcam not connecting even though it is plugged in?
A plugged-in webcam may still have a bad cable, blocked permission, disabled driver, or faulty USB port. Try another port, test the camera in a built-in camera app, and check your system’s camera privacy settings.
Why does my webcam work in the Camera app but not Zoom?
Zoom may be using a different camera or may not have permission to access it. Open Zoom’s video settings, select the correct webcam, close other camera apps, and allow camera access in your operating system.
Why is my webcam showing a black screen?
A black screen can result from a privacy cover, another app using the camera, a wrong camera selection, or a driver problem. Remove the cover, close other video apps, restart the computer, and test the webcam in another app.
How do I fix a webcam that is not detected on Windows?
Reconnect the camera, try another USB port, restart Windows, and check Device Manager under Cameras or Imaging devices. If the webcam has a warning icon, update or reinstall its driver from a trusted source.
Why is my webcam not connecting to Google Meet?
Google Meet may not have permission, or the browser may have selected the wrong camera. Use the camera icon near the browser address bar, allow access for Meet, select the correct camera in Meet settings, and reload the page.
Can a webcam stop working after a system update?
Yes. An update can change privacy permissions, replace a driver, or create an app compatibility issue. Check camera permissions, install available updates, and use the webcam maker’s official support tools if needed.
Conclusion
When you ask why is my webcam not connecting, start with the basics: check the cable, privacy cover, camera switch, USB port, and system permissions. Then test the webcam in a simple camera app, close competing apps, select the correct device, and update trusted software or drivers.
Most webcam problems come from settings or temporary conflicts rather than permanent damage. Follow the checks in order, record what you find, and avoid unsafe driver downloads. If these steps solve your issue, share this guide with someone preparing for a video call or leave a comment about which fix worked.