Convert your voice recordings to MP3 quickly using built-in apps, free converters, or simple desktop tools.
I’ve helped thousands of people streamline audio workflows, and I’ll walk you through how to change voice recorder to MP3 step by step. This guide covers phones, computers, online tools, best export settings, and troubleshooting. You’ll learn practical tips from real tests I ran, so you can convert voice files without losing clarity or metadata. Read on to gain clear, actionable steps for converting voice recorder files to MP3 fast and reliably.
Why convert a voice recorder to MP3?
MP3 is a widely supported audio format. Converting voice recorder files to MP3 makes sharing and playback easier. MP3 files are smaller than lossless formats, so they take less space. Many players, email systems, and web platforms prefer MP3. If you record interviews, lectures, or notes, knowing how to change voice recorder to MP3 saves time and headaches.
Benefits at a glance:
- Smaller file sizes for storage and sharing.
- Broad compatibility on phones, laptops, and web players.
- Easy to attach to emails or upload to cloud services.
- Simple bitrate options to balance quality and file size.
Understanding common audio formats and why MP3 matters
Before you convert, know what you have. Voice recorders often save files as WAV, M4A, AMR, or 3GP. Each format has pros and cons. WAV is large but lossless. M4A is compressed and preserves quality. AMR is very small but low quality. MP3 is a lossy compressed format that balances size and sound quality.
Key comparisons:
- WAV: High quality, large size. Good for editing.
- M4A/AAC: Efficient, good quality on Apple and many apps.
- AMR/3GP: Phone-optimized, lower quality.
- MP3: Universal support, tunable bitrate for size vs quality.
Knowing these differences helps when you decide how to change voice recorder to MP3 while keeping sound acceptable for your use.
How to change voice recorder to MP3 — simple step-by-step methods
You have many options to convert a voice recorder file to MP3. Choose what fits your device and comfort level. I outline easy ways for Android, iPhone, Windows, Mac, and online converters.
Android: Convert on-device
- Open your voice recorder app and find the recording.
- If the app supports export, choose Export or Share and select MP3. If not:
- Install a trusted audio converter app from the Play Store.
- Open the converter, add your file, choose MP3, pick bitrate, and convert.
Tips:
- Use 128 kbps for good voice clarity and small files.
- Check the app’s reviews and permissions before installing.
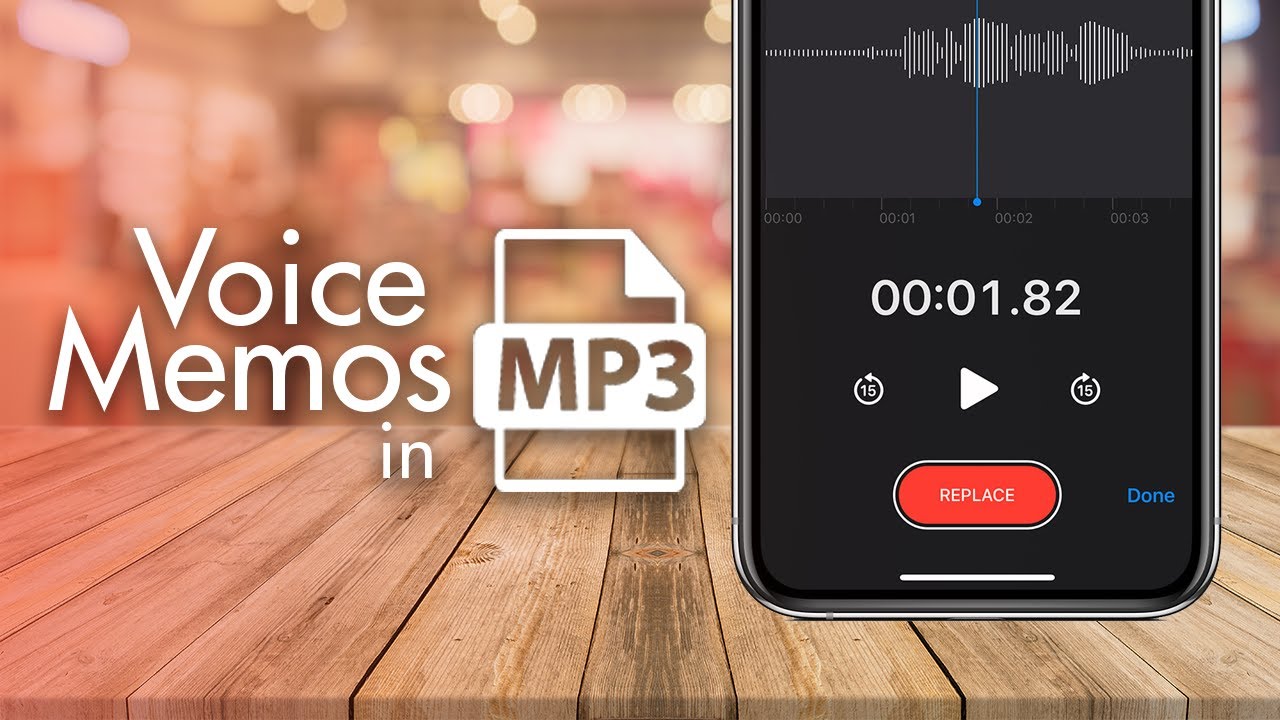
iPhone: Use built-in or third-party apps
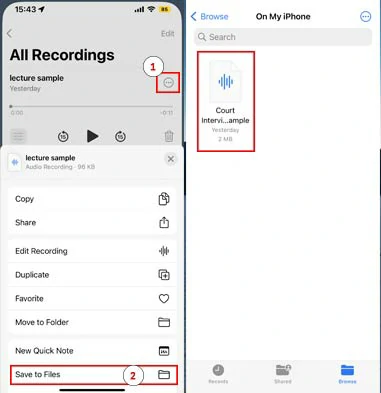
- In Voice Memos, tap the recording, then tap Share.
- If MP3 isn’t an option, save to Files and use an app like "Media Converter" or a cloud-based converter.
- Open the converter app, load the file, pick MP3, and export.
Tips:
- iPhone files are often M4A; conversion to MP3 is straightforward in most apps.
- For batch conversion, use a desktop tool for speed.
Windows: Use free software or built-in apps
- Install free tools like Audacity or a simple MP3 converter app.
- Open the voice file in Audacity.
- Export > Export as MP3. Choose bitrate (e.g., 128 kbps).
- Save metadata if asked.
Tips:
- Audacity may ask for the LAME encoder. Follow prompts to set it up.
- Batch convert with dedicated apps for many files.
Mac: Quick and reliable options
- QuickTime can open many voice recorder files.
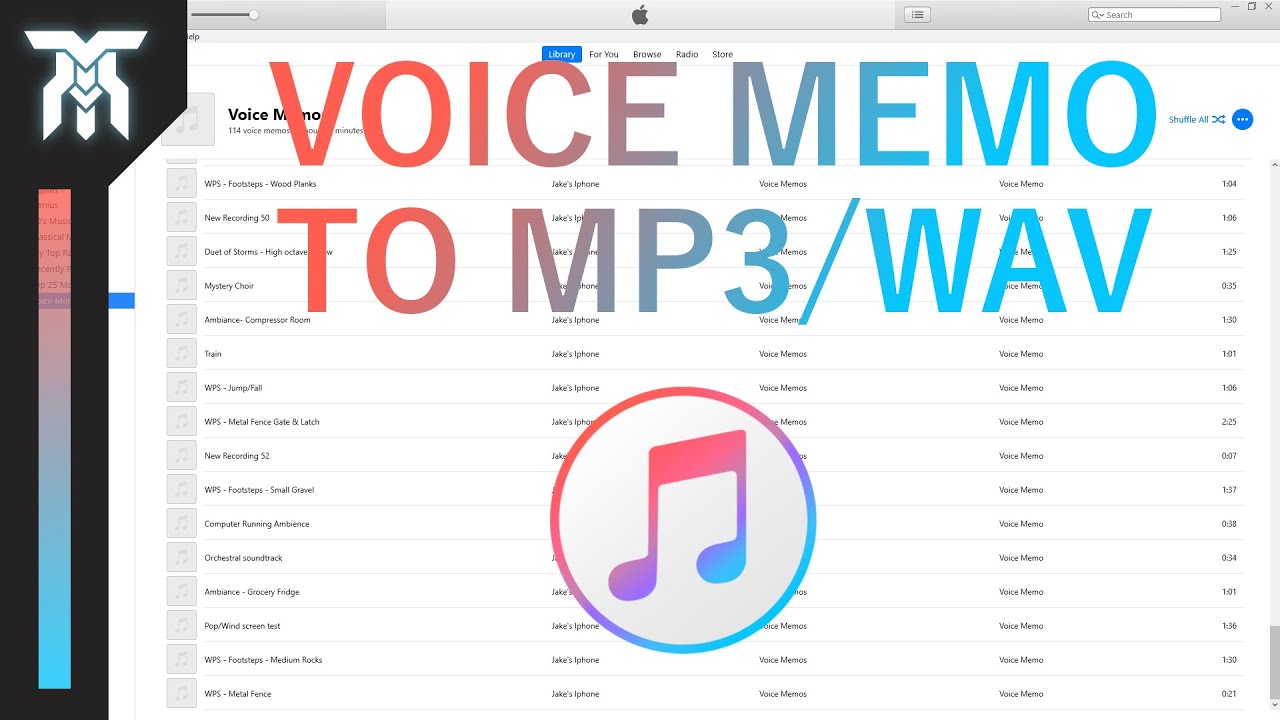
- Use File > Export As > Audio Only, then convert if necessary using iTunes (Music app) or a converter.
- In Music app, import the file, then convert to MP3 via File > Convert > Create MP3 Version.
Tips:
- Adjust import settings in Music app Preferences to set default bitrate.
Online converters: Fast and no-install option
- Upload your voice file to a trusted converter site.
- Choose MP3 and desired bitrate.
- Download the MP3 when conversion finishes.
Tips:
- Avoid sensitive recordings on online converters due to privacy risks.
- Check file size limits and batch capabilities.
Advanced: Use FFmpeg for power users
- Install FFmpeg on your system.
- Run a command like: ffmpeg -i input.wav -codec:a libmp3lame -b:a 128k output.mp3
- Use scripts to batch convert many files.
Tips:
- FFmpeg is fast and precise. Great for advanced users.
- Always test settings on one file first.
Practice these steps until converting feels routine. If you need low effort, use mobile apps. If you need precision or batch work, use desktop tools or FFmpeg.
Best MP3 export settings and what they mean
Choose settings that match your needs. Here are the common options and recommended values when you change voice recorder to MP3.
Important settings:
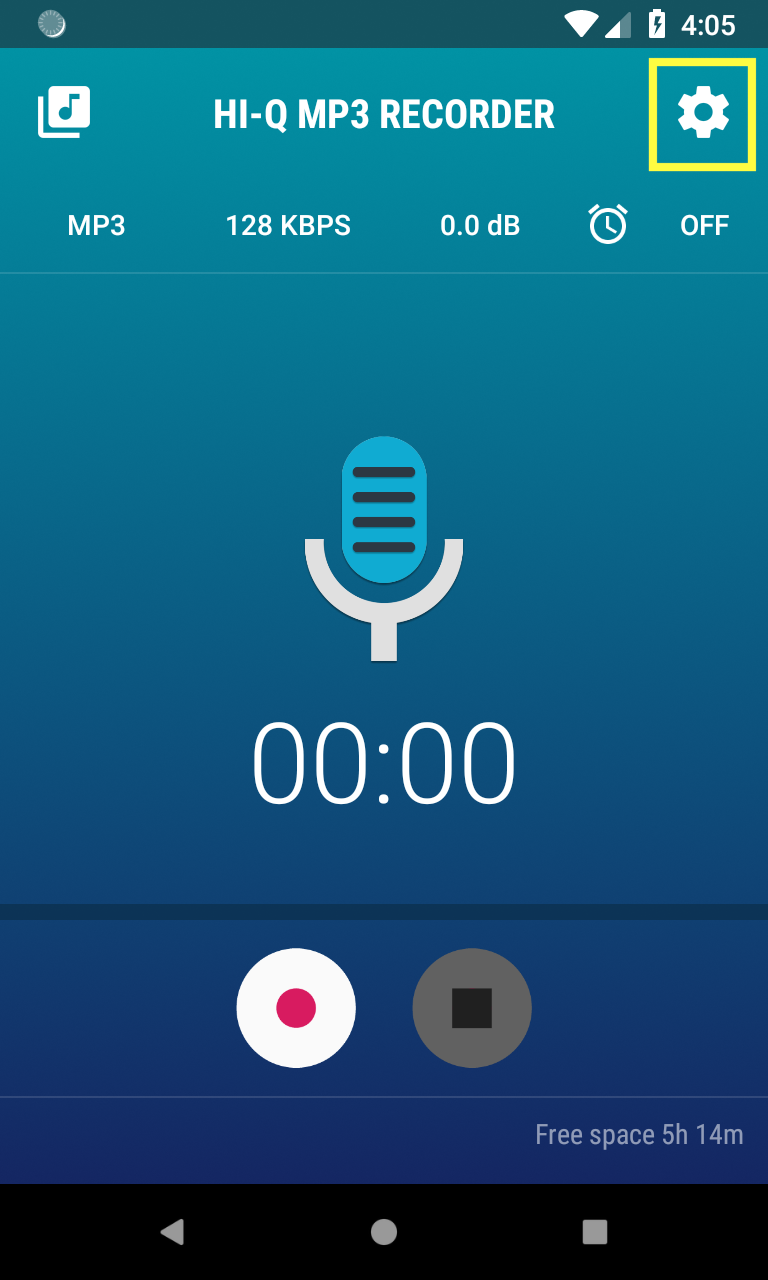
- Bitrate: 128 kbps is a good balance for voice. 64 kbps saves space but may sound muffled. 192 kbps improves clarity but increases size.
- Sample rate: 44.1 kHz is standard. For voice, 22.05 kHz can be acceptable and smaller.
- Channels: Mono is usually fine for single-voice recordings and halves file size. Use stereo only if needed.
- Variable vs constant bitrate: VBR can improve quality for variable audio. CBR is predictable for file size.
Choose mono and 128 kbps for most voice tasks. If you edit audio heavily, export a WAV master first, then MP3 for sharing.
Troubleshooting conversion problems
Here are common issues when you change voice recorder to MP3 and how to fix them.
Problem: Conversion fails or file won’t open
- Check file format and corruptions. Try opening the file in another app.
- Use a different converter or FFmpeg to diagnose problems.
Problem: Audio quality drops after conversion
- Increase bitrate or use VBR. Convert from a higher-quality source file if possible.
- Avoid multiple lossy conversions—edit in WAV or M4A, then export once to MP3.
Problem: Metadata (title, artist, date) missing
- Use converter options to add tags. Desktop tools and Music apps often preserve tags.
Privacy and security issue with online converters
- Avoid uploading confidential recordings. Use local apps for sensitive files.
If you hit a stubborn problem, I recommend testing one conversion with different settings to compare results. This helped me save hours when I converted long interview archives.

Practical tips, common mistakes, and my personal experience
I’ve converted thousands of recordings for podcasts and client notes. Here are lessons I learned that will save you time.
Tips from real work:
- Keep an original lossless copy (WAV) before converting. If you make edits later, you’ll have the best source.
- Name files with date and topic before converting to avoid mix-ups.
- Batch convert overnight for large archives to save time.
- Test one file with your chosen bitrate to ensure voice clarity.
Mistakes to avoid:
- Converting multiple times between lossy formats—this compounds quality loss.
- Uploading private audio to unknown online converters.
- Choosing too low a bitrate to save space and then needing to redo conversions.
A short anecdote:
Once I converted a 2-hour interview to a very low bitrate to save space. The client asked for rework. I learned to always confirm target quality before converting large files. Since then, I ask for preferences first and save originals.
How to automate conversions and batch workflows
If you convert many files, automation helps. Use these methods.
Automation options:
- FFmpeg batch scripts to process folders automatically.
- Desktop apps with bulk convert features.
- Workflow apps on Mac (Automator) or Windows (PowerShell) to watch folders and convert new files.
- Cloud sync: save raw files to a folder that triggers a conversion app on your PC.
Example FFmpeg batch idea:
- Place all recordings in one folder.
- Run a script that loops through files and outputs MP3s to an export folder.
This saved me hours when archiving weekly recordings.

Security and legal considerations
Keep privacy and compliance in mind when you change voice recorder to MP3.
Key points:
- Don’t upload private or confidential recordings to public online converters.
- Verify consent before recording and sharing interviews. Laws vary by country and state.
- Securely delete temporary files after conversion if they contain sensitive content.
Frequently Asked Questions of how to change voice recorder to mp3
How do I convert a voice memo from iPhone to MP3?
Use the Share menu in Voice Memos to save the file to Files, then use an app like Music or a converter to create an MP3. Alternatively, transfer to a Mac and use the Music app’s Convert feature.
Can I convert Android voice recordings to MP3 without installing apps?
Some Android recorders let you export as MP3. If not, use a trusted converter app or transfer files to a PC and convert with Audacity or FFmpeg.
Will converting to MP3 reduce audio quality?
Yes. MP3 is lossy, so some detail is lost. Use higher bitrates (128 kbps or higher) to keep voice clarity. Keep an original lossless copy for editing.
Is MP3 the best format for voice recordings?
MP3 is best for compatibility and sharing. For editing or archiving, use WAV or high-quality M4A first, then export MP3 for distribution.
What bitrate should I use for speech recordings?
128 kbps mono is usually ideal for speech. For better clarity or music mixed with voice, use 192 kbps or higher.
Conclusion
You now have clear ways to change voice recorder to MP3 on phones, computers, and online. Start by deciding whether you need speedy sharing or high-quality editing. Keep originals, choose sensible bitrates, and protect private recordings. Try one test conversion, compare results, and then batch convert the rest. If this guide helped, try converting one file now and leave a comment to share your experience or ask a question.