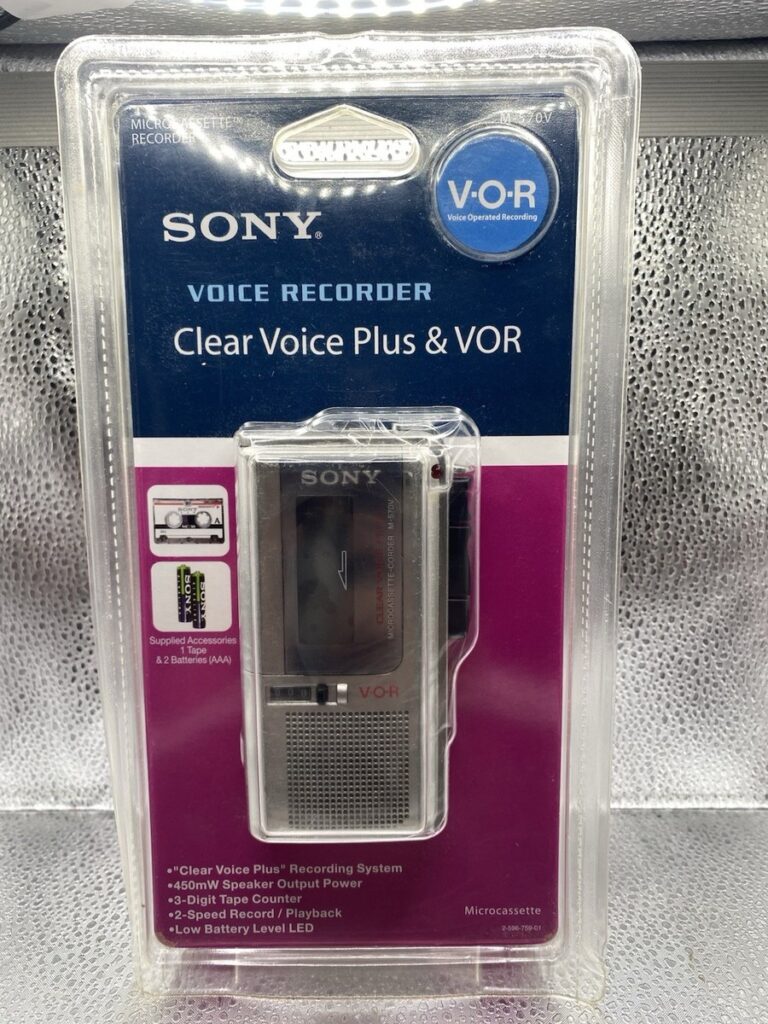
Switching a microphone on a voice recorder usually means plugging in a new mic or selecting a different input.
I’ve spent years testing portable recorders, mics, and field setups, so I know how to change microphone on voice recorder without guesswork. This guide covers hardware swaps, input selection, connector types, troubleshooting, and real-world tips so you can confidently replace or upgrade a microphone on any recorder — handheld, shotgun, or smartphone app — and get clean, usable audio fast. Read on to learn clear steps, avoid common mistakes, and get the best sound from your setup.

Why you might need to change a microphone on your voice recorder
Changing a microphone on a voice recorder can improve clarity, reduce noise, or match the mic to the recording situation. Many recordists swap mics to capture interviews, music, or ambient sound properly.
Common reasons to change microphone on voice recorder:
- Improve clarity for vocals or instruments.
- Reduce wind, handling, or room noise.
- Use a directional mic for distance or a lavalier for interviews.
- Replace a damaged built-in mic or add a higher-quality external mic.
Understanding why you want to switch helps you pick the right mic and method.
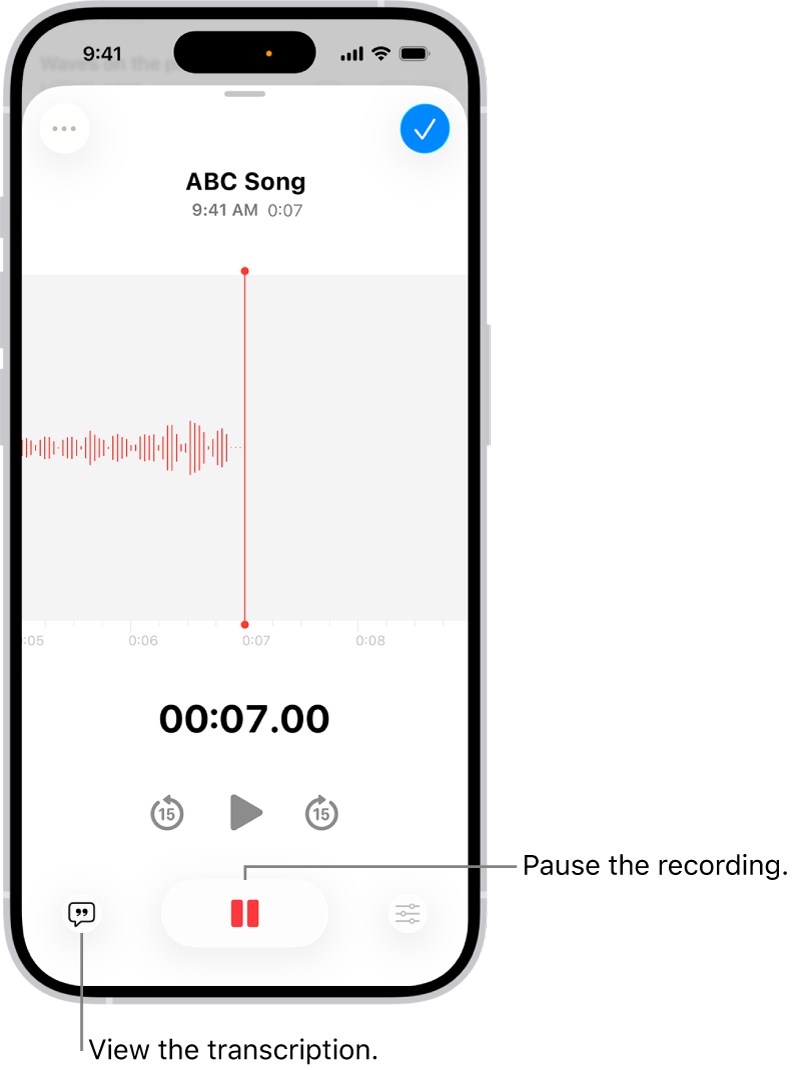
Tools and parts you may need before you change microphone on voice recorder
Gathering the right tools avoids frustration. Most swaps are simple, but some setups need extra gear.
Essential items:
- Compatible microphone (3.5mm, XLR, USB, or capsule).
- Adapter or cable for your recorder’s input type.
- Small screwdriver or coin for removing threaded capsules on some models.
- Headphones to monitor audio after swapping the mic.
- Batteries or charged recorder to test immediately.
Also check the recorder manual for any special procedures. Knowing your recorder’s inputs and power options saves time.

Step-by-step: How to change microphone on voice recorder
This section covers typical scenarios: plugging in an external mic, swapping a detachable capsule, and changing input settings.
- Identify your recorder type and mic interface
- Check if the recorder uses a 3.5mm jack, TRRS, XLR, USB, or a proprietary capsule.
- Confirm whether the recorder supplies plug-in power, phantom power, or needs a powered mic.
- Swap a simple external mic (3.5mm or TRS/TRRS)
- Turn off the recorder or engage “input mute” if available.
- Unplug the old mic gently from the jack.
- Plug the new microphone firmly into the correct port. Make sure the plug orientation is correct for TRS vs TRRS.
- Turn on the recorder and select the external mic input in settings if required.
- Swap a professional mic (XLR)
- Power down the recorder or switch inputs off.
- Connect the XLR cable to the microphone and then to the recorder’s XLR input.
- If the mic needs phantom power (48V), enable it on the recorder only after confirming the mic supports phantom.
- Set input gain and monitor levels.
- Replace a detachable capsule (modular recorders)
- Power off the recorder and remove any foam windscreen.
- Unscrew or unclip the capsule per the manual. Keep small parts safe.
- Install the new capsule and secure it properly. Power on and test.
- Change input selection in software or menus
- Open the recorder menu and navigate to Input or Microphone settings.
- Choose internal, external, or capsule as appropriate.
- Adjust input gain and preamp settings. Monitor with headphones and watch levels to avoid clipping.
- Test and optimize
- Perform a short test recording.
- Listen back with headphones, check waveforms, and adjust gain, low-cut filters, or limiter settings.
- Reposition the mic if necessary and retest until the sound is right.
These steps cover most ways to change microphone on voice recorder. Always follow your recorder’s safety and power guidelines when using phantom or plug-in power.
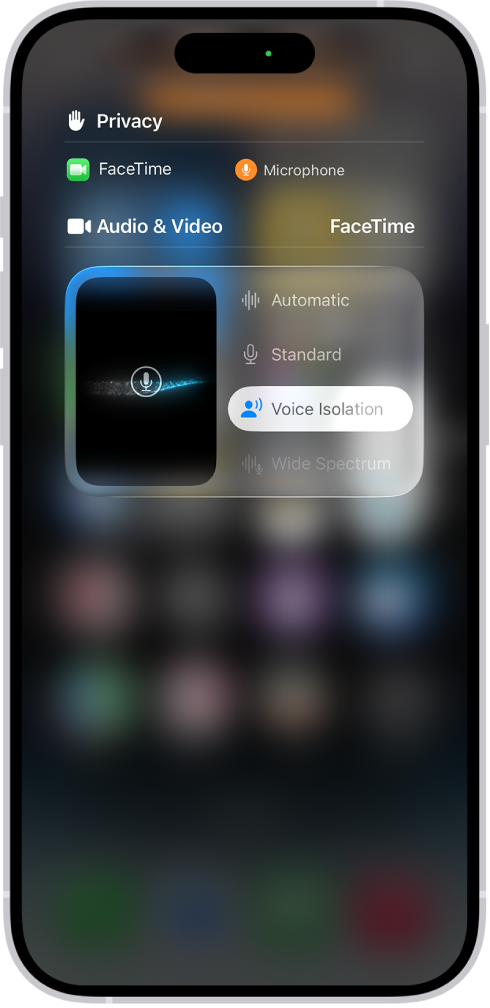
Microphone types and connectors explained
Knowing mic types makes the change easier and reduces trial-and-error.
Key mic types:
- Condenser: Sensitive, needs power (plug-in or phantom). Good for vocals and detail.
- Dynamic: Less sensitive, no external power. Great for loud sources and rough environments.
- Shotgun: Directional for distance and field recording.
- Lavalier: Small clip mic for interviews and speech.
Common connectors:
- 3.5mm TRS or TRRS: Common on consumer recorders and smartphones.
- XLR: Standard for professional mics with balanced audio.
- USB: For direct connection to computers or some recorders.
- Proprietary capsules: Found on modular field recorders and may swap by twist or clip.
Match mic type and connector to your recorder before attempting to change microphone on voice recorder.

Troubleshooting after you change microphone on voice recorder
If sound is weak, noisy, or missing after a mic change, try these quick fixes.
Quick troubleshooting checklist:
- No sound: Confirm the mic is plugged into the correct jack and input is selected.
- Low level: Increase gain or use a mic with higher sensitivity. Check plug-in power or phantom power settings.
- Distortion/clipping: Lower gain or enable a pad if your recorder has one. Move the mic farther from the source.
- Hum or noise: Try a different cable, check grounding, and avoid adapters that can introduce noise.
If problems persist, test the mic on another device to isolate recorder vs mic issues. Firmware updates for your recorder can also fix audio routing bugs.

Quick Q&A (PAA-style)
What happens if I plug a TRRS mic into a TRS jack?
Most TRRS mics may not work correctly in a TRS jack. You may get mono sound or no signal unless you use a compatible adapter.
Do I always need phantom power for external mics?
No. Only condenser microphones that require 48V need phantom power. Dynamic mics usually do not.
Can a smartphone work as an external recorder microphone?
Yes, with the right TRRS mic or USB-C/Lightning interface. Check app settings to select the external mic input.

Personal tips, mistakes I’ve made, and practical advice
I’ve swapped dozens of mics in live and studio settings. Here are honest tips from real use.
Lessons learned:
- Always test with headphones immediately after swapping a microphone on voice recorder to catch issues early.
- Keep small screws and adapters in a labeled pouch; losing a capsule screw once cost a field session.
- Avoid forcing adapters; check wiring and pinouts first. I once damaged a jack by forcing an incompatible plug.
Practical advice:
- Label cables and ports for quick swaps.
- Use a portable power bank for phantom power when recording in the field.
- For interviews, choose a lavalier or dynamic mic to reduce room noise.
These tips help you change microphone on voice recorder faster and with less stress.

Best practices to get clear audio after you change microphone on voice recorder
Simple habits yield better recordings.
Best practices:
- Monitor with closed-back headphones while adjusting levels.
- Set input gain so loud parts hit around -12 to -6 dBFS to leave headroom.
- Use a windscreen or deadcat outdoors and a pop filter for vocals.
- Record a short slate (count or clap) to sync and check levels in post.
Regularly clean jacks and connectors to prevent dropouts after you change microphone on voice recorder.
Frequently Asked Questions of how to change microphone on voice recorder
How do I know if my recorder supports an external microphone?
Check the recorder’s input panel and manual. If it has a dedicated mic jack or XLR input, it supports external microphones; menus will often show input options too.
Will any microphone work with my voice recorder?
Not always. You must match connector type and power requirements. Use adapters carefully and confirm compatibility before buying a mic.
Do I need phantom power to use most external mics?
Only condenser mics typically need phantom power. Dynamic and many lavalier mics do not require it, though some lapel mics need plug-in power instead.
Can I use a USB microphone with a portable recorder?
Only if the recorder supports USB audio input or you connect via a compatible interface. Some recorders accept USB mics, but many do not.
What should I do if my recorder won’t detect the new mic?
Restart the device, check menu input settings, try a different cable, and test the mic on another device to isolate the issue.
How do I change microphone on voice recorder without losing existing settings?
Save any custom presets before swapping hardware. After the swap, recall or reapply a preset and adjust gain and filters as needed.
Is it safe to use phantom power with any mic?
No. Only enable phantom power for mics designed to accept it. Supplying phantom to some devices can damage them.
Conclusion
Changing a microphone on voice recorder is usually straightforward when you match connectors, follow power rules, and test carefully. With a few tools, a quick checklist, and the tips here, you’ll swap mics confidently and get cleaner, more useful audio. Try these steps on your next session: identify the input, use the right adapter, test and monitor levels, and keep notes for future swaps. If this guide helped, leave a comment with your recorder model or subscribe for more hands-on audio tips.