Clean the jack, check audio balance, test another device, and fix or replace the damaged cable.
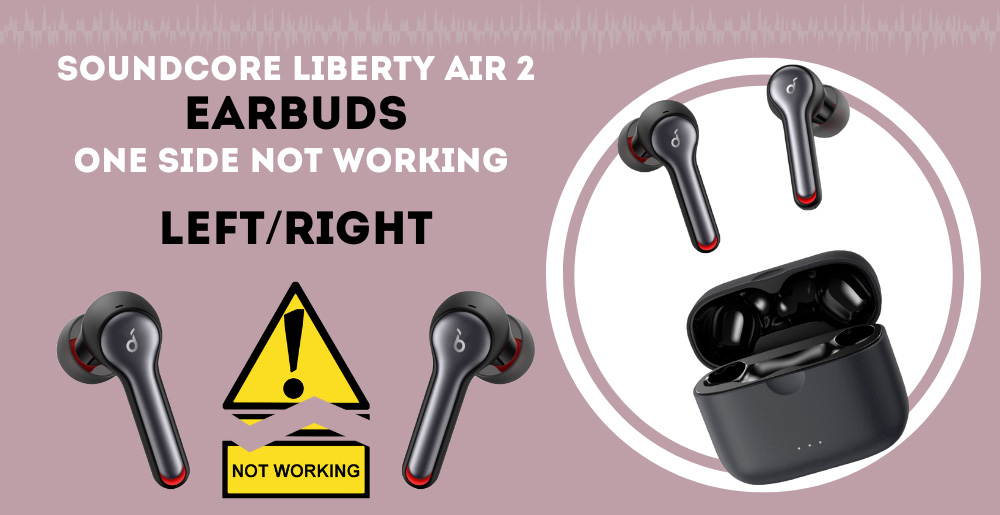
I’ve fixed dozens of headphones and earbuds over the years, and this guide will show you exactly how to fix earbuds that work on one side. I explain simple checks, step-by-step repairs, and when to replace parts. Read on for practical tips, safety notes, and clear steps you can try at home.

Why earbuds play on one side
Earbuds stop working on one side for a few common reasons. A loose jack, torn cable wire, dirt in the port, or a software setting can cause loss of sound. Physical damage at the plug or driver failure inside the earbud are frequent culprits. Knowing the likely cause helps you choose the right fix and saves time.

Quick checks before you start
Do a few quick tests first. Try the earbuds on another phone or computer. Switch left and right buds to see if the problem follows one bud or one device. Check the audio balance and mono settings in your device’s sound controls. These small checks often reveal the issue fast.

Step-by-step fixes (from easiest to advanced)
Follow these steps in order. They go from simple settings to hands-on repair. Most people solve the issue before needing tools.
-
Check device settings
- Open sound settings on your phone or PC.
- Ensure balance is centered and mono audio is off.
- Reset Bluetooth pairing if you use wireless earbuds.
- If you need help, search device model + audio balance.
-
Test on another device
- Plug the earbuds into a different phone, tablet, or laptop.
- If one side still fails, the earbuds are at fault. If not, the first device needs attention.
-
Inspect and clean the plug and jack
- Look for lint or dirt in the headphone jack or Lightning/USB-C port.
- Use a dry cotton swab or wooden toothpick to remove debris gently.
- For wireless earbuds, clean charging contacts with a dry soft cloth.
-
Swap ear tips and cables
- For detachable cables or buds, swap sides or try a new cable.
- Replace worn ear tips. Poor fit can make sound seem weak.
-
Wiggle test and bend test
- With audio playing, gently wiggle the cable near the plug, splitter, and earbuds.
- If sound cuts in and out, there’s likely a cable break near that spot.
-
Update firmware and audio drivers
- For Bluetooth earbuds, check for firmware updates via the companion app.
- On PC, update audio drivers or reinstall them.
-
Fix the cable with a simple splice
- Cut out the damaged section and re-solder or crimp a replacement jack.
- Use heat shrink tubing for insulation. This works for wired earbuds with removable cables.
-
Open and test drivers (advanced)
- If steps above fail, the driver inside the earbud may be faulty.
- Only proceed if you are comfortable with tiny screws and delicate parts.
-
Professional repair or replacement
- If the driver is bad or the earbuds are sealed, consider pro repair or replace them.
These steps show how to fix earbuds that work on one side methodically. Start simple and move to advanced fixes only when needed.

Tools and parts you might need
Keep these items on hand before attempting repairs. They are inexpensive and useful.
- Small screwdriver set for electronics
- Soldering iron, solder, and flux
- Heat shrink tubing and wire strippers
- Multimeter for continuity checks
- Cotton swabs and isopropyl alcohol for cleaning
- Replacement 3.5mm or USB-C audio jack
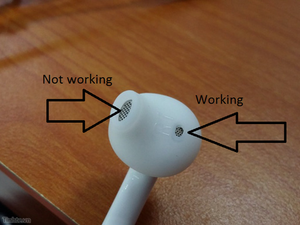
Advanced repair: opening, testing, and soldering
This section is for people comfortable with small repairs. If you are new to soldering, practice first on scrap wire.
- Safety first. Work on a clean, static-free surface. Unplug devices and remove battery-powered parts if possible.
- Test continuity. Use a multimeter to check for breaks in the left and right conductor from plug to driver.
- Locate the break. Common weak spots are near the plug, Y-splitter, or where the cable enters the bud.
- Re-solder joints. Tin wires, make a neat joint, and cover with heat shrink. Keep solder joints small to fit inside housings.
- Test before final assembly. Power on and play audio while parts are accessible. Then close the housing.
If the driver itself has failed, sourcing the exact replacement driver is often difficult. At that point, replacement earbuds may be more cost-effective.

When to repair versus replace
Think about cost, time, and attachment. Simple fixes like cleaning or replacing a cable are cheap and quick. Major driver damage or sealed housings often mean replacing the earbuds. Warranty can save you money—check it first. Also weigh the environmental benefit of repair versus the convenience of replacement.
Personal tips and mistakes I learned from
I’ve repaired earbuds for friends and myself many times. Here’s what I learned:
- Don’t skip the simple checks. Half the time it’s a balance setting or lint in the jack.
- When soldering, use low heat and thin solder. Too much heat melts plastic.
- Keep spare cables for models that support them. A spare cable saved me a costly replacement once.
- Avoid pulling earbuds by the cord. Grip the plug or housing to remove them.
- If earbuds are cheap and sealed, replacing is often smarter than repairing.
These tips will save time and frustration when you figure out how to fix earbuds that work on one side.

Quick common questions (PAA-style)
Q: Will cleaning the jack fix one-sided earbuds?
A: Yes. Dirt can block connections and cleaning the jack often restores sound.
Q: Can software settings cause one side to stop working?
A: Absolutely. Check audio balance and mono settings first before any hardware fixes.
Q: Is soldering required to fix one-sided earbuds?
A: Not always. Many issues are solved by cleaning, cable replacement, or firmware updates.

Frequently Asked Questions of how to fix earbuds that work on one side
Why do my earbuds only work on one side?
The problem can be a loose jack, cable break, dirty port, device audio settings, or a failed driver. Test on another device and inspect the cable to narrow it down.
Can I fix one-sided earbuds myself?
Yes, many fixes are simple. Clean the jack, check settings, or replace a damaged cable. Advanced fixes like soldering require basic tools and care.
How do I test for a broken cable?
Play audio and gently wiggle the cable near the plug and splitter. Use a multimeter continuity test to confirm a break. If sound cuts, the cable likely needs repair.
Will firmware updates help wireless earbuds with one-side audio?
Yes. Firmware updates can fix Bluetooth bugs and connection issues that cause one side to drop. Use the manufacturer app to check for updates.
When should I replace earbuds instead of repairing?
Replace when the driver is dead, the housing is sealed, repair cost exceeds replacement cost, or the warranty covers a free replacement. Cheap sealed earbuds are often cheaper to replace.
Are there safety risks when repairing earbuds?
Yes. Soldering can burn plastic and fingers. Using sharp tools can damage components. Work carefully and on a stable surface to reduce risk.
Conclusion
You can fix earbuds that work on one side most of the time by following simple checks and step-by-step repairs. Start with settings and cleaning, then move to testing and cable or solder repairs if needed. If repair seems risky or costly, replacing the earbuds is a valid choice.
Take action today: run the quick checks from this guide, try the simple fixes, and decide if DIY repair or replacement fits you best. Share your results or questions below and subscribe for more hands-on repair tips.