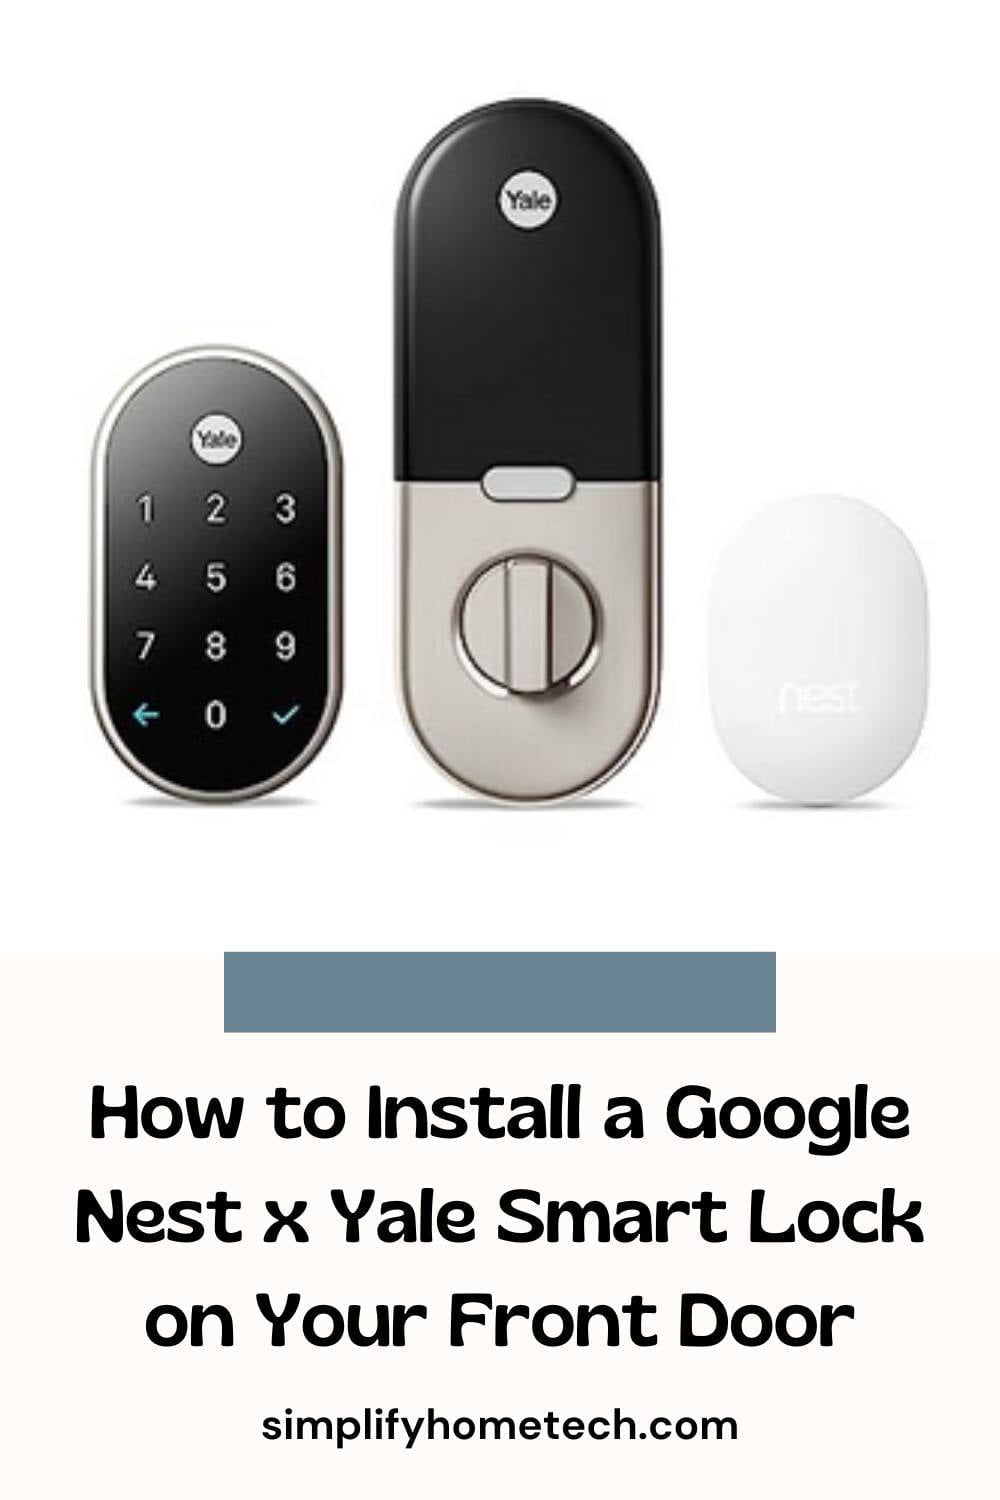
Installing a Yale smart lock usually involves removing the existing deadbolt, installing the new lock hardware, connecting the interior assembly, adding batteries, and completing setup through the Yale app or compatible smart home system.
For homeowners across the United States, upgrading a traditional deadbolt to a Yale smart lock can improve convenience by allowing keyless entry, temporary access codes, and smartphone-based control. Most Yale smart lock models are designed for DIY installation, but the exact process depends on the lock model, door type, and smart home compatibility.
A successful installation requires more than attaching the hardware. The door must have compatible dimensions, the lock must be aligned correctly, and the electronic components must be configured after the physical installation. This guide explains the general process for installing Yale smart locks while highlighting model-specific differences and common issues that can prevent proper operation.
Source: Bing
What You Need Before Installing a Yale Smart Lock
Before installing a Yale smart lock, confirm that your existing door and deadbolt setup are compatible. Most Yale smart locks are designed to replace standard single-cylinder deadbolts, but measurements and hardware requirements vary between models.
Preparation reduces installation problems because many smart lock failures are caused by incorrect door alignment, missing components, or unsuitable hardware rather than the electronic system itself.
Source: Bing
Compatible door
Verify that your door thickness, backset measurement, and deadbolt opening match the Yale lock requirements listed for your specific model.
Basic tools
Most installations require common household tools such as a screwdriver, although some doors may need additional tools for adjustments.
Batteries and app access
Have the required batteries installed and prepare the Yale app or compatible smart home platform before final setup.
Step-by-Step Guide to Install a Yale Smart Lock
The installation process follows a similar pattern across many Yale smart lock models: remove the old lock, install the exterior and interior components, secure the hardware, and complete electronic setup.
Always use the installation guide included with your exact Yale model because features such as keypad placement, mounting brackets, and connectivity modules may differ.
Source: Bing
Remove the existing deadbolt
Open the door, remove the interior screws, detach the old lock components, and clean the mounting area before installing the new hardware.
Install the Yale exterior assembly
Place the keypad or exterior lock component through the door opening and make sure the mounting position is straight and secure.
Attach the interior assembly
Connect the interior module according to the instructions, ensuring cables are not pinched and all screws are properly tightened.
Install batteries and calibrate
Insert batteries, power on the lock, and run the setup or calibration process so the motor learns the correct locking position.
Check the Lock Alignment After Installation
A Yale smart lock should move smoothly before electronic setup is completed. If the deadbolt rubs against the strike plate or requires force, correct the door alignment first.
Smart locks use small motors to move the bolt, so excessive resistance can reduce reliability and may cause failed locking attempts.
Smooth operation
The deadbolt should extend and retract without pushing or pulling the door.
Secure mounting
The interior and exterior parts should remain firmly attached without movement.
How to Connect a Yale Smart Lock to the App
After the physical installation is complete, the next step is connecting the Yale smart lock to its supported app or smart home platform. The exact process depends on the Yale model and whether it uses Bluetooth, Wi-Fi, Z-Wave, or another communication method.
App setup normally includes creating an account, adding the lock, following pairing instructions, and testing remote or keypad functions.
Source: Bing
Add the lock
Use the app instructions to identify the lock and complete the pairing process.
Create access codes
Set personal or temporary entry codes if your model supports keypad access.
Test operation
Lock and unlock the door several times using different available methods.
Common Yale Smart Lock Installation Problems and Solutions
Most Yale smart lock issues after installation are related to mechanical alignment, incorrect setup, or connectivity rather than a defective lock. Checking the simplest causes first can save time.
Source: Bing
Lock motor struggles or makes noise
Check whether the deadbolt is rubbing, the door is sagging, or the strike plate needs adjustment.
Keypad does not respond
Confirm batteries are installed correctly and restart the setup process if needed.
App cannot connect
Move closer to the lock, verify Bluetooth or network requirements, and confirm the correct Yale module is installed.
When You Should Get Professional Help
Professional assistance may be appropriate when the door frame is damaged, the deadbolt opening is incompatible, wiring is required, or the installation requires modifications to the door structure.
Avoid forcing smart lock components into place because damage to the lock or door can affect security and operation.
Damaged door hardware
A locksmith or qualified installer can repair structural problems before installing the lock.
Yale Smart Lock Installation Mistakes to Avoid
Avoiding common mistakes helps ensure that a Yale smart lock works reliably after installation. Small installation errors can create problems that appear to be electronic failures.
Source: Bing
Skipping compatibility checks
Installing a lock without confirming door measurements can result in poor fit or incomplete operation.
Ignoring bolt resistance
A smart lock should not need excessive force to lock because motor strain can affect performance.
Not testing before closing the door
Test the lock while the door is open first to avoid accidental lockouts during setup.
Frequently Asked Questions
Q
Can I install a Yale smart lock myself?
Many Yale smart locks are designed for DIY installation if the door is compatible and basic tools are available. However, complex door modifications or damaged hardware may require professional assistance.
Q
How long does it take to install a Yale smart lock?
Installation time depends on the model and door condition. A straightforward replacement of an existing compatible deadbolt often takes less time than installations requiring adjustments or repairs.
Q
Why is my Yale smart lock not locking after installation?
The most common causes are deadbolt misalignment, incorrect installation, low batteries, or incomplete calibration. Check mechanical movement before troubleshooting electronic settings.
Q
Do Yale smart locks work without Wi-Fi?
Some Yale smart locks can perform local functions such as keypad entry without Wi-Fi, but remote access features usually require a compatible connection module and network setup.
Q
What should I do after installing a Yale smart lock?
After installation, test locking and unlocking, configure user codes, update app settings if available, and keep the installation instructions for future maintenance.
✦ Wrapping Up
Conclusion
Installing a Yale smart lock is generally a manageable DIY project when the door is compatible and the instructions for the specific model are followed carefully. The most important steps are proper preparation, accurate hardware installation, and correct calibration.
A smart lock should be treated as both a mechanical and electronic device. Checking door alignment, testing operation, and completing app setup correctly will help ensure dependable everyday use.
💡 Key Takeaway
Before installing your Yale smart lock, verify compatibility, follow the model-specific instructions, and test the lock thoroughly before relying on it for daily entry.
Kimberly ensures every piece of content is clear, helpful, and user-friendly. She focuses on creating guides that are easy to read while maintaining accuracy and trust.
Learn how a smart lock without WiFi works, what features it offers, its benefits and limitations, and how to choose the right keyless door lock for your home.
Learn what the tire pressure monitor service required message means, why it appears, common causes, troubleshooting steps, repair options, and when professional service is needed.