Your laptop camera usually stops working because of blocked permissions, outdated drivers, app errors, or a hardware fault.
If you are asking, “why did my laptop camera stop working,” you are not alone. This guide explains the most likely causes, shows safe fixes for Windows and Mac, and helps you know when repair is the best choice.
Why Did My Laptop Camera Stop Working?
The cause may be simple, such as a closed privacy shutter or a disabled camera setting. It may also involve a faulty driver, a blocked app permission, a system update, or damage to the camera itself.
Here are the most common reasons:
• Camera permissions are turned off for the app you use.
• A physical privacy shutter is closed.
• Another app is using the camera.
• The camera is disabled in system settings or Device Manager.
• A camera driver is missing, damaged, or outdated.
• A recent Windows or macOS update caused a software conflict.
• Antivirus software or privacy tools are blocking camera access.
• The laptop has suffered liquid, drop, heat, or cable damage.
• The camera works in one app but not another because of app settings.
The fastest way to find the cause is to test the camera in more than one app. For example, try the built-in Camera app on Windows or Photo Booth on a Mac. If the camera works there, the problem likely belongs to the video meeting app rather than the camera hardware.
Check the Simple Causes First
Before changing drivers or resetting your computer, check the small things. Many laptop camera problems come from settings that can be fixed in less than a minute.
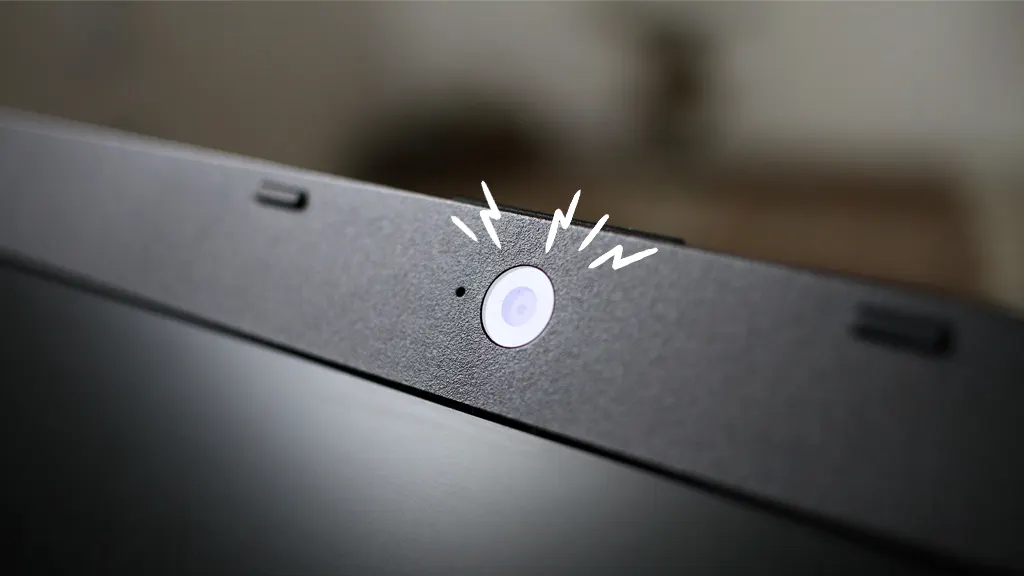
Look for a privacy shutter
Some laptops have a small sliding cover above the camera. It may be built into the camera frame or controlled by a keyboard key. When the shutter is closed, the screen may show a black image or say that no camera is found.
Open the shutter fully. Then test the camera again.
Some laptops also use a camera key with a camera icon. Pressing it may turn the camera off. You may need to hold the Fn key while pressing it.
Restart the laptop
A restart can clear a camera process that is stuck in the background. It can also release the camera from an app that did not close correctly.
Save your work, restart the laptop, and test the camera before opening other apps. This simple step often solves temporary camera failures.
Check the camera lens
Dust, tape, or a thick screen protector can cover the lens. Clean the lens gently with a soft, dry microfiber cloth.
Do not spray cleaner directly onto the screen or camera. Liquid can enter the display frame and cause more damage.
Close other camera apps
Only one app may be able to use the camera at a time. Close programs such as Zoom, Microsoft Teams, Google Meet, Skype, Discord, FaceTime, and browser tabs that may use video.
Then open only the app you want to test. This helps answer why did my laptop camera stop working when the real issue is a camera conflict.
Check Camera Permissions on Windows
Windows lets you control which apps can use the camera. If these permissions are off, the camera may appear to be broken even when the hardware is fine.
Turn on camera access
On Windows 11:
- Open Settings.
- Select Privacy & security.
- Choose Camera.
- Turn on Camera access.
- Turn on Let apps access your camera.
- Turn on Let desktop apps access your camera.
Desktop apps include browsers and many video meeting programs. If desktop access is off, apps such as Zoom or Chrome may not detect the camera.
On Windows 10, open Settings, select Privacy, and choose Camera. Turn on access for the device and the apps you trust.
Check the app’s own settings
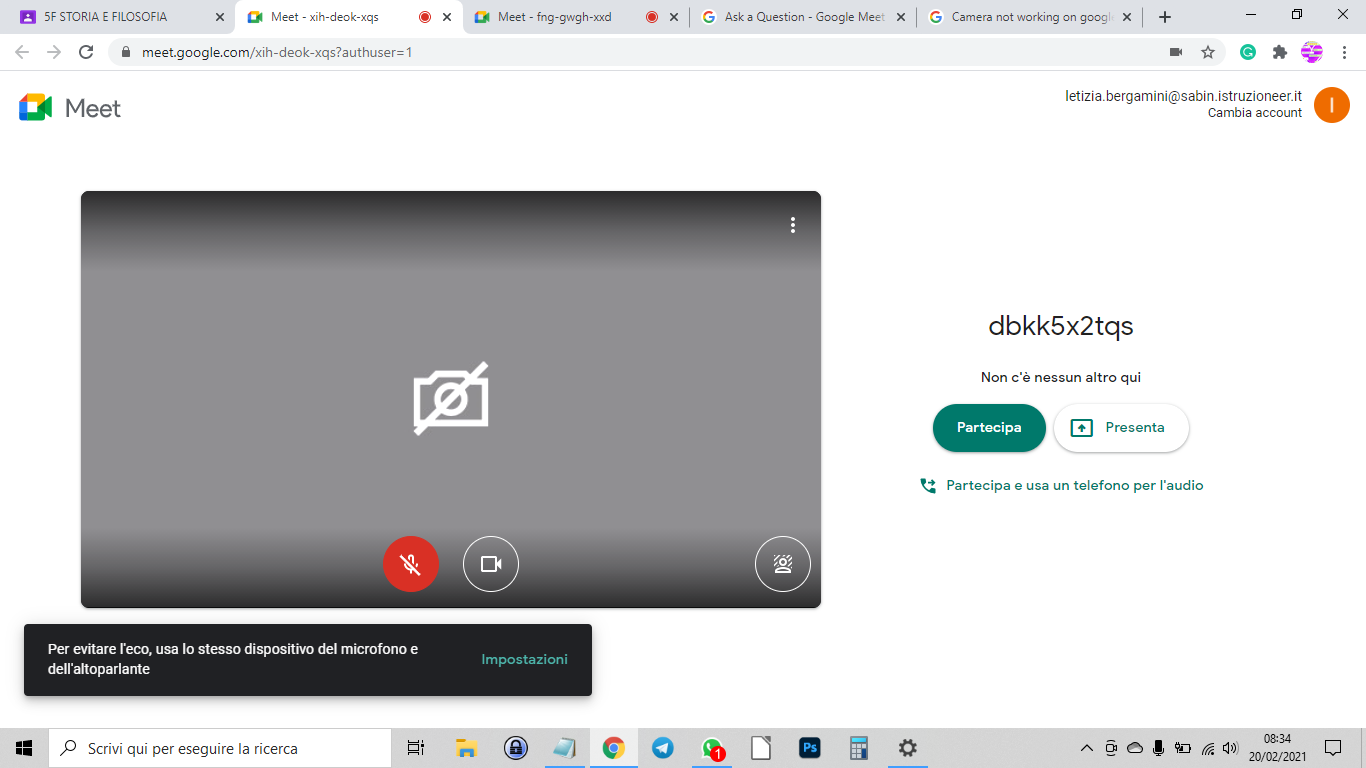
A video app may select the wrong camera. Open its settings and find the Video or Camera section. Choose the built-in webcam instead of a virtual camera, phone camera, or external webcam.
For browser meetings, check the website permission icon near the address bar. Allow camera access for the meeting site, then reload the page.
Reset the Camera app
If the Windows Camera app itself is not working, you can repair or reset it:
- Open Settings.
- Select Apps.
- Choose Installed apps.
- Find Camera.
- Open Advanced options.
- Select Repair.
- If needed, select Reset.
Repair keeps app data when possible. Reset returns the app to its default state.

Check Camera Permissions on a Mac
macOS also requires permission before an app can use the camera. A recent update, privacy change, or new app install may have changed these settings.
Allow camera access
On newer versions of macOS:
- Open the Apple menu.
- Select System Settings.
- Choose Privacy & Security.
- Select Camera.
- Turn on access for the app you want to use.
On older versions, open System Preferences, choose Security & Privacy, and select the Camera section.
Close and reopen the app after changing permission. Some apps do not detect the change until they restart.
Test with Photo Booth or FaceTime
Open Photo Booth or FaceTime. If the camera works in one of these apps, the hardware is probably working.
If it works in Photo Booth but not in a browser, check browser permissions. If it fails in every app, continue with the system and hardware checks below.
Check Screen Time restrictions
Screen Time can restrict camera use. Open Screen Time settings and review content and privacy restrictions. This matters most on family computers or managed school devices.
A work or school administrator may also control camera access. In that case, you may need to contact the organization’s IT team.

Update or Reinstall the Camera Driver
A driver is software that helps the operating system communicate with hardware. If the driver is damaged or incompatible, Windows may show a black screen, an error message, or no camera at all.
Update the driver in Windows
- Right-click the Start button.
- Open Device Manager.
- Expand Cameras or Imaging devices.
- Right-click the built-in camera.
- Select Update driver.
- Choose Search automatically for drivers.
You may also find the camera under Sound, video and game controllers. The exact name depends on the laptop maker.
If Windows cannot find a driver, visit the laptop manufacturer’s official support page. Search by the exact model number, then download the camera, chipset, or system driver listed for your version of Windows.
Avoid random driver websites. They may provide incorrect files or unwanted software.
Reinstall the camera device
If the camera driver seems damaged:
- Open Device Manager.
- Right-click the camera.
- Select Uninstall device.
- Restart the laptop.
Windows may reinstall the driver automatically. If it does not, install the correct driver from the manufacturer’s support page.
Roll back a recent driver
If the camera stopped working after a driver update, open the camera’s Properties in Device Manager. If the Roll Back Driver option is available, use it and restart the computer.
This can help when a new driver does not work well with an older laptop. However, keep the driver update if it fixes a known security or stability problem.

Install System Updates Carefully
Operating system updates can fix camera bugs, but they can sometimes create new compatibility problems. If your camera stopped working soon after an update, note the update date and error message.
On Windows, open Settings, select Windows Update, and check for available updates. Install pending updates, especially firmware and driver updates supplied by the laptop maker.
On a Mac, open System Settings, select General, and choose Software Update. Install updates that match your Mac model and available storage.
Do not interrupt an update by closing the lid or turning off the laptop. Keep the charger connected during the process.
If the camera fails after an update, check the manufacturer’s support page for a known issue. A system restore on Windows or a macOS recovery option may help, but back up important files first.

Fix Camera Problems in Zoom, Teams, Meet, and Other Apps
Sometimes the laptop camera works normally, but one app cannot use it. This is common after an app update or when the program selects a virtual camera.
Select the correct camera
Open the app’s video settings. Look for a menu labeled Camera, Video device, or Input device. Select the built-in webcam.
If you use an external monitor or docking station, the app may select another camera automatically. Test each listed camera until you find the correct one.
Check browser permissions
For Google Meet or another browser-based service:
- Open the meeting website.
- Select the lock or settings icon beside the web address.
- Find Camera permissions.
- Choose Allow.
- Refresh the page.
You can also review camera permissions in the browser’s privacy settings.
Disable virtual cameras
Apps such as streaming tools, phone-link software, and camera effects programs may install virtual cameras. These can confuse meeting apps.
Temporarily select the built-in camera or disable unused virtual camera tools. Then restart the meeting app.
Repair or reinstall the app
If the camera works everywhere else, update the affected app. If that does not help, sign out, restart the laptop, and reinstall the app from its official website or app store.
Check for Security and Privacy Blocks
Privacy software can block your webcam by design. This protection is helpful, but it can also make you wonder why did my laptop camera stop working.
Review your antivirus, internet security, and webcam protection settings. Look for options such as:
• Webcam protection
• Camera privacy
• Block access to camera
• Safe browsing controls
• Application permissions
Allow camera access only for apps you recognize. Do not disable all security tools permanently. If turning off webcam protection fixes the problem, turn it back on and create a specific permission for the trusted app.
Some laptops include privacy software from the manufacturer. Check its settings as well. Business laptops may also use enterprise security rules that users cannot change.
Use Device Manager to Check for Hardware Errors
Device Manager can reveal whether Windows detects the camera.
Look for these signs:
• A yellow warning icon may indicate a driver problem.
• A down arrow may mean the camera is disabled.
• No camera entry may point to a missing driver, firmware issue, disconnected cable, or hardware fault.
To enable a disabled camera, right-click it and choose Enable device. Then restart the laptop.
If the camera does not appear at all, install the correct manufacturer driver. You can also check the laptop’s BIOS or UEFI settings. Some models include a setting that enables or disables the internal camera.
Change BIOS settings only if you understand what they do. Write down the original setting before making a change.
Know When the Problem Is Hardware
Software fixes cannot repair a broken camera module. Hardware may be the cause if:
• The camera is missing from every app and Device Manager.
• The camera stopped working after a drop or liquid spill.
• The image flickers when you move the laptop lid.
• The camera shows a constant black screen after all permission checks.
• The microphone near the camera also fails.
• An external webcam works, but the built-in camera does not.
A laptop camera connects to the main board through a small cable in the display hinge. Repeated opening and closing can damage that cable over time. A loose connector can also cause an intermittent camera problem.
Do not open the display panel unless you have the right tools and experience. Laptop screens and camera cables are fragile. If the laptop is under warranty, contact the manufacturer first.
An external webcam is a practical short-term solution. It can also confirm that the operating system and video apps work correctly.
A Safe Troubleshooting Order
Use this order to avoid unnecessary changes:
- Open the privacy shutter.
- Restart the laptop.
- Close every other camera app.
- Test the camera in a built-in app.
- Check Windows or macOS camera permissions.
- Check the video app’s camera selection.
- Update the operating system and laptop drivers.
- Review antivirus and privacy settings.
- Check Device Manager or system information.
- Test with an external webcam.
- Contact support if the internal camera still fails.
This order starts with easy, low-risk steps. It also gives you useful information before you reset apps, change drivers, or pay for repair.
In troubleshooting work, one mistake I see often is changing several settings at once. That makes it hard to know what fixed the problem. Make one change, test the camera, and note the result.
What to Avoid When Fixing a Laptop Camera
Some quick fixes can create bigger problems. Avoid these common mistakes:
• Do not download drivers from unknown websites.
• Do not remove system files related to the camera.
• Do not disable antivirus protection for a long time.
• Do not force a privacy shutter open.
• Do not spray liquid into the camera area.
• Do not open a laptop under warranty without checking its repair terms.
• Do not install several camera apps while testing.
• Do not share remote access with an untrusted “support” service.
If a website claims your camera is infected and asks you to pay for an urgent fix, close the page. A camera not working does not prove that your laptop has malware.
How to Prevent Future Camera Problems
A few habits can reduce camera failures:
• Keep Windows, macOS, drivers, and video apps updated.
• Clean the lens with a dry microfiber cloth.
• Close video apps after meetings.
• Use a gentle hand when opening and closing the lid.
• Keep liquids away from the keyboard and display.
• Check camera permissions after major updates.
• Use a trusted privacy shutter that does not press against the lens.
• Back up important files before major system repairs.
It also helps to remember which apps have camera access. Remove permission from apps you no longer use. This protects privacy and makes future troubleshooting easier.
Frequently Asked Questions
Why did my laptop camera stop working after a Windows update?
An update may replace the camera driver or change privacy permissions. Check camera access in Windows Settings, then install the latest driver from your laptop manufacturer.
Why does my laptop camera work in one app but not another?
The second app may not have camera permission or may be using the wrong camera device. Check the app’s video settings and your browser or operating system permissions.
Why is my laptop camera showing a black screen?
A closed privacy shutter, blocked permission, camera conflict, driver error, or hardware fault can cause a black screen. Test the camera in a built-in app and close all other programs that may use it.
How do I turn on my laptop camera?
Open your operating system’s privacy settings and allow camera access. Also check for a physical shutter or keyboard camera key that may disable the webcam.
Can a laptop camera be repaired?
Yes, a technician may be able to replace the camera module or reconnect its cable. If the laptop is older, an external USB webcam may cost less and provide an easier solution.
How can I tell whether my laptop camera is broken?
If the camera fails in every app, does not appear in Device Manager or system information, and still fails after permission and driver checks, hardware damage is likely. An external webcam can help confirm the issue.
Conclusion
A laptop camera can stop working because of a privacy shutter, blocked permissions, app conflicts, driver problems, updates, security software, or physical damage. Start with simple checks, test the camera in more than one app, and make changes one at a time.
If you still cannot find why did my laptop camera stop working, use an external webcam or contact the laptop manufacturer. Try these steps today, and share your results or questions in the comments.