Connect your voice recorder to a computer using USB, audio cable, SD card reader, Bluetooth, or Wi‑Fi in minutes.
I’ve helped podcasters, students, and field reporters move recordings from devices to computers for years. This guide on how to connect voice recorder to computer covers every common method, clear step-by-step instructions, troubleshooting tips, file format notes, and practical advice from real experience. Read on to learn the fastest, safest, and most reliable way to get your audio off a voice recorder and onto your computer for editing, sharing, and backup.
Why connect a voice recorder to your computer?
Moving files from a voice recorder to a computer keeps audio safe and makes editing easy. A computer gives you storage, editing apps, and ways to share files. Knowing how to connect voice recorder to computer saves time and prevents file loss.
Common reasons people connect include editing interviews, archiving lectures, and transcribing notes. Doing this right protects audio quality and keeps formats compatible with software. My work with interviews taught me to always check file formats before transfer and keep backups.

Common ways to connect voice recorder to computer
There are simple, proven methods to connect your recorder to a PC or Mac. Choose one based on your recorder model and how fast you need files.
- USB cable transfer
- USB mass storage mode (recorder acts like a flash drive)
- Audio cable to computer line-in or microphone jack
- SD or microSD card reader
- Bluetooth or Wi‑Fi wireless transfer
- Dedicated transfer software provided by the recorder maker
Each option fits different recorders and goals. For example, USB is fast for many devices. Card readers are best when you want speed and no drivers. Wireless is great for on-the-go transfers but can be slower.
How to connect voice recorder to computer via USB (step-by-step)
USB is the most common and reliable method. Follow these steps.
- Check recorder settings
- Turn on the recorder and open settings.
- Set USB mode to "Mass Storage", "USB Storage", or "PC" if offered.
- Use the correct cable
- Use the USB cable that came with your recorder.
- If missing, check the recorder port type: micro-USB, USB-C, or proprietary.
- Connect to the computer
- Plug the recorder into a free USB port on your PC or Mac.
- Wait for the device to appear as a drive or removable media.
- Copy files
- Open File Explorer (Windows) or Finder (Mac).
- Locate the recorder drive, find the audio folder (often named VOICE, REC, or AUDIO), then copy files.
- Safely eject
- Use "Eject" or "Safely Remove" before disconnecting.
- This prevents corrupted files.
Tips: If the device asks for drivers, install from the manufacturer site. If the recorder doesn’t show up, try a different USB cable or port.

How to connect voice recorder to computer using SD card reader
If your recorder uses removable cards, this is a fast option.
- Remove the SD or microSD card.
- Insert it into a laptop card slot or USB card reader.
- Open File Explorer or Finder and copy files.
- Safely eject the card before reinserting into the recorder.
This method is reliable and fast for large files. It avoids driver issues and works for most recorders.
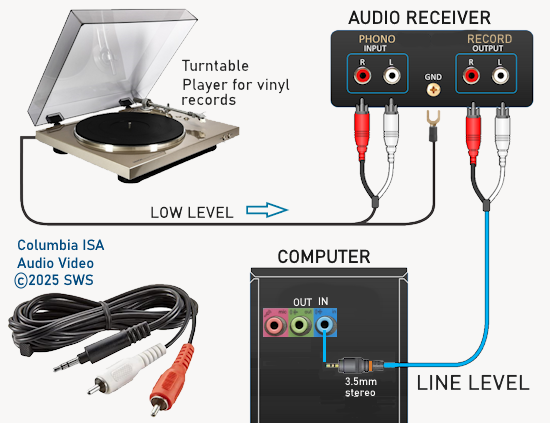
How to connect voice recorder to computer with an audio cable (line-in)
Use this when your recorder can play audio live and you want to record on the computer in real time.
- Find audio out on the recorder (headphone or line-out).
- Use a 3.5 mm stereo cable or the appropriate adapter.
- Plug the other end into your computer’s line-in or mic input.
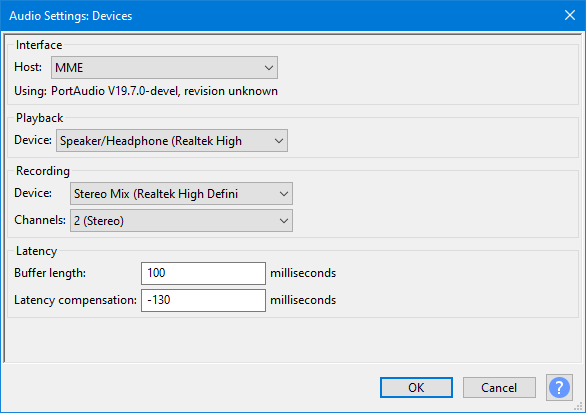
- Open recording software (Audacity, GarageBand).
- Set input to Line-In or External Mic. Press record and play on the recorder.
This copies audio as a stream. Audio quality equals what the recorder outputs live. It’s handy for live captures and when file transfer isn’t possible.
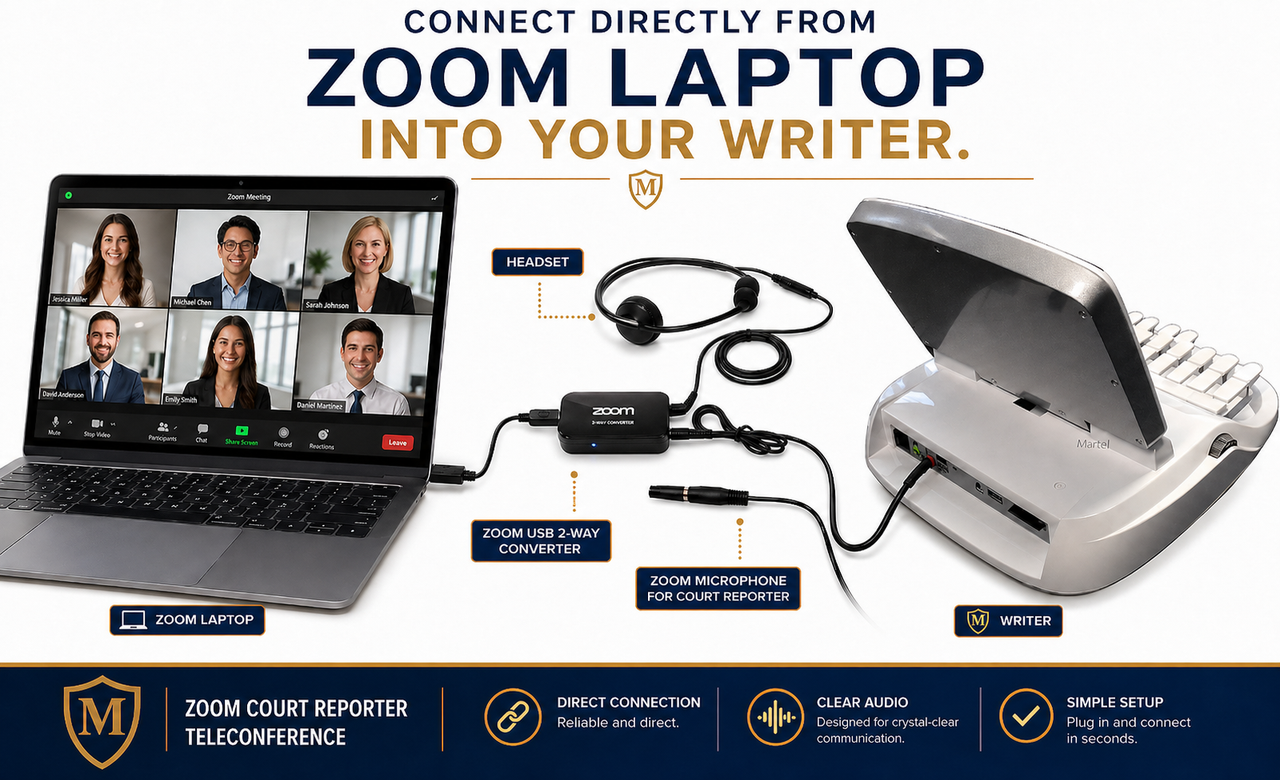
How to connect voice recorder to computer wirelessly: Bluetooth and Wi‑Fi
Some modern recorders offer wireless transfer. Steps vary by brand, but the basics are:
- Bluetooth transfers work like phone file sharing. Pair the recorder with the computer and send files. Bluetooth is slow for large files.
- Wi‑Fi transfer often uses an app or web interface. Connect both devices to the same network or create a hotspot from the recorder. Open the app or URL and download files.
Wireless is convenient for short clips or frequent syncing. For long interviews, prefer wired methods for speed and reliability.

File formats, compatibility, and what to pick
Recorders save in common formats. Here’s what to expect.
- WAV
- Uncompressed, highest quality.
- Larger files, best for editing and archiving.
- MP3
- Compressed, small files.
- Good for sharing and quick playback.
- M4A / AAC
- Good quality with smaller size.
- Common on Apple devices.
- FLAC
- Lossless compressed format. Good quality, smaller than WAV.
Choose WAV for editing and archiving. Choose MP3 or M4A for sharing or limited storage. When moving files, keep formats compatible with your editing app.

Troubleshooting: common problems when connecting a voice recorder to computer
Problem: Recorder not recognized
- Try a different USB cable and port.
- Switch the recorder’s USB mode to storage or PC.
- Restart both devices.
Problem: Files won’t play
- Check the file format and try a different player.
- Convert files if needed using free tools.
Problem: Slow transfers
- Use a card reader or a faster USB 3.0 port.
- Compress large files for sharing, but keep originals.
Problem: Permission or driver errors (Windows)
- Update drivers via Device Manager.
- Install any manufacturer software if required.
Problem: Wireless transfers fail
- Check Wi‑Fi network and app permissions.
- Ensure recorder battery is charged.
Software and tools to help transfer and manage recordings
Useful apps and tools make life easier.
- File managers: Finder (Mac), File Explorer (Windows)
- Editing tools: Audacity, GarageBand, Adobe Audition
- Conversion tools: VLC, online converters, fre:ac
- Backup and cloud: Google Drive, Dropbox, OneDrive
- Recorder apps: Manufacturer apps for Wi‑Fi or Bluetooth transfers
Use cloud backups for long-term safety. I use Audacity for quick trims and a cloud folder for daily backups.
Best practices, security, and naming conventions
Simple habits save time and prevent headaches.
- Name files with date and short description (2026-07-30_interview_john.mp3).
- Keep original WAV files until final edits are done.
- Use a folder structure by project and date.
- Back up to cloud and a local drive.
- Encrypt sensitive recordings and respect privacy laws.
These steps make sharing easier and reduce the risk of data loss.
Personal experience: lessons learned connecting recorders to computers
I once lost two hours of an interview due to a rushed eject. Since then, I always eject devices properly and keep redundant backups. I learned to carry a small USB card reader in my bag. It saved me when a recorder’s USB port failed.
Tip: Test transfers before an important session. A ten-minute test avoids hours of stress later. I also label recorders and cards to avoid mix-ups.
Frequently Asked Questions of how to connect voice recorder to computer
How do I connect my digital voice recorder to my PC?
Connect using the supplied USB cable, set the recorder to USB storage or mass storage mode, then copy files from the recorder drive using File Explorer. If it does not appear, try a different cable, port, or card reader.
Can I transfer recordings without a cable?
Yes. Some recorders support Bluetooth or Wi‑Fi transfers via an app or web interface. Wireless is convenient but slower than wired methods.
Why does my computer not recognize the voice recorder?
Common causes are a bad cable, incorrect USB mode on the recorder, missing drivers on Windows, or a locked SD card. Try a different cable and enable the correct USB mode.
Will connecting the recorder damage my files?
No, connecting will not damage files if you copy them correctly. Always use "Eject" or "Safely Remove" before unplugging to avoid corruption.
Which method gives the best audio quality transfer?
File copy methods (USB or card reader) keep original quality. Line-in recording can also be good, but it captures playback rather than original files and can add noise.
How do I import recordings into editing software?
After copying files to your computer, open your editing app, choose Import or Open, and select the audio files. Most editors accept WAV, MP3, and M4A.
Conclusion
You now have clear, practical ways to connect voice recorder to computer using USB, card readers, cables, or wireless options. Start with the method that fits your device and goals, test a short transfer, and build a simple backup routine. Try one transfer today, label your files, and back them up to keep your work safe and ready to edit. If this helped, share your experience or ask a question so we can troubleshoot together.