Use a USB cable, set the recorder to mass storage (or MTP), then copy files to your computer.
I’ve worked with many Olympus recorders and computers. This guide shows exactly how to connect Olympus voice recorder to computer, step by step. You’ll get clear, tested methods for Windows and Mac, software tips, and quick fixes. Read on to transfer recordings fast and worry-free.
Why connect your Olympus voice recorder to a computer
Connecting lets you back up files. It also makes editing, sharing, and archiving simple. Knowing how to connect Olympus voice recorder to computer saves time and ensures your recordings are safe. This skill helps podcasters, students, journalists, and anyone who records audio.

What you need before you start
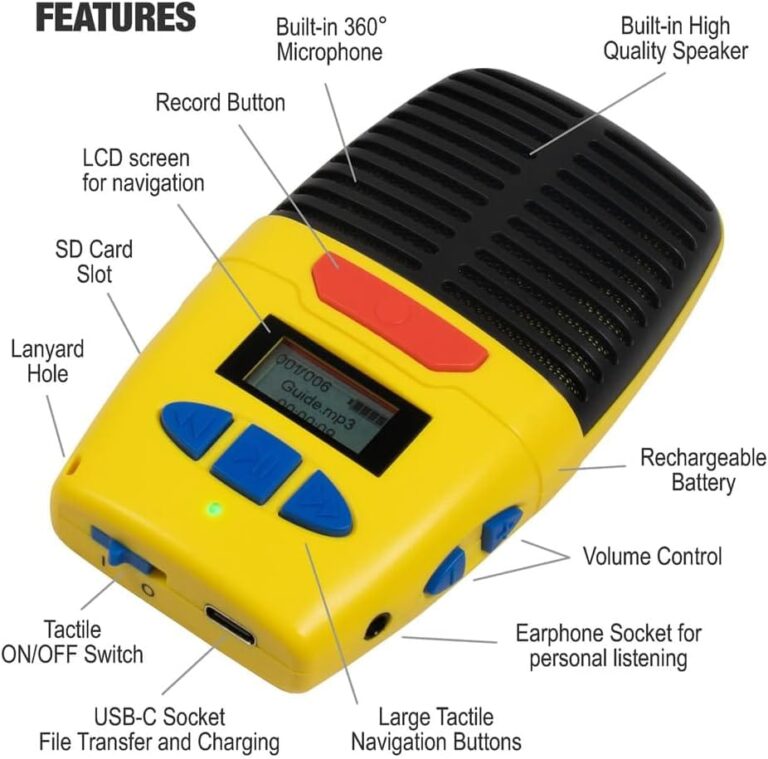
- A compatible USB cable that fits your recorder. Many Olympus models use micro-USB or USB-C.
- A computer with an available USB port or a USB-C port with an adapter.
- Optional software: Olympus Sonority, Olympus Dictation/ODMS, or a simple file manager.
- Enough free disk space for your audio files.
- Chargers or battery power for the recorder. Low battery can interrupt transfers.
Make sure you check the recorder model so you can choose the correct cable. If the recorder supports Wi‑Fi, you can also transfer wirelessly, but this guide focuses on USB transfers.

Step-by-step: how to connect olympus voice recorder to computer
Follow these clear steps to connect and transfer files. I include both Windows and Mac instructions and a simple approach for quick drag-and-drop transfers.
- Physically connect the recorder
- Plug the small end of the USB cable into the recorder.
- Plug the large end into your computer’s USB port or hub.
- Turn the recorder on if it doesn’t power on automatically.
- Set the recorder mode
- On many Olympus devices, choose Mass Storage or PC Mode on-screen.
- If you see an MTP or Media Transfer option, choose it for Windows.
- If the recorder asks, confirm the connection on the recorder.
- Windows file transfer
- Open File Explorer. The recorder appears as a removable drive or device.
- Double-click the device to browse folders. Look for folders named VOICE, AUDIO, or a model number.
- Drag and drop files to a folder on your PC. Use copy/paste to keep originals intact.
- Mac file transfer
- Macs may mount the recorder as a drive in Finder. If not, use Image Capture or the Olympus app.
- Open Finder and select the recorder under Locations.
- Drag files to a local folder. If the recorder uses MTP, install an MTP driver or use the Olympus app.
- Using Olympus apps
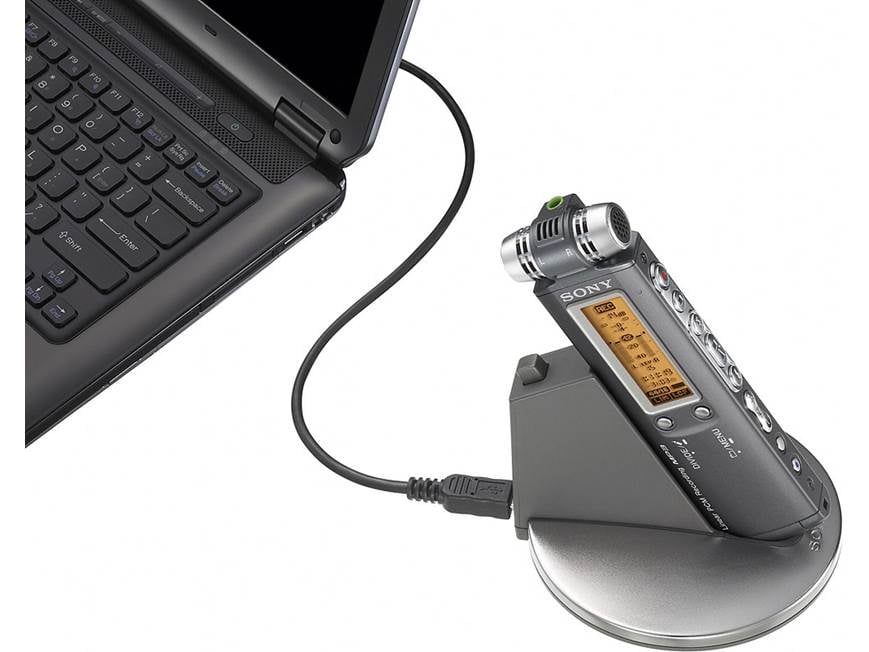
- If you prefer organized transfers, install Olympus Sonority or ODMS and follow the app’s import function.
- These apps add metadata and can convert proprietary formats. They also simplify bulk imports.
- Safely eject
- After copying, eject the recorder from your computer (Eject in Finder or Safely Remove Hardware on Windows).
- Wait for the confirmation then unplug the USB cable.
Personal tip: I always copy files twice—once to an editing folder and once to a backup drive. It takes seconds and avoids lost work.
Using Olympus software and file formats
Olympus recorders can save in WAV, MP3, or DSS/DSSPro formats. Each format has pros and cons. WAV is high quality and large. MP3 is small but compressed. DSS is used by dictation workflows.
- Olympus Sonority and ODMS
- These programs import recordings and keep file names and metadata neat.
- ODMS is favored for professional dictation workflows. Sonority is friendly for audio editing and archiving.
- Converting files
- Use the Olympus app or a simple audio converter to change formats.
- Converting to WAV is useful for serious editing. Converting to MP3 is handy for sharing.
If you need to bulk rename or convert, batch tools save time. Remember that knowing how to connect Olympus voice recorder to computer also means choosing the best format for your work.

Troubleshooting common connection problems
If the recorder does not show up, try these fixes. Short checks often solve the issue.
- Check the cable and ports
- Use a data cable, not a charge-only cable. Try another USB port or cable.
- Restart devices
- Turn off the recorder, unplug, and restart your computer. Reconnect afterward.
- Mode selection
- Ensure the recorder is set to Mass Storage or MTP mode. Some models need you to select PC mode.
- Driver issues on Windows
- Windows can need an MTP driver or the Olympus device driver. Run Windows Update or install the driver.
- Mac mount problems
- Use Image Capture or the Olympus app if Finder doesn’t show the device. Consider installing an MTP helper if required.
- File permissions and security
- Some corporate machines block new devices. Check with IT if the device is blocked.
From my experience, a faulty or charge-only cable is the most common problem. Always keep a spare data cable.
Tips, best practices, and security
- Backup immediately
- Copy files to your computer and a second backup drive or cloud storage.
- Keep firmware and software updated
- Updates improve connectivity and fix bugs. Check Olympus support for firmware.
- Label and organize
- Use clear folder names and dates to find files later.
- Secure sensitive files
- Encrypt or password-protect recordings with sensitive content. Avoid storing private files on public computers.
- Clean ports carefully
- Dust or debris in ports can prevent a good connection. Use a soft brush gently.
I once lost an interview because I didn’t back up immediately. Now I back up before I edit. That habit has saved important recordings more than once.
Frequently Asked Questions of how to connect olympus voice recorder to computer
How do I transfer files from my Olympus recorder to a PC?
Connect the recorder with a USB data cable, select Mass Storage or MTP mode on the recorder, then open File Explorer and copy files to your PC. Use Olympus Sonority if you want an organized import.
What cable do I need for an Olympus voice recorder?
Most models use micro-USB or USB-C data cables. Make sure it is a data cable, not just a charging cable, or the computer may not recognize the device.
My computer doesn't recognize the recorder. What should I try?
Try a different USB port and cable, restart both devices, and ensure the recorder is in PC/Mass Storage mode. On Windows, install any needed drivers; on Mac, try Image Capture or the Olympus app.
Can I connect an Olympus recorder wirelessly to my computer?
Some newer Olympus models support Wi‑Fi transfers via an app or cloud sync. For most stable transfers, USB is simpler and faster.
Do I need special software to play Olympus files?
WAV and MP3 play in most media players. DSS/DSSPro files may need Olympus software or a compatible player for best results.
Conclusion
You now know practical ways to connect Olympus voice recorder to computer, transfer files, and troubleshoot common issues. Start by using a proper data cable, choose the correct connection mode, and back up your files right away. Try the steps on a small file first to confirm the setup. If you enjoyed this guide, leave a comment or share your own tips, and consider subscribing for more clear, practical tech how-tos.