Your webcam looks grainy because it lacks light, uses low resolution, or has dirty or faulty hardware.
A grainy webcam can make video calls feel dull and unprofessional, but the cause is often simple to fix. This guide explains why your webcam is grainy, how lighting, camera settings, software, and internet quality affect your image, and which solutions work best in real life.
Why Is My Webcam Grainy?
Your webcam may look grainy because its image sensor is struggling to capture enough light. When the room is dark, the camera increases digital gain, which brightens the picture but also adds tiny specks and noise.
A low-quality webcam can make this worse. Small laptop cameras often use small sensors and basic lenses, so they perform poorly in dim rooms. Even an expensive webcam may look grainy if it faces a bright window or sits in a shadowy corner.
The most common causes include:
• Poor or uneven lighting
• Low camera resolution
• Incorrect webcam settings
• A dirty camera lens
• Outdated drivers or video software
• Weak USB connections
• Video compression during calls
• A slow internet connection
• Camera damage or age
The good news is that you usually do not need to buy a new camera right away. Start with light, lens cleaning, and software settings before spending money.
How Poor Lighting Makes a Webcam Grainy
Light is the biggest factor in webcam quality. Your camera needs enough light to create a clear image. When there is not enough light, the camera brightens the signal electronically. This process can create grain, color noise, and a soft image.
Think of your webcam as a small window. A bright room gives the camera more detail to work with. A dark room gives it very little information, so the camera has to guess and amplify the image.
Lighting problems often include:
• Sitting with your back to a window
• Using only a ceiling light
• Placing your face in a shadow
• Relying on a dim desk lamp
• Using light that is too blue or too warm
For better results, place a soft light in front of your face. A window can work well if it is in front of you rather than behind you. If the sunlight is harsh, use a curtain to soften it.
A small LED desk light or ring light can also help. Keep it near eye level and slightly to one side. Avoid placing a bright lamp directly below your face, as it can create harsh shadows.
In my hands-on webcam testing, improving the light often made a bigger difference than changing the camera. A basic webcam in a bright, balanced room can look better than a premium webcam in a dark room.

Your Webcam Settings May Be Causing Grain
Incorrect settings can make your webcam appear worse than it really is. Many video apps automatically lower image quality to save bandwidth or improve performance.
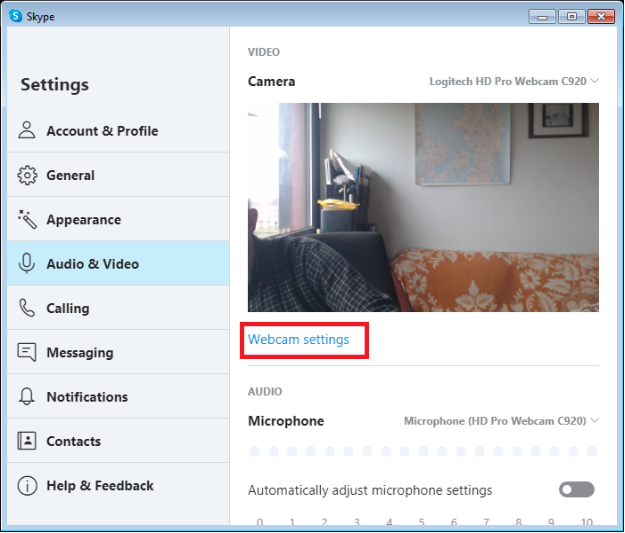
Check the camera settings in your video app. Look for options such as:
• Resolution
• Frame rate
• Exposure
• Brightness
• Contrast
• Sharpness
• White balance
• Low-light compensation
Set the resolution to 720p or 1080p if your webcam supports it. A higher resolution can produce more detail, but it may also require more processing power and bandwidth.
Be careful with exposure and brightness. Increasing them too much can wash out your face and increase image noise. If your camera has manual controls, raise exposure only enough to make your face clear.
Low-light compensation can help in a dark room, but it may also add more grain. Test it with the feature on and off. The best setting depends on your camera, room, and lighting.
Also check whether your video app has a “touch up,” “low light,” or “adjust for low light” feature. These tools can help, but strong digital correction may soften details or create strange skin tones.

A Dirty Lens Can Make the Picture Look Foggy
A dirty webcam lens can cause a soft, cloudy, or grainy image. Fingerprints, dust, and skin oil scatter light before it reaches the camera sensor.
Turn off the camera and gently wipe the lens with a clean microfiber cloth. Do not use paper towels, tissues, or rough fabric. These materials can leave dust or create tiny scratches.
Avoid spraying cleaning liquid directly onto the camera. If needed, place a small amount of lens-safe cleaner on the cloth first. For a built-in laptop camera, a dry microfiber cloth is often enough.
After cleaning, open the camera preview and compare the image. If the picture is still hazy, check whether a privacy cover, tape, or screen protector is partly blocking the lens.
This is a simple step, but it is easy to miss. In webcam setup work, lens cleaning has solved many cases where people thought the camera sensor was failing.

Low Resolution Can Make Your Webcam Look Grainy
A webcam with low resolution captures fewer pixels. When the image is enlarged on a large monitor, those pixels become more visible. The result can look blocky, soft, or grainy.
Resolution is not the only measure of quality. A camera labeled 1080p may still perform poorly if it has a weak lens or a small sensor. Still, choosing the highest stable resolution can improve detail.
Try these steps:
-
Open your video app’s camera settings.
-
Select the correct webcam.
-
Choose 720p or 1080p when available.
-
Close other apps that use the camera.
-
Restart the video call.
Some apps reduce resolution during a call. This may happen when your internet connection is slow or when the app detects limited computer performance.
A 4K webcam is not always the best choice. It can use more bandwidth and may show more skin detail than you want. For most video calls, a clear 1080p image with good lighting is enough.

Internet Compression Can Make Your Webcam Grainy
Sometimes the camera itself is fine. The video becomes grainy because the meeting platform compresses the stream.
Video compression reduces file size so the call can travel smoothly over the internet. When bandwidth drops, the app may lower resolution, remove detail, or create blocky movement.
You may notice this problem when:
• The image looks clear in the camera preview but poor during a call
• The picture changes quality during the meeting
• Motion creates blocks or smears
• Other people see a worse image than you see locally
• Your upload speed is low
Run a speed test and check your upload connection. Video calls need steady upload bandwidth, not just fast download speed. Other users, cloud backups, streaming services, and game downloads can reduce available bandwidth.
To improve the stream:
• Use a wired internet connection when possible
• Move closer to your Wi-Fi router
• Pause large uploads and downloads
• Close unnecessary video apps
• Lower the call resolution if your connection is unstable
• Update the video meeting app
Compression usually looks different from sensor noise. Sensor grain appears as fine specks across the image. Compression often looks like blocks, smears, or sudden drops in detail.

Software and Driver Problems Can Affect Webcam Quality
A webcam driver helps your computer communicate with the camera. If the driver is outdated, damaged, or incorrect, the camera may show poor color, low resolution, flicker, or image noise.
Start by restarting your computer. This simple step can clear a temporary camera error. Then check for operating system updates and updates for your video calling app.
On Windows, open Device Manager and find the camera under the camera or imaging device category. You can update the driver, disable and re-enable the device, or remove it and let Windows detect it again.
On macOS, close apps that may be using the camera. Then reopen your video app and check camera permissions in System Settings. Make sure the app has permission to access the camera.
Also check for camera controls from the manufacturer. Some webcams use a separate desktop app for exposure, focus, white balance, and noise reduction.
Be cautious with third-party driver websites. Download webcam software only from a trusted manufacturer or your computer maker. Incorrect drivers can create new problems or expose your system to security risks.

USB Problems May Reduce Webcam Performance
External webcams need a stable USB connection. A weak connection, damaged cable, or overloaded hub can cause freezing, flickering, low resolution, or sudden disconnections.
Try connecting the webcam directly to your computer instead of using a USB hub. If your computer has several USB ports, test another port. You can also try a different cable if the cable is removable.
Avoid placing several high-bandwidth devices on the same low-cost hub. External drives, capture cards, and webcams may compete for the same connection.
A USB 2.0 port can support many standard webcams, but some high-resolution cameras work better with USB 3.0 or newer. Check the camera’s requirements before troubleshooting further.
If the camera works well on another computer, the original computer, port, driver, or software is likely the problem. If it looks grainy everywhere, the camera itself may be at fault.

How to Fix a Grainy Webcam Step by Step
Follow these steps in order. This approach helps you find the real cause instead of changing many settings at once.
-
Clean the webcam lens with a microfiber cloth.
-
Move a soft light in front of your face.
-
Move away from bright windows behind you.
-
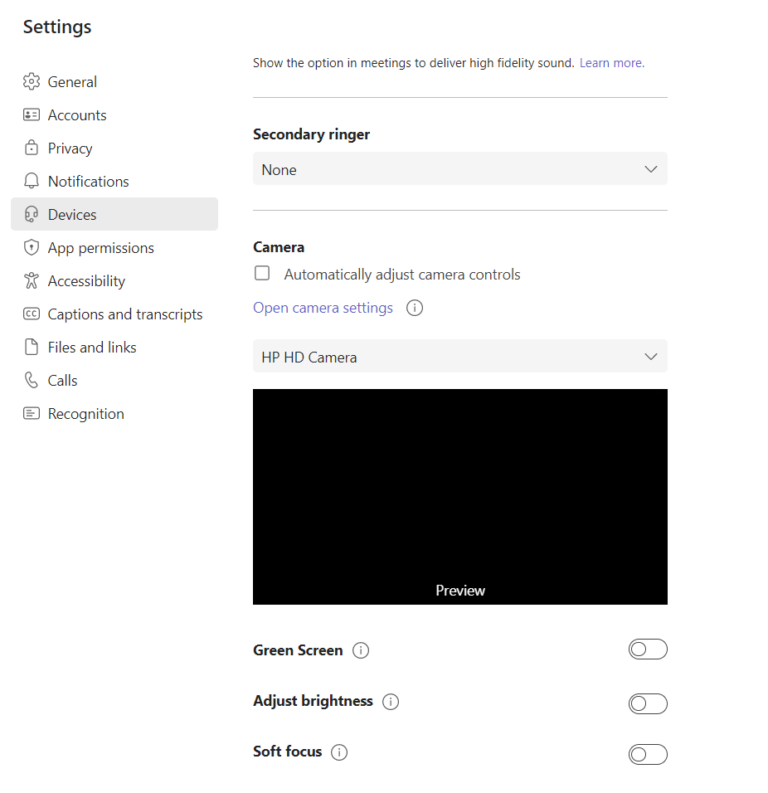
Open the camera preview outside your meeting app.
-
Select the correct webcam.
-
Set the resolution to 720p or 1080p.
-
Test exposure, brightness, and low-light settings.
-
Restart the computer and video app.
-
Update the webcam driver and meeting software.
-
Connect an external webcam directly to the computer.
-
Test the camera in another app.
-
Compare the image on another computer if possible.
Test one change at a time. If you change the light, resolution, exposure, and software together, you may not know which fix worked.
Save a short recording before and after each major change. This creates a clear comparison and can help you spot whether the issue is grain, blur, compression, or poor focus.
When You Should Replace Your Webcam
A new webcam may be the right choice if your current camera remains grainy in bright, even lighting. Replacement is also worth considering if the camera has a damaged lens, broken focus, flickering, or a very low maximum resolution.
Look for these features:
• At least 1080p resolution for regular video calls
• Good low-light performance
• Automatic or adjustable exposure
• A glass or high-quality lens
• Reliable autofocus or fixed focus at your normal distance
• A privacy shutter
• A stable USB connection
Do not choose a webcam based only on megapixels or resolution. Sensor size, lens quality, software support, and lighting performance matter just as much.
For a home office, a 1080p webcam is often enough. Streamers, teachers, and creators may benefit from a camera with manual controls, a larger sensor, or interchangeable lenses.
A smartphone can also serve as a webcam through supported software. Many modern phones have better sensors than basic laptop cameras. However, this setup may use more battery and require a stable mount.
Webcam Grain vs. Blur, Flicker, and Compression
Knowing what you see can make troubleshooting much faster.
Grain looks like tiny dots or colored specks. It usually points to poor lighting, high digital gain, or a weak camera sensor.
Blur makes edges look soft. It may come from a dirty lens, incorrect focus, motion, or a low-quality lens.
Flicker appears as changing brightness or dark bands. It may come from LED lighting, fluorescent bulbs, or a mismatch between the camera’s shutter speed and the light’s frequency.
Compression creates blocks, smears, or lost detail. It often appears during a video call but not in the local camera preview.
A frozen image or black screen may indicate a permission problem, driver error, USB issue, or hardware failure. These symptoms require a different fix from ordinary webcam grain.
Common Webcam Mistakes to Avoid
Many people make the image worse while trying to improve it. Avoid increasing brightness to the highest level, because this can add noise and remove facial detail.
Do not place a strong light directly behind you. The camera may expose for the bright background and leave your face too dark.
Avoid digital zoom whenever possible. Digital zoom enlarges existing pixels and can make your webcam look grainy. Move the camera closer instead, while keeping a natural and comfortable frame.
Do not cover the lens with a thick privacy sticker. Some covers sit close enough to the lens to create blur or glare.
Finally, do not assume that a new webcam will fix every problem. Poor lighting, weak internet, and incorrect app settings can affect even a high-end camera.
Frequently Asked Questions About Why Is My Webcam Grainy
Why is my webcam grainy in low light?
Your webcam increases electronic gain when the room is dark. This makes the image brighter but adds visible noise. Place a soft light in front of your face to reduce the grain.
Why is my webcam grainy even in good lighting?
The lens may be dirty, the camera may use low-quality hardware, or the app may be lowering the video quality. Test the webcam in a local camera app, then check its resolution and exposure settings.
Can a dirty webcam lens cause grain?
Yes. Dust, fingerprints, and oil scatter light and reduce sharpness. Clean the lens gently with a dry microfiber cloth before changing advanced settings.
Does internet speed affect webcam grain?
Yes, especially during live calls. A weak upload connection can cause video compression, which may look like grain, blocks, or smeared detail. Test the camera outside the call to see whether the internet is the cause.
Will a better webcam remove grain?
A better webcam can help, especially if it has a larger sensor and stronger low-light performance. However, it still needs enough light and correct software settings to produce a clean image.
Why is my webcam grainy on Zoom or Teams but clear elsewhere?
The meeting app may be reducing resolution because of bandwidth, computer performance, or its own camera settings. Open the app’s video settings and compare its preview with the camera’s local preview.
How can I make my laptop webcam less grainy?
Clean the lens, add front lighting, select the highest stable resolution, and update your system. If the built-in camera still performs poorly, an external 1080p webcam may provide a clear improvement.
Conclusion
A grainy webcam is usually caused by poor lighting, a dirty lens, low resolution, incorrect exposure, software problems, USB issues, or video compression. Start with the simplest fixes: clean the lens, add soft light in front of you, check the camera settings, and test the webcam outside your meeting app.
If the image remains noisy in bright conditions, the camera may have limited hardware or physical damage. Apply the steps in this guide one at a time, then consider a reliable 1080p webcam if your current device cannot meet your needs. Try the fixes today, and share your results or questions in the comments.