Your laptop camera may not turn on because permissions, drivers, another app, or hardware is blocking it.
If you are asking, “why won’t my laptop camera turn on,” the cause is often simple to fix. Privacy settings, a covered lens, a stuck video app, outdated drivers, and system updates can all stop your camera from working. This guide explains each likely cause and gives safe steps for Windows and Mac users.
Why won’t my laptop camera turn on?
A laptop camera needs three things to work: power, system access, and app permission. If any one of these fails, your camera may show a black screen, display an error, or not appear at all.
The most common causes include:
• The camera privacy shutter is closed.
• A keyboard key has disabled the camera.
• Windows or macOS has blocked camera access.
• Another app is already using the camera.
• Your camera driver is missing or outdated.
• A browser has not received camera permission.
• A recent update has caused a software conflict.
• The camera hardware is damaged or disconnected.
When people ask why won’t my laptop camera turn on, I first check the simple causes. A blocked permission or closed shutter is much more common than a broken camera.
Quick checks before changing settings
Before changing drivers or system files, try these fast checks. They take only a few minutes and often solve the problem.
-
Restart your laptop. This closes hidden apps that may still be using the camera.
-
Open the camera cover or move the privacy slider beside the lens.
-
Look for a camera key on your keyboard. It may show a camera icon or a camera with a line through it.
-
Disconnect external webcams, USB hubs, and docking stations.
-
Open the built-in Camera app instead of starting with Zoom or Google Meet.
-
Test the camera in a well-lit room. A very dark image can look like a failed camera.
-
Check whether your laptop has a physical camera switch on the side.
If the camera works in the built-in app but not in Zoom, Teams, or a browser, the hardware is likely fine. The problem is probably inside the app’s permission or camera settings.
A common mistake is to keep testing the same video call app. Instead, use the built-in camera tool first. This separates a system problem from an app problem.
:max_bytes(150000):strip_icc()/001-how-to-fix-it-when-a-lenovo-laptop-camera-is-not-working-850fa2d56fc34ef1899ca68a11b9ab9e.jpg) changing settings”
changing settings”
style=”max-width: 100%; height: auto; border: 2px solid black; border-radius: 10px; display: block; margin: 0 auto;”
loading=”lazy”
/>
Check camera privacy settings in Windows
Windows includes privacy controls that decide which apps can use your camera. A Windows update, security tool, or manual setting can turn off this access.
Follow these steps:
-
Open Settings.
-
Select Privacy & security.
-
Choose Camera.
-
Turn on Camera access.
-
Turn on Let apps access your camera.
-
Turn on Let desktop apps access your camera.
The last setting matters for programs such as Zoom, Microsoft Teams, Skype, Discord, and most web browsers. If desktop access is off, the camera may work in one Windows tool but fail in another.
Also check the permission for the specific app. If Zoom cannot access your camera, close Zoom fully, change the permission, and reopen the app.
If you are still wondering why won’t my laptop camera turn on after changing privacy settings, continue with the driver checks below.

Fix the camera driver in Windows
A driver is software that helps Windows communicate with the camera. If the driver is outdated, damaged, or disabled, the camera may disappear from your system.
To check the driver:
-
Right-click the Start button.
-
Open Device Manager.
-
Expand Cameras, Imaging devices, or Sound, video and game controllers.
-
Look for your built-in camera.
-
Right-click it and select Enable device if that option appears.
-
Choose Update driver.
-
Select Search automatically for drivers.
If Windows cannot find a driver, visit your laptop maker’s official support page. Search by the exact model number, then download the camera or chipset driver made for your version of Windows.
Avoid random driver websites. They may provide incorrect files or unwanted software. Official manufacturer pages are safer and more reliable.
You can also uninstall the camera device in Device Manager and restart the laptop. Windows may reinstall it automatically. Use this step only after trying the easier options.

Check camera settings on a Mac
Mac users should check app permissions and the app’s selected camera. macOS may block access until you approve it.
On newer versions of macOS:
-
Open the Apple menu.
-
Select System Settings.
-
Choose Privacy & Security.
-
Select Camera.
-
Turn on access for the app you want to use.
On older Mac versions, these options may appear under System Preferences and Security & Privacy. The names can vary slightly by macOS version.
Next, open the video app and check its camera choice. In Zoom, Teams, FaceTime, or another app, look for Video settings and select the built-in camera.
If the green camera indicator does not appear when an app should be using the camera, quit the app and restart your Mac. If the issue continues, install available macOS updates and test the camera again.

Fix camera problems in Zoom, Teams, and browsers
Sometimes the camera works, but the selected app cannot use it. This is common after installing a new video app or joining a meeting in a browser.
Try these steps:
• Close every video app, including Zoom, Teams, Skype, FaceTime, Discord, and browser tabs.
• Reopen only the app you need.
• Open the app’s video settings.
• Select the built-in laptop camera.
• Check that the video preview is not disabled.
• Allow camera access when the app asks for permission.
For Chrome and other browsers, select the lock or settings icon near the website address. Open the site permissions, find Camera, and choose Allow. Then reload the meeting page.
If the browser lists several cameras, select the correct one. An old USB webcam or virtual camera can sometimes become the default choice.
This explains why won’t my laptop camera turn on for one website but work elsewhere. The website may have permission, device, or browser settings that differ from your operating system.

Find out whether another app is using the camera
Most laptop cameras support only one main video session at a time. If another app has control, your preferred app may show a black screen or report that no camera is available.
Close apps that commonly use the camera:
• Zoom
• Microsoft Teams
• Skype
• FaceTime
• Discord
• Slack
• Google Meet tabs
• Camera filters and virtual background tools
On Windows, open Task Manager with Ctrl + Shift + Esc. Find the video app, select it, and choose End task. On a Mac, press Command + Option + Escape, select the frozen app, and choose Force Quit.
Use Force Quit only when a normal close does not work. Unsaved work in that app may be lost.
A full restart is also useful because some background services do not close correctly. This is one of the simplest answers to why won’t my laptop camera turn on after a video meeting.
What a black screen or error message means
Different symptoms can point to different causes. The exact message may vary by laptop brand and operating system.
A black screen may mean:
• The lens is covered.
• The room is too dark.
• The camera is disabled.
• Another app is using it.
• A virtual camera is selected.
A message such as “camera not found” may mean:
• The driver is missing.
• The camera is disabled in Device Manager.
• The camera is disabled in BIOS or UEFI.
• The hardware is disconnected or damaged.
A message such as “permission denied” usually points to privacy settings. Check both operating system permissions and the video app’s permissions.
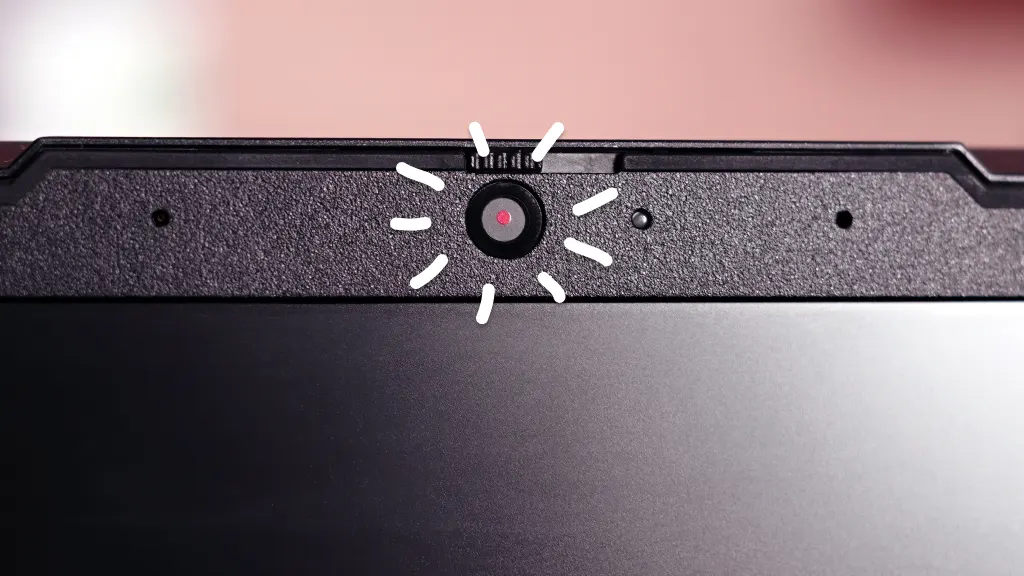
If the camera light turns on but the image stays black, avoid covering the lens while testing. Some laptops use the indicator light to show that the camera is active.

Check BIOS, UEFI, and security software
Some business laptops allow the built-in camera to be disabled in BIOS or UEFI. This setting works below Windows, so normal app permissions cannot turn the camera back on.
Restart the laptop and open the BIOS or UEFI menu. The key may be F2, F10, F12, Delete, or Esc, depending on the manufacturer. Look for a setting called Integrated Camera, Webcam, or Camera Device.
Only change the camera setting. Do not change unrelated boot or security options.
Security software can also block camera access. Antivirus programs and privacy tools may include webcam protection. Open the security app and check whether it has blocked your browser or meeting software.
Do not disable security protection for a long period. If you test this option, turn protection back on immediately and add a trusted app permission instead.
When the laptop camera may be physically damaged
Software fixes cannot repair a damaged camera. Hardware trouble becomes more likely when the camera is missing from Device Manager, fails in every app, and does not respond after a restart.
Look for these signs:
• The camera disappeared after a drop or screen repair.
• The camera cable may have been pinched near the hinge.
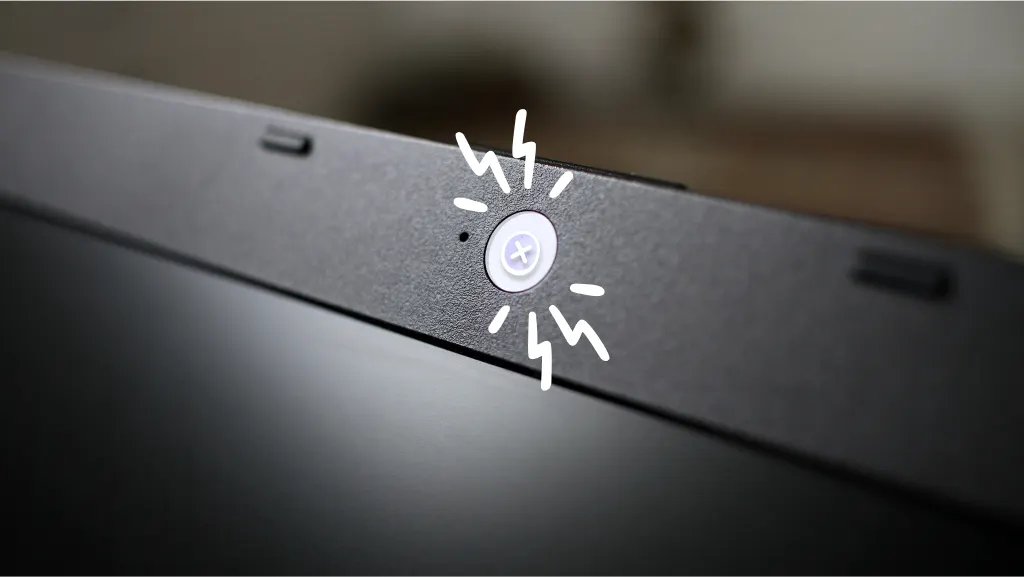
• The lens is cracked or visibly damaged.
• The camera fails in both Windows and the manufacturer’s hardware test.
• The laptop shows a camera hardware error.
If your laptop is under warranty, contact the manufacturer before opening it. Removing the display bezel may affect warranty coverage and can damage thin cables.
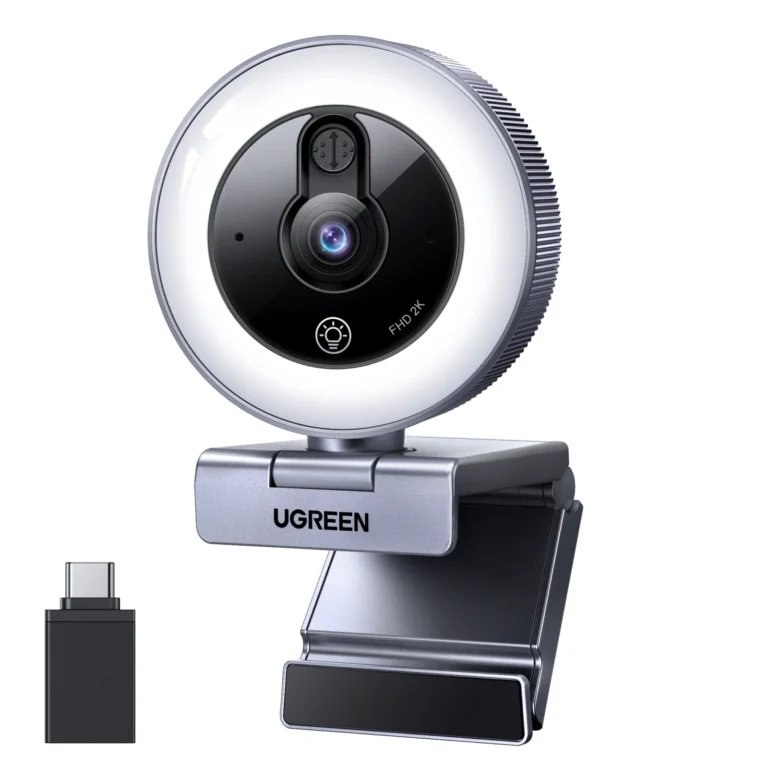
For an older laptop, an external USB webcam may cost less than a repair. It also gives you a quick way to confirm that the problem is limited to the built-in camera.
A practical troubleshooting order
When I troubleshoot camera issues, I use the least risky steps first. This avoids wasting time and prevents unnecessary system changes.
Use this order:
-
Open the camera shutter.
-
Press the camera privacy key.
-
Restart the laptop.
-
Test the built-in Camera app.
-
Check Windows or macOS camera permissions.
-
Close other video apps.
-
Select the correct camera in the app.
-
Update the operating system.
-
Update or reinstall the camera driver.
-
Check BIOS or UEFI settings.
-
Run the manufacturer’s hardware test.
-
Contact support or use an external webcam.
This order helps answer why won’t my laptop camera turn on without jumping straight to advanced repairs. It also creates a clear record of what you have already tested.
Mistakes to avoid when fixing a laptop camera
A few common mistakes can make camera problems harder to solve.
• Do not download drivers from unknown websites.
• Do not repeatedly uninstall devices without restarting.
• Do not change several settings at once.
• Do not assume a black screen means the camera is broken.
• Do not leave antivirus protection disabled.
• Do not open the laptop while it is under warranty.
• Do not give camera access to unknown websites or apps.
Make one change at a time, then test the camera. This simple habit shows which step fixed the problem and makes future troubleshooting easier.
It is also wise to cover the camera when you are not using it. A physical cover can protect privacy, but remember to open it before testing the camera.
How to prevent future camera problems
A few habits can reduce repeat camera failures.
• Keep Windows or macOS updated.
• Install drivers from your laptop manufacturer.
• Review camera permissions after major system updates.
• Close video apps when you finish a call.
• Keep the camera lens clean with a soft, dry cloth.
• Avoid blocking the camera with stickers or thick covers.
• Use a trusted antivirus program.
• Record your laptop model and operating system version.
If your work depends on video calls, test the camera before an important meeting. Open the camera app, check the image, and confirm that your microphone also works.
This small check can prevent the stressful moment when you ask why won’t my laptop camera turn on just before a job interview or online class.
Frequently Asked Questions About Why Won’t My Laptop Camera Turn On
Why won’t my laptop camera turn on even though the light is on?
The camera may be active but blocked by an app, privacy setting, or selected virtual camera. Close other video apps, check permissions, and select the built-in camera in your video settings.
How do I turn on my laptop camera?
Open the built-in Camera app and approve access if requested. If nothing happens, check the physical shutter, camera keyboard key, and operating system privacy settings.
Why does my laptop camera show a black screen?
A covered lens, poor lighting, wrong camera selection, or another app may cause a black screen. Test the camera in a bright room using the built-in camera app.
Why is my camera not showing in Device Manager?
The camera may be disabled, missing its driver, or affected by a hardware problem. Restart the laptop, check hidden devices, install the official driver, and run the manufacturer’s hardware test.
Why does my camera work in the Camera app but not Zoom?
Zoom may lack permission or may be using the wrong camera. Open Zoom’s video settings, select the built-in camera, and allow camera access in your operating system.
Can a Windows update stop my laptop camera from working?
Yes, an update can change permissions or create a driver conflict. Check camera privacy settings first, then install the latest driver from the laptop manufacturer.
Should I buy an external webcam?
An external webcam is useful if the built-in camera has physical damage or cannot be repaired affordably. It can also provide better image quality and more flexible placement.
Conclusion
The answer to why won’t my laptop camera turn on is usually linked to privacy settings, a disabled camera key, another app, driver trouble, or a hardware fault. Start with the lens, restart, permissions, and built-in camera app before trying advanced fixes.
Work through the steps in order and test after each change. Most camera problems can be solved without opening the laptop, but persistent failures may need manufacturer support or an external webcam. If this guide helped, share it with someone preparing for their next video call or explore more laptop troubleshooting tips.