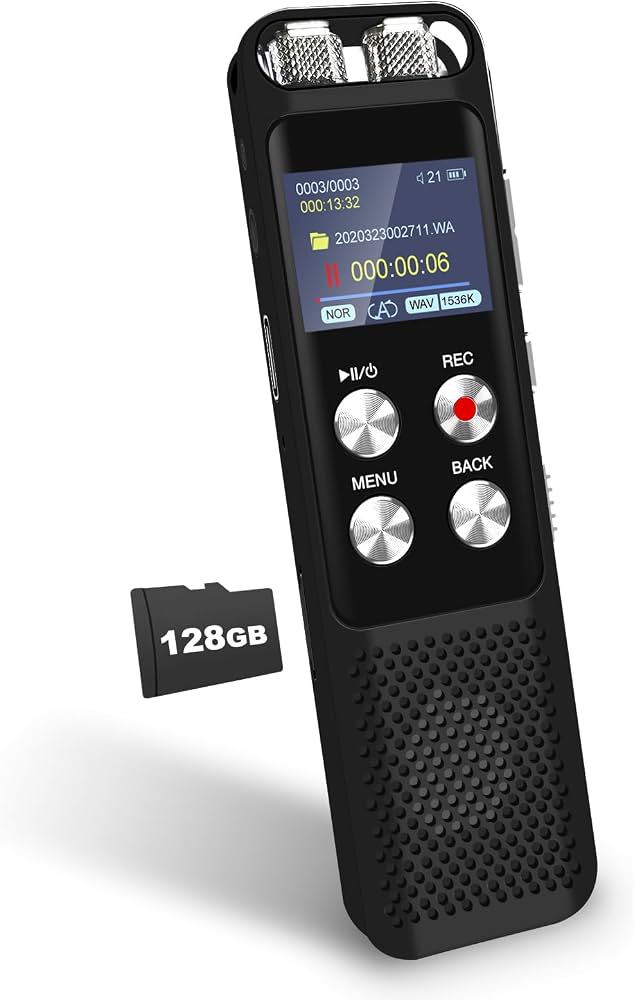
Build a simple, portable voice recorder using an ESP32, I2S mic, SD card, and basic code in hours.
I’ve built several pocket recorders and taught workshops on DIY audio gear, so I’ll walk you through how to build a voice recorder step by step. This guide explains parts, wiring, firmware choices, testing, legal and safety notes, and real-world tips from hands-on experience. Follow along to create a reliable recorder for notes, interviews, or hobby projects.

Why build your own voice recorder?
Making your own voice recorder gives you control over sound quality, features, and privacy. Off‑the‑shelf units can be costly, locked down, or record in unwanted cloud services. When you know how to build a voice recorder, you can choose components for battery life, storage, and audio fidelity.
A DIY recorder also teaches useful skills: soldering, basic electronics, file systems, and embedded coding. You will learn to match a microphone to an ADC, manage SD card writes, and optimize power. This knowledge lasts far beyond the single project.

Key components and tools you need
Below is a compact list of parts that cover most DIY voice recorder builds. I focus on a standalone, battery-powered recorder using common hobby hardware.
Parts
- Microcontroller: ESP32 (I2S support and SD card SPI).
- Microphone: I2S MEMS mic (digital) or electret condenser + preamp (analog).
- Storage: microSD card module or shield and adapter.
- Power: 3.7V LiPo battery, charger module (TP4056), and a boost/regulator if needed.
- User interface: pushbutton(s), small OLED or LEDs for status, on/off switch.
- Optional: small speaker or headphone jack for playback.
- Enclosure: 3D-printed or project box for portability.
Tools
- Soldering iron, solder, wire cutters.
- Multimeter for testing voltages and continuity.
- USB cable for programming.
- Breadboard for prototyping.
I recommend an ESP32 because it handles I2S mics, SD cards, and has enough CPU for simple WAV encoding. If you want higher audio quality and easier coding, a Teensy board is also a good choice.

Two practical builds: a portable ESP32 recorder and a simple Arduino+PC recorder
Below are two clear options. The first is a self-contained recorder. The second records to your computer and is easier for beginners.
Build A — Portable standalone recorder (ESP32 + I2S mic + SD)
This is my go‑to setup when portability matters.
Materials specific to this build
- ESP32 development board.
- I2S MEMS microphone module (e.g., INMP441 or similar).
- microSD breakout with level shifters or proper 3.3V interface.
- LiPo battery and TP4056 charger.
- Momentary pushbutton(s) and LED indicators.
Wiring overview
- Connect I2S mic to ESP32 I2S pins (WS/LRCL, SCK, SD).
- Connect SD card module to SPI pins (MOSI, MISO, SCLK, CS).
- Wire battery to TP4056 and then to ESP32 Vin or a boost converter if needed.
- Add a pushbutton to a GPIO for record/stop and an LED on a GPIO for status.
Software steps
- Choose an audio library that supports I2S input and SD writing.
- Record raw PCM or write WAV headers and stream data to SD to avoid corrupt files.
- Implement debounced button logic to start/stop recording.
- Add simple metadata: timestamped file names using an RTC or counter.
Practical tips
- Use a circular buffer to avoid SD card pauses causing clicks.
- Write WAV headers after stopping a file, or use a preallocated header and update lengths later.
- Test sample rates at 16 kHz or 32 kHz for voice; 44.1 kHz is higher quality but uses more space.
Build B — Simple Arduino + computer recorder (easy beginner method)
This method records audio to your PC and is good for testing microphones and code.
Materials
- Arduino Uno or similar.
- Electret microphone module with amplifier (MAX9814 or simple preamp).
- USB cable and audio recording software on PC.
Steps
- Connect the mic module to power, output to an analog input.
- Send ADC samples over serial at a compatible baud rate.
- Use a PC program to capture serial data and write WAV files.
- Alternatively, plug mic into the PC’s audio input and use Audacity for instant recording.
Limitations
- Arduino ADC is low quality and slow; use this for experiments, not high fidelity.
- Serial streaming can drop samples at high rates; lower sample rate or buffer on device.
Software, file formats, and code tips
Choose the right format and coding approach for your needs. Simpler setups write raw PCM or WAV. More advanced projects compress to MP3 or OGG, but that needs more CPU and libraries.
File format guidance
- WAV: simple, uncompressed, easy to implement, and best for quality.
- PCM: raw stream without headers; use for fast writes and add headers later.
- MP3/AAC: smaller files, but require encoder libraries and more CPU power.
Coding tips
- Always write data in blocks that match SD card write sizes to reduce wear and latency.
- Use a real-time buffer and double buffering to avoid glitches.
- Test with multiple SD cards; cheap cards can be unreliable.
- Verify file integrity by writing headers only after closing a file or by updating size fields when done.
Personal tip: I used an I2S mic with an ESP32 and a ring buffer of 32 KB. That stopped most SD write glitches. Test with the slowest SD cards you plan to use.

Testing, troubleshooting, and practical tips
Testing steps
- Verify power rails: measure 3.3V and battery outputs.
- Validate mic output: check with an oscilloscope or audio input on a PC.
- Confirm SD card mounts and that you can create and list files.
- Run a short recording and play back on a PC.
Common problems and fixes
- No audio recorded: check mic wiring and power. Some mics need bias or VCC.
- Corrupt files: ensure WAV header values are updated after writing.
- Clicks/pops: increase buffer size and align writes to block boundaries.
- Battery drains fast: check sleep modes and power gating for peripherals.
Lessons learned from my builds
- Use a solid enclosure. Microphones are sensitive to handling noise.
- Label pins and document wiring as you go. This saves debugging time.
- Protect the SD card contacts with a small slot; loose cards cause corruption.

Safety, legal, and ethical considerations
Building a device is fun, but obey laws about recording. Many places require consent to record private conversations. Always respect privacy and local law.
Safety tips
- Use proper battery charging modules to avoid fire risk.
- Ensure correct voltage levels to avoid frying the microcontroller.
- Keep loose wires insulated and secure within the enclosure.
Ethics
- Inform subjects when recording interviews.
- Do not use devices to record people without permission.
Frequently Asked Questions of how to build a voice recorder
What microcontroller is best for a DIY voice recorder?
ESP32 is a strong choice because it supports I2S microphones, has enough RAM and CPU, and can interface with SD cards. For higher audio quality and easier audio libraries, consider Teensy boards.
Can I use a smartphone mic or a USB microphone?
Smartphone mics are usually integrated and not easy to reuse, but USB mics can be used with single-board computers like Raspberry Pi. For simple DIY, choose I2S MEMS or electret mics.
How long can a recorder run on a small LiPo battery?
Run time depends on power draw. A well-optimized ESP32 recorder can run several hours on a 2000 mAh battery if you optimize sleep and power. Always test with your exact setup.
Is WAV better than MP3 for voice notes?
WAV is lossless and easy to implement; it provides better quality and is simpler for embedded projects. MP3 saves space but needs an encoder and more CPU power.
How do I prevent file corruption when power is lost?
Use journaling techniques: write smaller chunks, close files often, or maintain two files and swap. Add a small capacitor or controlled shutdown routine if possible.
Conclusion
Building a voice recorder is a rewarding mix of electronics, software, and practical design. You learned what components to pick, how to wire and code a basic recorder, ways to test and fix issues, and the legal and safety points to watch. Start small with a breadboarded prototype, then move to a polished enclosure and reliable firmware. Try an ESP32 I2S build if you want a compact, standalone device, and iterate from there.
Ready to build? Pick your parts, sketch the wiring, and make your first test recording today. Share your project, ask questions below, or subscribe to follow more hands‑on guides.