Use your phone or a digital recorder, press record, speak clearly, save, label, and share files.
I’ve taught workshops and coached students on how to use voice recorder tools for years. This guide explains how to use voice recorder devices and apps clearly. You will learn practical steps, settings tips, transcription tricks, and real-world advice I learned from hands-on use. Read on to master voice recording for interviews, lectures, notes, and podcasts.
Why use a voice recorder?
A voice recorder captures audio quickly. It saves time and keeps precise details. You can record interviews, lectures, ideas, and meetings. Recording prevents forgotten details and reduces note-taking stress.
- Benefits: Accurate records, easy sharing, searchable files.
- Use cases: Journalism, study notes, meeting minutes, podcasts.
- Limitations: Background noise, battery life, privacy concerns.
Using a voice recorder well means choosing the right device, learning settings, and organizing files. That is what this article covers in depth. I will show practical steps and common mistakes to avoid.
Types of voice recorders and when to choose them
There are several ways to record voice. Each fits different needs.
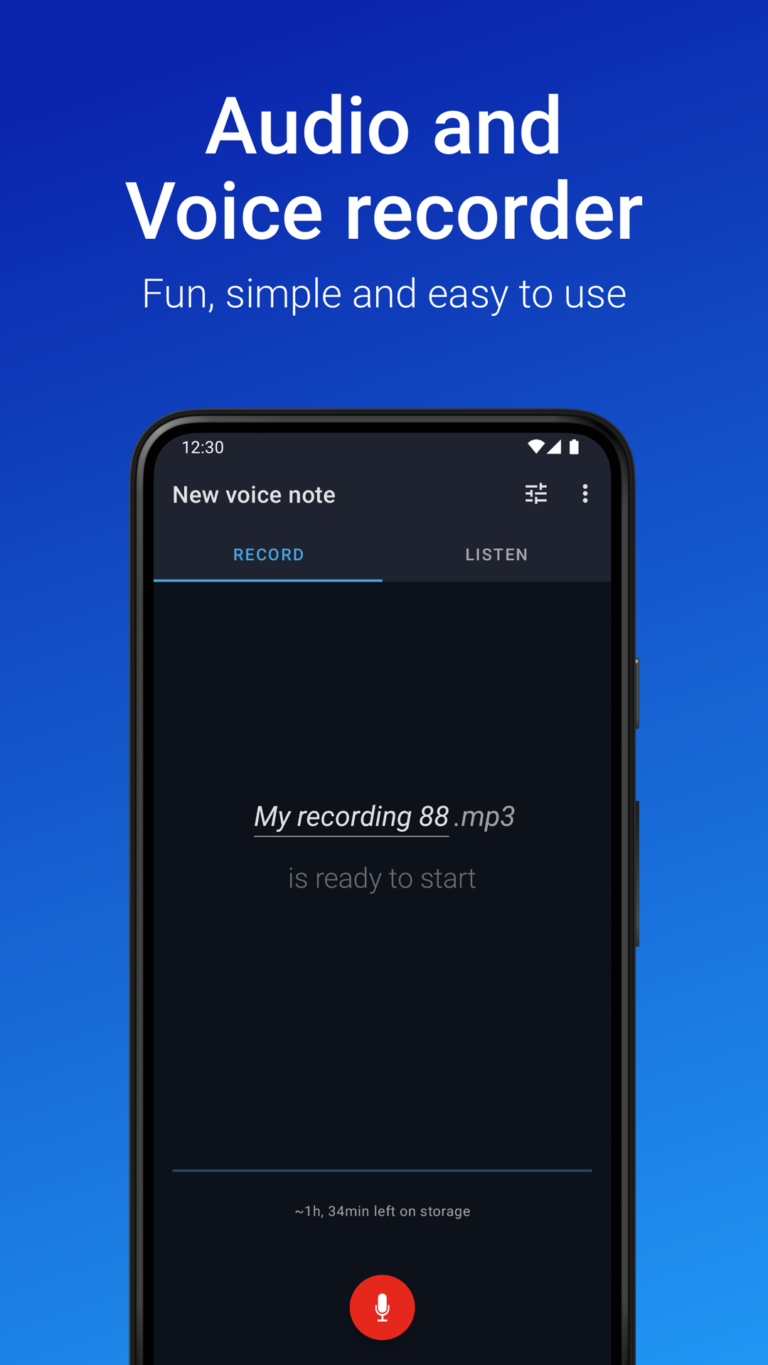
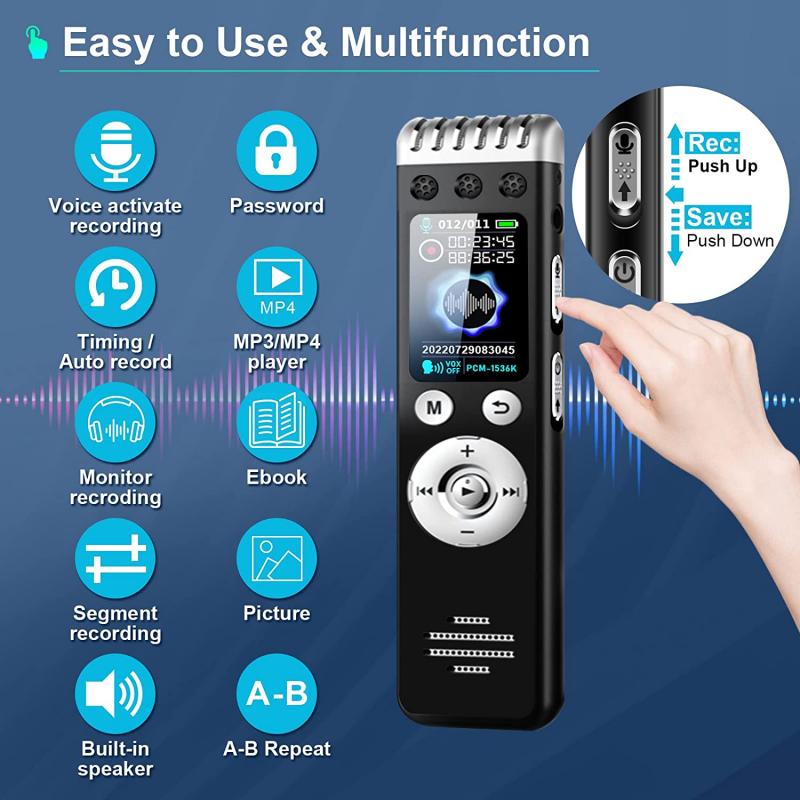
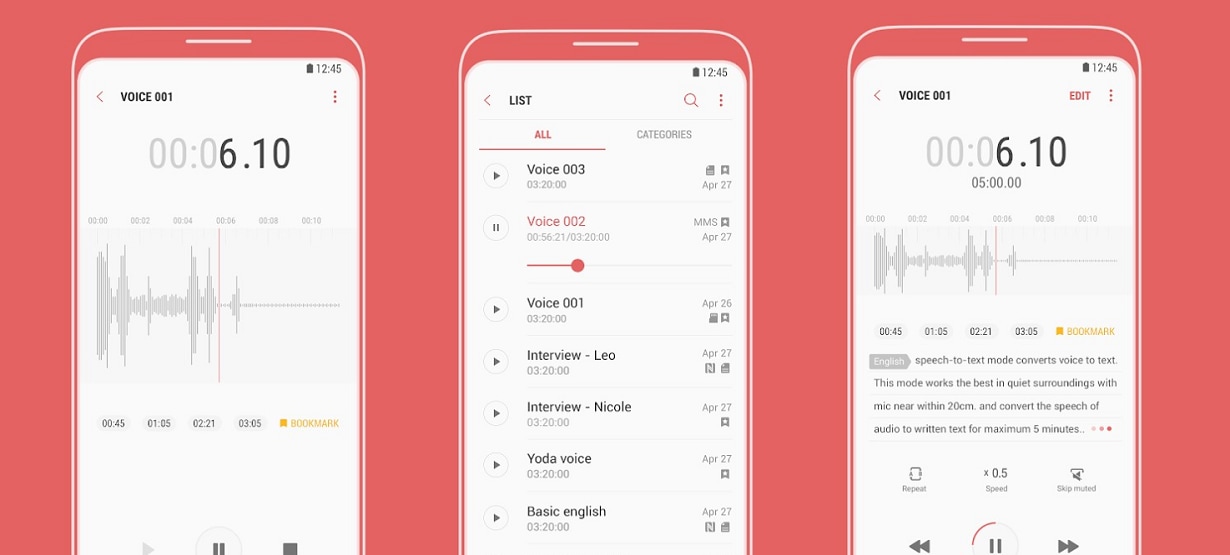
- Smartphone apps: Built-in or third-party apps. Best for quick notes and interviews on the go.
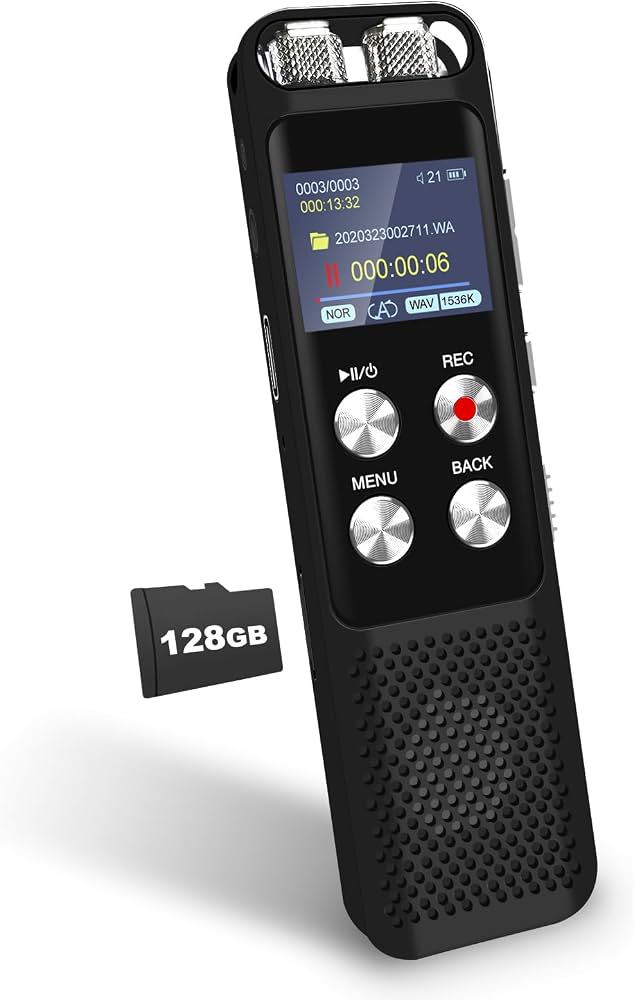
- Dedicated digital recorders: Handheld devices with better mics and battery life. Best for long interviews or field work.
- USB microphones and recorders: Use with a computer. Best for podcasts and studio-quality audio.
- Smart pens and wearable recorders: Record and link notes. Best for students and meetings.
Choose based on audio quality, portability, battery, and file format. I recommend a simple phone app for starters. Move to a dedicated recorder if you need higher fidelity or longer recording times.
How to use voice recorder: step-by-step
This step-by-step section covers exactly how to use voice recorder tools for the best results.
- Prepare the device
- Charge the battery fully before recording.
- Clear storage or free space on the device.
- Test the microphone quickly to confirm it works.
- Choose format and quality
- Select WAV for high quality or MP3 for smaller files.
- Pick a sample rate of 44.1 kHz for general use.
- Use higher bitrates for music or podcasts.
- Set up the recording environment
- Find a quiet room or use a directional microphone.
- Position the microphone 6 to 12 inches from the speaker.
- Reduce echoes with soft furnishings or blankets.
- Start recording
- Open the app or switch on the recorder.
- Press the record button and speak normally.
- Keep the microphone steady and consistent.
- Monitor while recording
- Use headphones to monitor levels if possible.
- Watch for clipping or red level indicators.
- Pause or stop if there is a loud interruption.
- Save and label files
- Save immediately after stopping the recording.
- Use clear file names with date and topic.
- Add tags or folders for easy retrieval.
- Back up recordings
- Upload to cloud storage or transfer to your computer.
- Keep at least one backup copy for important files.
- Convert files to a common format if you need to share.
3 quick answers people also ask about how to use voice recorder:
- Can I use my phone as a professional voice recorder? Yes. Use a high-quality app, an external mic, and quiet space to improve quality.
- How close should I hold the recorder? Aim for 6 to 12 inches for clear voice capture without distortion.
- What format should I record in? WAV for quality, MP3 for small files and easy sharing.
This set of steps teaches you how to use voice recorder reliably. Follow them to get cleaner audio and better file management.

Settings and tips for best recordings
Good settings make a big difference. These tips help you avoid common audio problems.
- Microphone gain: Set input levels so normal speech peaks below clipping.
- Noise reduction: Use a pop filter or windscreen to cut plosives and wind.
- Mono vs stereo: Use mono for single-speaker interviews and stereo for music or multiple sources.
- Auto gain control: Turn off on some apps to avoid sudden volume shifts.
- Sample rate and bitrate: Higher values equal better audio but larger files.
Practical tip from experience: Always do a short test recording and listen back. A one-minute test saves hours of lost work. If you record interviews, ask permission and mention how the recording will be used.
Transcribing and organizing recordings
Turning audio into text and keeping files tidy makes recordings far more useful.
- Manual transcription: Play and type or use foot pedal tools to speed up work.
- Automated transcription: Use tools with typical accuracy varying by audio clarity. Proofread every automated transcript.
- File naming system: Use YYYY-MM-DD_topic_speaker format for consistency.
- Metadata and tags: Add notes about location, participants, and key timestamps.
- Archival: Store important recordings in two places and use lossless formats for long-term storage.
From my experience, adding timestamps every few minutes helps when you review long recordings. It makes finding quotes quick and painless.

Common mistakes and troubleshooting
Avoid these frequent errors when you learn how to use voice recorder.
- Forgetting to charge: Always check battery levels before long sessions.
- Low storage: Clear space and carry extra memory cards if possible.
- Bad placement: Tiny changes in mic distance can change sound drastically.
- Ignoring monitoring: Not wearing headphones means you may miss noise or clipping.
- Over-reliance on auto settings: Auto gain or noise suppression can harm natural voice quality.
Troubleshooting quick fixes:
- Distorted audio: Reduce gain and increase distance to the mic.
- Background hum: Move away from electronics and try a different room.
- File won’t open: Convert the file format or update your media player.
Personal experience and lessons learned
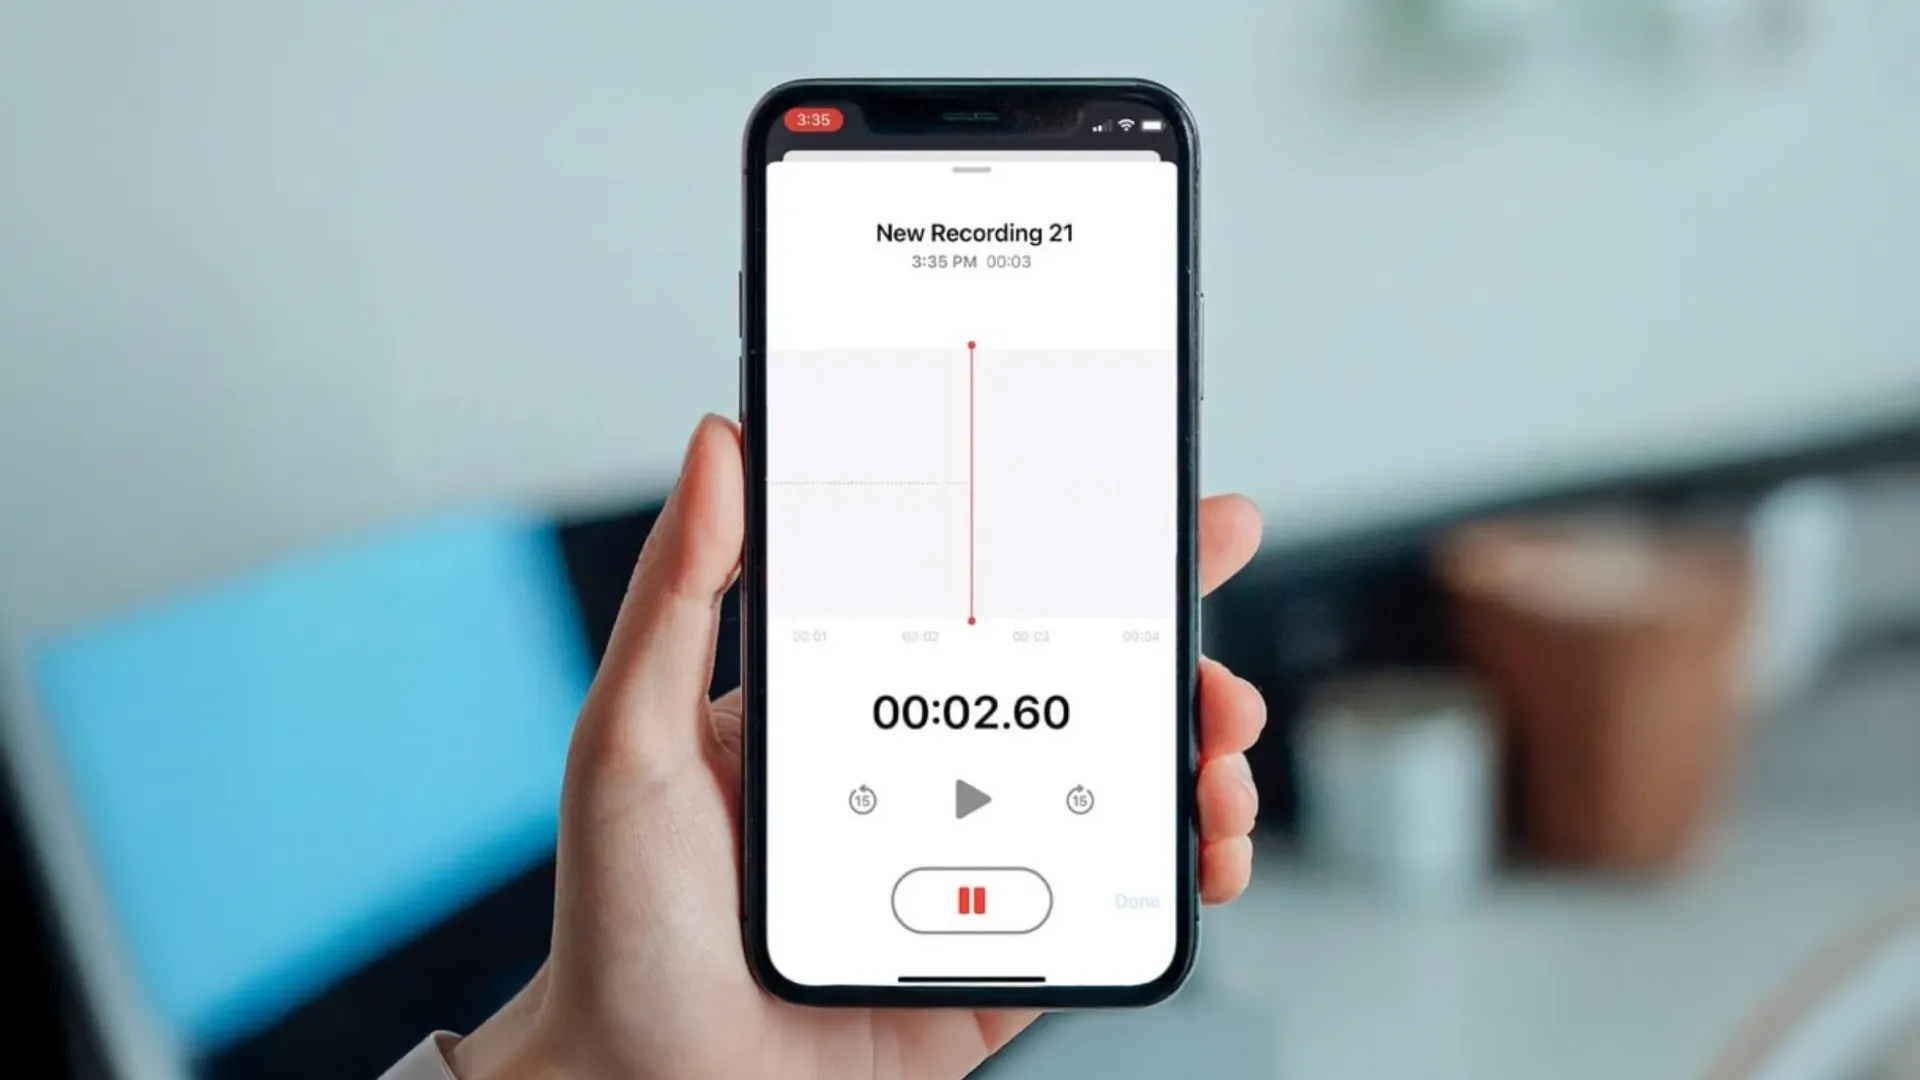
I started recording lectures and interviews with my phone. At first, files were messy and hard to find. I learned to name files clearly. I learned to always test the mic. I learned to back up immediately.
Lessons I share:
- Test gear before important recordings.
- Save and label right away.
- Use short backups in the cloud.
- Keep a small checklist for each session.
A memorable moment: I once recorded an interview without a charged battery. I lost the primary recording but had a backup on my phone. That taught me to always carry two devices for critical work.

Safety, privacy, and legal notes
Recording comes with responsibilities. Follow laws and respect privacy.
- Ask permission before recording people.
- Be aware of one-party vs two-party consent laws in your area.
- Secure sensitive files with passwords or encrypted storage.
- Delete recordings when required or requested.
When in doubt, get consent in writing. That protects you and the people you record.

Frequently Asked Questions of how to use voice recorder
How do I start a recording on my phone?
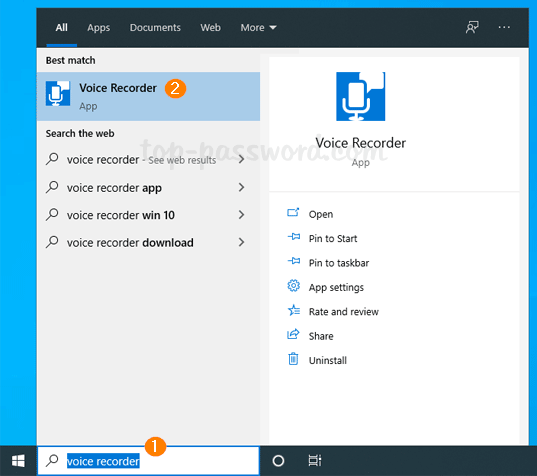
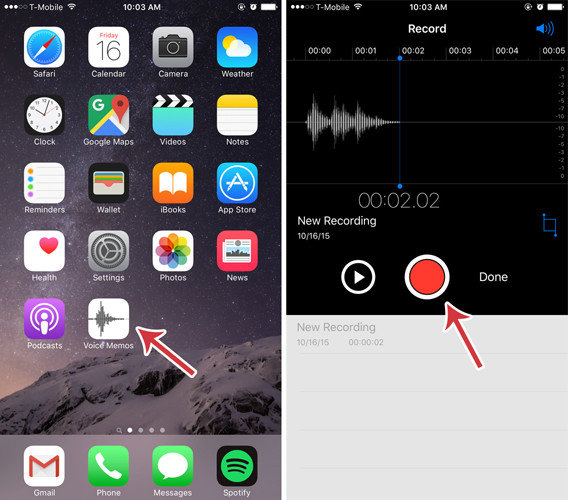
Open your phone’s voice recorder app, tap the record button, and speak. Stop when finished and save the file with a clear name.
Which format gives the best audio quality?
WAV and AIFF provide high quality with larger file sizes. Use MP3 for smaller files and easy sharing.
Can I transcribe recordings automatically?
Yes, automated transcription tools can convert audio to text. Always proofread for accuracy, especially with background noise or accents.
How do I reduce background noise while recording?
Record in a quiet room, use a directional mic, and place soft materials around to absorb echo. Use wind protection outdoors.
What if my recording is distorted or clipped?
Lower the input gain, move the mic further from the speaker, and do another test. If distortion persists, try a different microphone or input.
Is it legal to record conversations without consent?
Laws vary by location. Some places require one-party consent, others require all parties’ consent. Check local laws and obtain permission when unsure.
How do I organize many recordings efficiently?
Use a consistent file name format, add metadata or tags, and store files in dated folders. Back up to cloud and local drives for safety.
Conclusion
You now know how to use voice recorder devices and apps with confidence. Start by choosing the right tool and testing settings. Record clearly, save files with smart names, and back up important audio. Use the tips here to avoid common mistakes and protect privacy. Try a short practice session today, label the file, and share or transcribe it to see how it improves your workflow. If this guide helped, leave a comment or subscribe for more practical tech tips.