Optimize GPU drivers, power, thermals, and VR settings for smooth low-latency VR on laptops.
I’ve tuned many gaming laptops for VR and helped friends get high-quality, low-latency experiences. This guide explains how to optimize a gaming laptop for VR with clear steps, real tips, and easy checks you can do today. Read on to learn the hardware, software, and configuration changes that make VR playable and pleasant on a laptop.
Why optimizing your laptop matters for VR
Virtual reality needs high frame rates, low latency, and steady performance. A laptop that is not tuned will stutter, overheat, or show visual artifacts. These problems break immersion and can cause motion sickness. Optimizing a gaming laptop for VR reduces those risks. I’ll show which settings to change, which parts to watch, and how to balance visuals with performance for a smooth, low-latency VR session.
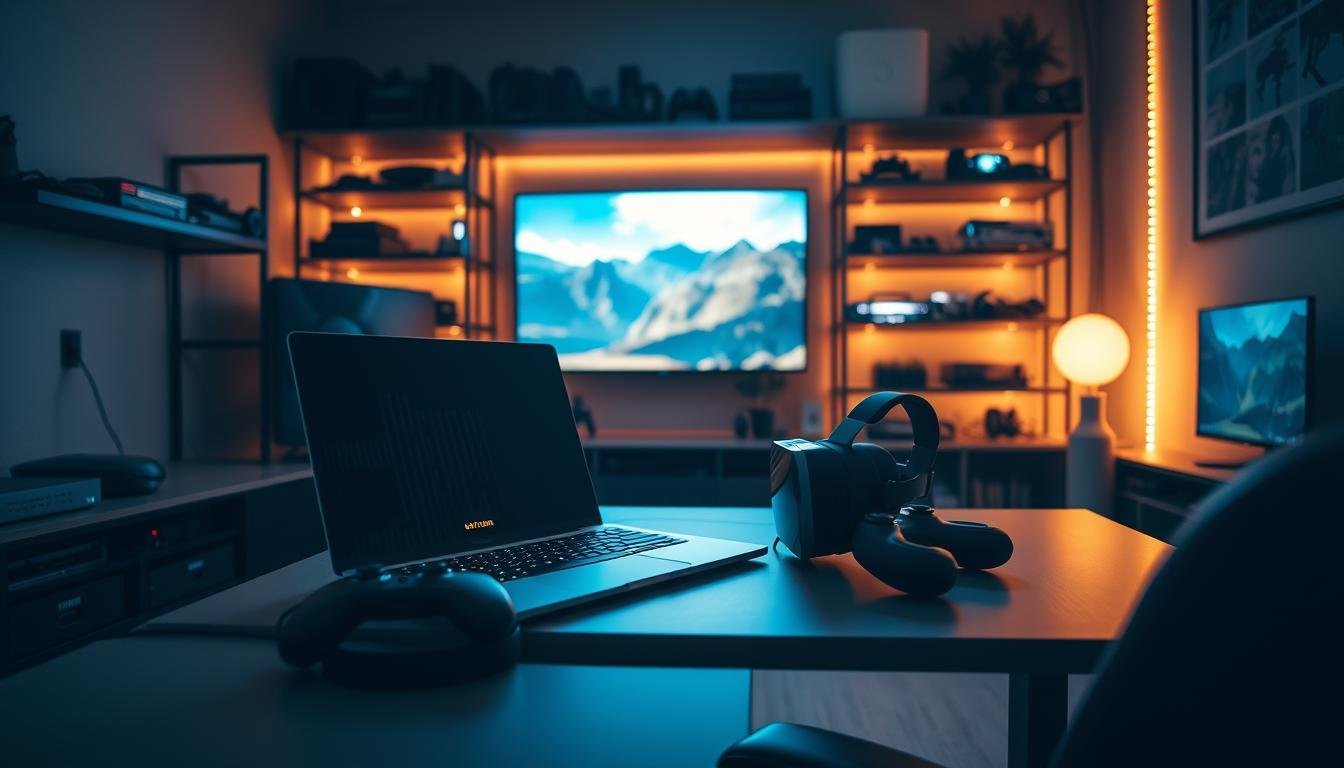
Minimum and recommended specs for VR on a laptop
VR works best when GPU power, CPU speed, and I/O bandwidth match headset needs. Aim for hardware that fits your headset’s resolution and refresh rate. Below are practical targets for baseline and recommended setups.
- Minimum specs to start VR:
- Modern quad-core CPU (Intel i5/Ryzen 5 or equivalent)
- Dedicated GPU equivalent to GTX 1060 or better
- 8 GB RAM
- USB 3.0 and DisplayPort or USB-C with DP Alt Mode
- Recommended specs for smoother experiences:
- Six-core CPU or better (Intel i7/H-Series or Ryzen 5/7 mobile)
- GPU equivalent to RTX 2060 or higher (for headsets with higher res or refresh)
- 16 GB RAM or more
- Fast NVMe SSD for quick load times and smooth streaming
- Headset considerations:
- Higher refresh rates (90 Hz, 120 Hz, 144 Hz) need more GPU headroom.
- Higher resolution increases VRAM demands. Aim for 6–12 GB VRAM depending on headset.
If you know how to optimize a gaming laptop for VR, you can push older hardware further. Small upgrades like 16 GB RAM, a faster NVMe drive, or a USB-C dock that supports DP Alt Mode can unlock noticeably better usability.

Step-by-step optimization checklist
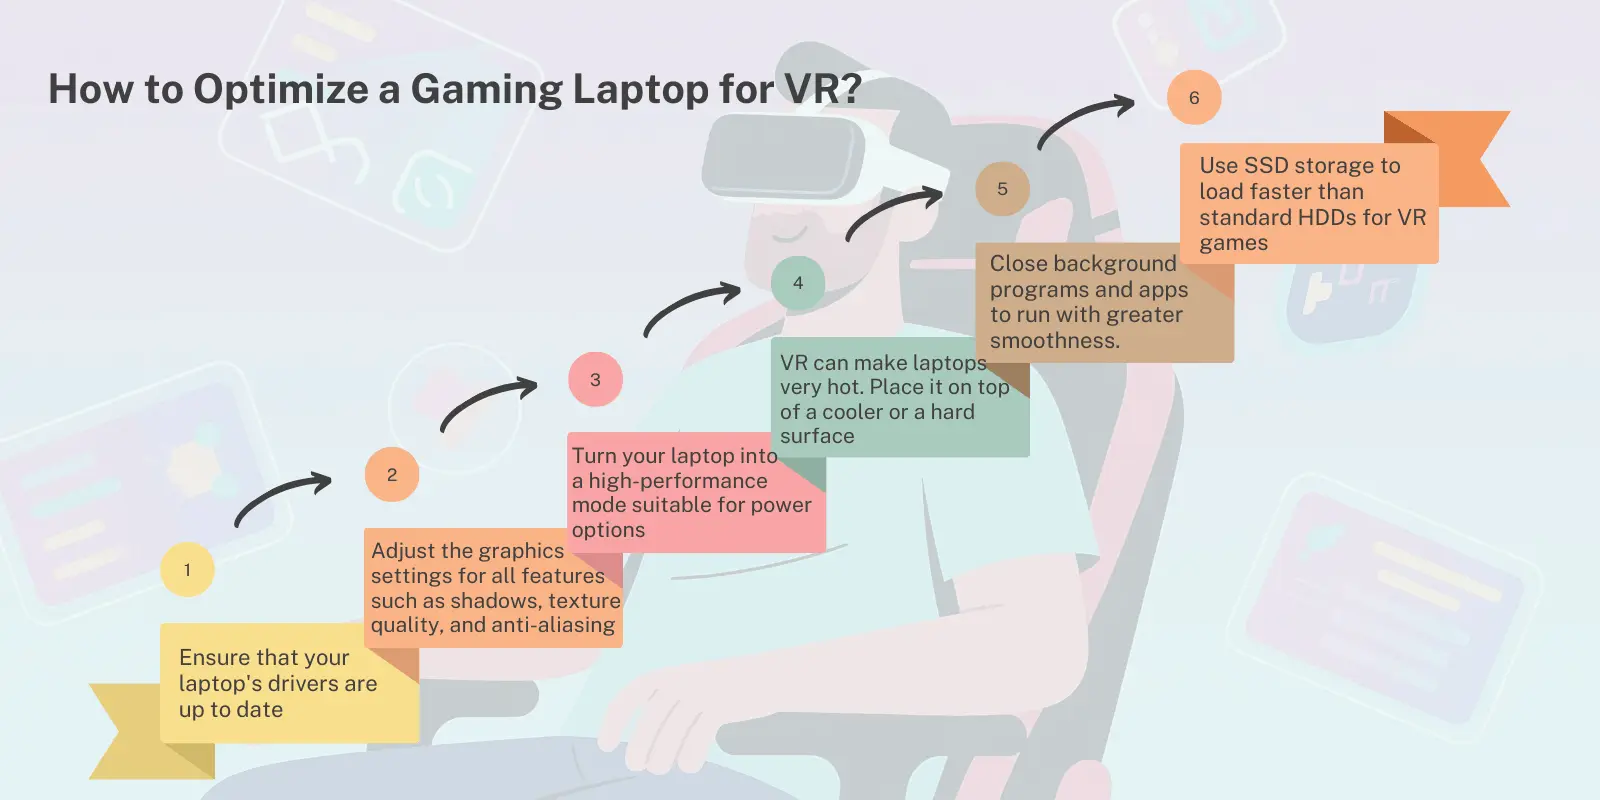
Follow these steps in order. They are practical, easy to apply, and focused on lower latency and stable frames.
- Update drivers and firmware
- Install the latest GPU drivers from the vendor (NVIDIA GeForce Experience or AMD Radeon Software).
- Update your headset firmware and SteamVR/OpenXR runtime. These often fix tracking and latency bugs.
- Use the right connection
- Prefer DisplayPort over HDMI when possible. DisplayPort often offers better bandwidth and fewer handshake issues.
- For USB-C headsets, use certified ports or a tested adapter that supports DisplayPort Alt Mode and USB 3.1+ data.
- Set power and performance modes
- Switch Windows power plan to High performance or create a custom plan to keep clocks high.
- Use the laptop manufacturer’s app to enable max GPU and CPU profiles while plugged in. Disable battery-saving modes.
- Tune in-game and VR platform settings
- Lower render resolution or pixel density in SteamVR or the headset app until frame rates are stable.
- Disable costly effects like motion blur, volumetric lighting, and high-level MSAA.
- Monitor and address thermals
- Use a cooling pad and elevate the laptop rear for airflow. Keep vents clear.
- Clean fans and vents regularly to prevent thermal throttling and clock drops.
- Optimize background processes
- Close unnecessary apps and overlays (Discord overlay, game capture, browser tabs).
- Disable capture and streaming apps before VR sessions to avoid frame spikes.
Practically, I start every session by updating drivers and checking temperatures. That habit avoids many common issues and saves time debugging while in VR.
GPU and render settings for VR
GPU choices and render settings shape the experience. Tune these to reduce latency and keep frame times consistent.
- Resolution and pixel density
- Lower the pixel density in SteamVR or headset app for higher FPS. A 10–20% drop often yields big frame-time gains.
- Set a target resolution that keeps frame times under the headset frame budget (e.g., <16.7 ms for 60 Hz, <11.1 ms for 90 Hz).
- Supersampling and anti-aliasing
- Reduce or turn off supersampling when you see frame drops. Supersampling is expensive on VR GPUs.
- Use temporal anti-aliasing or vendor upscalers like DLSS (NVIDIA) or FSR (AMD/Intel) when supported. These preserve image quality while saving GPU power.
- Latency reduction features
- Enable asynchronous reprojection, motion smoothing, or adaptive sync if your headset and runtime support them. They can smooth frames when drops occur.
- Use fixed foveated rendering (FFR) where supported to reduce pixel work in peripheral vision.
When I test games, I toggle pixel density and a vendor upscaler. Often small reductions in pixel density plus DLSS restore headroom without major visual loss. This approach is a key way to optimize a gaming laptop for VR while keeping image quality high.
CPU, memory, and storage tips
CPU and I/O can bottleneck VR too. These tips help keep frame times stable and reduce stutter from disk or CPU spikes.
- CPU optimization
- Disable unnecessary startup programs and background services. They steal CPU cycles and cause jank.
- Use performance mode to prevent CPU frequency scaling lag. On some machines set a higher minimum CPU clock in BIOS or software.
- Memory and VRAM
- Close memory-hungry apps before VR. Browser tabs, virtual machines, and editors can push RAM usage high.
- Monitor VRAM usage with tools (MSI Afterburner, GPU-Z) to avoid spikes that force texture thrashing.
- Storage and loading
- Run VR apps from an NVMe or fast SSD. This reduces level streaming pauses and texture pop-in.
- Keep at least 20% free drive space to avoid stutters from paging and large temporary files.
I once fixed a stutter issue by moving a VR game to an NVMe drive. After that, level streaming was smooth and frame times improved. Fast storage is an underrated part of VR performance on laptops.
Thermal management and cooling
Thermals are the most common real-world limiter for laptop VR. Heat forces the CPU and GPU to lower clocks. Lower clocks mean higher frame times and more latency. Fix thermals first for consistent VR performance.
- Airflow and placement
- Elevate the laptop so vents get fresh air. Use a stand or props that do not block airflow.
- Use a cooling pad with well-placed fans to direct cool air into intake vents.
- Fan curves and profiles
- Use vendor utilities (Alienware Command Center, MSI Dragon Center, Lenovo Vantage) to set aggressive fan curves during VR.
- Accept more fan noise while running VR. It’s better than sudden thermal throttling.
- Preventative care
- Clean dust from fans every few months. Dust reduces cooling efficiency and raises temps.
- Replace thermal paste on older units if you are comfortable doing so. Fresh paste can lower temps by several degrees.
Avoid placing the laptop on soft surfaces. Heat builds under cushions and causes thermal throttling. Learning how to optimize a gaming laptop for VR includes regular thermal maintenance and simple airflow fixes.
Advanced thermal tweaks: undervolting and power limits
If you are comfortable with advanced tuning, small voltage reductions (undervolting) or modest power limits can cut heat and stabilize clocks. Use tools like ThrottleStop or vendor-control panels. Test stability with stress tools and in-game play. Only change one setting at a time and keep a stable backup profile.
Connectivity and peripheral choices
Good cables and docks matter for latency and stability. A bad cable or adapter can cause handshake failures, dropped frames, or tracking issues. Use tested hardware and prefer wired connections when you need top performance.
- Preferred ports
- Use native DisplayPort or USB-C with DisplayPort Alt Mode. These offer reliable video and bandwidth for VR.
- Prefer USB 3.1+ ports for headset tracking and data. USB 2.0 often fails for modern headsets.
- Wireless vs wired
- Wired gives lower latency and more stable frame delivery. For critical, low-latency VR sessions, stick with a cable.
- Wireless options add convenience. They require strong Wi‑Fi (Wi‑Fi 6 recommended), router tuning, and sometimes lower render resolution to match performance.
- Docking stations and hubs
- Use tested docks for video pass-through to avoid handshake failures and dropped frames.
- Avoid cheap adapters that drop frames or disconnect. Certified Thunderbolt docks and active USB-C adapters work best.
I tested wireless VR on a laptop and found wire still gives the best, most reliable result. If you must go wireless, expect more setup and tuning. For Quest users, options like Air Link or Virtual Desktop work well but require strong Wi‑Fi and proper router placement.
Software tools and diagnostics
Use the right tools to measure performance and find the real cause of problems. Data beats guesswork. Below are tools I use and recommend for diagnostics and tuning.
- Performance monitoring
- Use GPU and CPU monitors (Task Manager, MSI Afterburner, HWInfo) to watch clock speeds, temps, and frame times in real time.
- Track VR frame timing in SteamVR or headset software. Look for jitter and missed frames.
- Benchmark and stress tests
- Run VRBench, SteamVR performance tests, or in-game benchmarks to check stability and headroom.
- Use synthetic tests (3DMark, Unigine) to isolate GPU or CPU issues.
- Driver management
- Keep drivers current but stable. Test a new driver, and roll back if it breaks VR. Keep a working driver saved.
When a game stutters, I check GPU clocks and temps first. Usually, either thermals or a bad setting is the cause. Logs and frame timing graphs point you to the right fix quickly.
Essential tools checklist
- MSI Afterburner or Radeon Software for GPU clocks and VRAM usage
- HWInfo or HWiNFO64 for detailed sensors
- SteamVR’s frame timing window or OpenXR tools for frame analysis
- ThrottleStop for CPU tuning and undervolting (advanced users)
- Wi‑Fi analyzer for wireless VR troubleshooting
Troubleshooting common VR problems
Quick fixes for frequent issues you’ll face. I keep a short checklist I run through when something goes wrong.
- Stutter or dropping frames
- Lower render resolution or enable reprojection/motion smoothing.
- Check for thermal throttling, background processes, and VRAM spikes.
- Tracking issues
- Re-seat or re-sync base stations or sensors. Recalibrate room setup in SteamVR or headset app.
- Avoid reflective surfaces and reduce network interference if using wireless tracking.
- Audio or USB dropouts
- Use direct USB ports. Avoid unpowered hubs and cheap adapters.
- Update headset audio drivers and check Windows sound settings (exclusive mode, sample rate).
If a fix doesn’t work, try a clean driver install (use DDU for GPU drivers). That often clears obscure conflicts and driver remnants that cause issues.
Personal experience, mistakes to avoid, and tips
I’ve spent years testing VR on laptops. Here are lessons I learned. These are practical and easy to apply.
- Don’t assume laptop gaming modes are optimal
- Many OEM power profiles throttle for battery life. Switch them when plugged in and ensure high-performance mode is active.
- Avoid relying on auto-driver updates
- A new driver can break VR. Keep a stable driver backup and test new drivers when you have time.
- Use small iterative changes
- Change one setting at a time. That tells you exactly what improved or regressed performance.
- Embrace vendor upscalers
- DLSS, FSR, and Intel XeSS often give a big uplift with small visual loss. They are a key tool for laptop VR.
A mistake I made was trusting a dock with an older USB controller. It caused occasional disconnects. After switching to direct ports, the problem vanished. These small experiences help you learn how to optimize a gaming laptop for VR faster.
Frequently Asked Questions of How to optimize a gaming laptop for VR
How important is GPU VRAM for VR?
VRAM matters because headsets use high-resolution buffers. Aim for at least 6–8 GB for most modern headsets, and 8–12 GB for higher-resolution or high-refresh-rate devices. If VRAM is too low, textures will swap and cause hitching.
Can I use a gaming laptop for wireless VR?
Yes, many laptops can handle wireless VR. Expect to tune Wi‑Fi, reduce render resolution, and accept slightly higher latency compared with wired setups. Use Wi‑Fi 6, place your router close, and avoid crowded channels for best results.
Is an external GPU (eGPU) a good option?
An eGPU can boost performance if your laptop has a fast Thunderbolt port. It adds cost and setup complexity but can be a practical upgrade for sustained VR performance. Note: eGPU can add minimal latency and driver complexity, so test your workflow first.
How do I reduce motion sickness from VR on a laptop?
Keep frame rates stable and latency low. Lower quality settings to maintain frame stability and enable reprojection or motion smoothing when needed. Gradually increase session length as you acclimate.
Should I prioritize CPU or GPU upgrades for VR?
GPU upgrades usually yield the biggest VR gains. However, if your CPU is very old or bottlenecking (low core counts or slow single-thread), upgrade that first. Balance CPU, GPU, RAM, and storage to avoid shifting bottlenecks.
Conclusion
Optimizing a gaming laptop for VR is about balance. Focus on GPU drivers, power profiles, thermal control, and smart render settings. Start with small changes, test, and iterate until frame times are steady. Use monitoring tools and keep a stable driver backup. These steps cut latency and make VR sessions comfortable and immersive.
Take action today: update drivers, clean vents, and run a quick SteamVR performance test. If this guide helped, try one tweak and report back in the comments or subscribe for more hands-on tips.